Use This Photoshop Technique to Boost Your Social Media Views

Use This Photoshop Technique to Boost Your Social Media Views

Creating a photo that captures attention on a busy social media feed is a common challenge. Even with a strong composition, an image can get lost in the noise if it lacks the polished, atmospheric quality that makes viewers stop and look closer. The frustration often lies in knowing what to do in post-production to elevate a good photo to a great one.

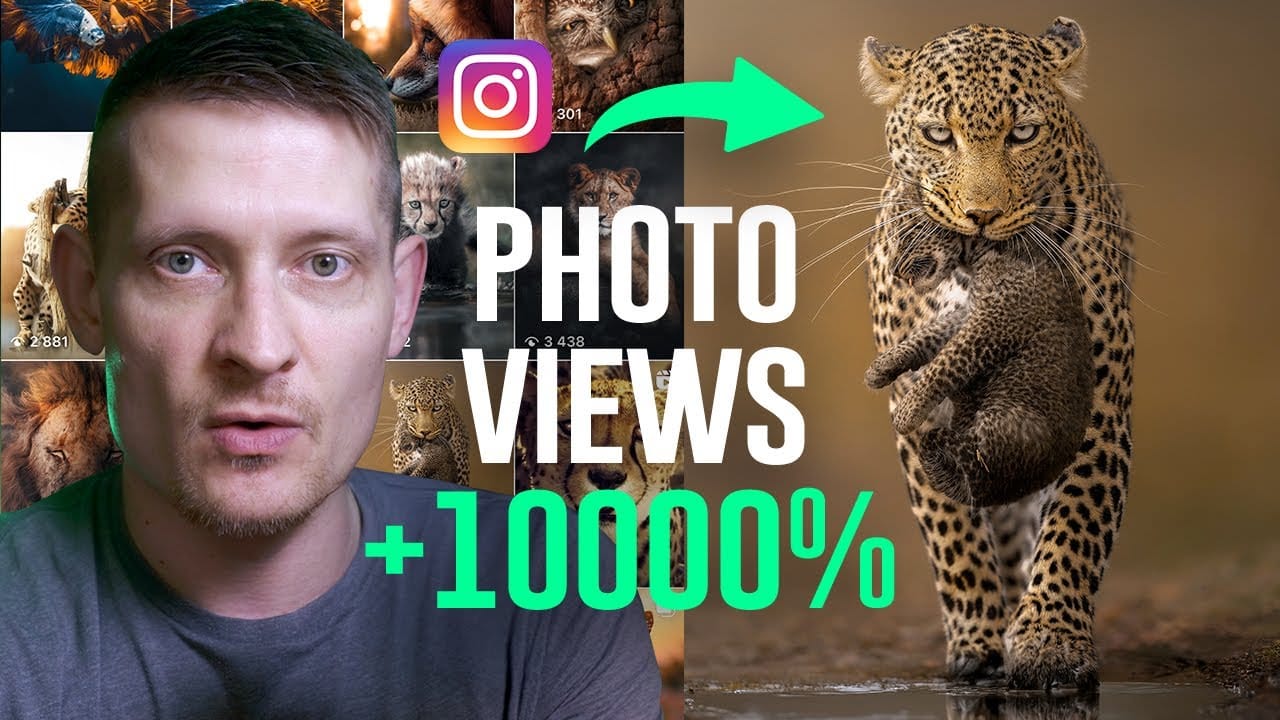
This video offers a practical look into the editing process behind a wildlife photo that successfully captured a wide audience. By walking through each Photoshop layer, it reveals how specific, subtle adjustments to light, color, and detail work together to build a compelling final image. You will learn the logic behind each edit, providing a framework you can apply to your own work.

Watch the Editing Breakdown

Any links or downloads mentioned by the creator are available only on YouTube

Building Atmosphere with Non-Destructive Layers

The core of this editing workflow is a non-destructive approach, where each adjustment is made on a separate layer. This method provides maximum flexibility, allowing you to fine-tune or disable any effect without altering the original image. A key technique demonstrated is the use of a 50% gray layer set to the Overlay blend mode. This special layer becomes invisible but serves as a perfect canvas for dodging and burning, enabling you to paint in light and shadow with precision.

By building edits in this layered fashion, you can direct the viewer's eye and enhance the mood of the photo. Shaping light with dodging and burning adds depth and dimension, making the subject pop. Similarly, adjusting colors on dedicated layers—like changing the eye color with a layer in Color blend mode—gives you isolated control. This process is less about drastic changes and more about the cumulative impact of small, intentional enhancements. Each layer adds another piece to the final story the image tells.

This workflow emphasizes that a powerful edit is often a combination of many subtle changes. Key benefits of this layered method include:

  • Flexibility: Adjust the intensity of any effect by lowering its layer opacity.
  • Control: Isolate different types of edits (light, color, texture) on their own layers.
  • Reversibility: Easily disable or delete a layer if you don't like the result.

Practical Tips for High-Impact Photo Editing

  • Enhance eyes non-destructively. Use the Dodge tool on a new 50% gray layer set to the Overlay blend mode to brighten the subject's eyes without permanently altering the pixels.
  • Shape light with Dodge and Burn. Create another 50% gray Overlay layer to manually paint in highlights and shadows, guiding the viewer's focus and adding dimensionality.
  • Use presets and filters with reduced opacity. Apply powerful effects like Lightroom presets, but lower the layer opacity to blend the effect subtly for a more natural look.
  • Isolate color changes. To change a specific color, such as for the eyes, paint the new color on a separate layer and set its blend mode to Color for a seamless and targeted adjustment.
  • Make final adjustments in Camera Raw. Use the Camera Raw filter on a Smart Object for final touches, like reducing texture for a softer look or calibrating colors to achieve a specific mood.

Explore these resources for more techniques and creative ideas in Photoshop.
How to resize a picture for instagram in 2022
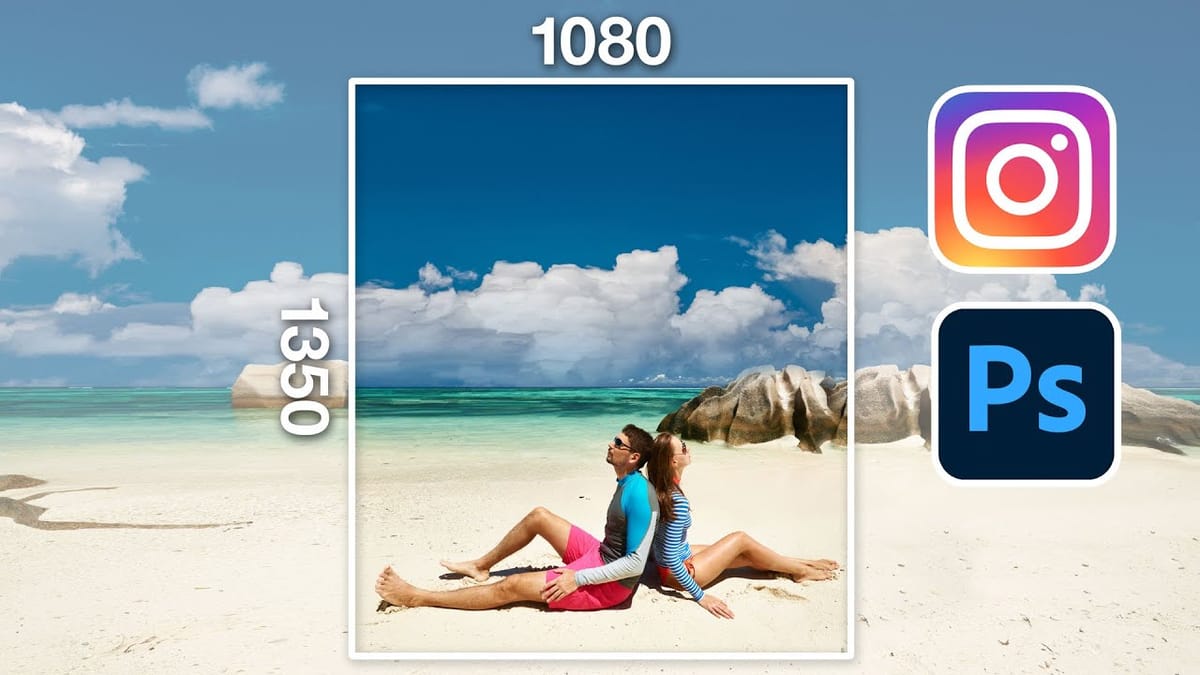
Learn the best size and settings to prepare a photo for posting on Instagram using Adobe Photoshop. Colin Smith shows you how to resize a photo for the correct size and even how to change the shape of a photo. Complete tutorial on prepping photos for instagram. More
5 tips to make your photos better in Photoshop
How to make your photos look better fast in Photoshop. 5 Tips to make all your photos look better in Photoshop. This Photoshop tutorial shows you 5 things you should do to make your photos look better than ever. More
Make highly creative brushes from photos in Photoshop
How to make your own brushes from photos and use them to create Composites, digital art and collages. Colin Smith shows you how to make a double exposure effect in Photoshop. • Download 100 amazing custom fonts for FREE and also for commercial use here… • Download On1 PhotoRaw 2022 and try it for free […] More
Create a cool text portrait in Photoshop – Photoshop Roadmap
Creating a text portrait in Photoshop is a sophisticated blend of photography and typography. In this tutorial by Marty from Blue Lightning TV, you’ll learn how to transform a standard photo into a powerful typographic portrait. Starting with an optimal photo choice, Marty guides you through desaturating the image, refining

Get tutorials & freebies delivered to you.

Subscribe to the Photoshop Roadmap newsletter, a weekly roundup of new tutorials, insights and quality downloads, trusted by 6500+ readers.

You might also like

Create a Liquid Gel Logo Effect in Photoshop

Liquid gel effects transform flat logos into dimensional, glossy designs that appear to bubble and flow. This technique uses multiple layer styles and strategic duplication to build depth, creating surfaces that catch light like thick, viscous liquid. The method combines gradient overlays, bevel effects, and inner glows across several duplicated...

How to Use Photoshop's AI Sharpen Filter and When It's Worth the Cost

Photoshop's new AI Sharpen filter promises one-click sharpening powered by advanced algorithms. This tool uses technology from Topaz Labs to enhance image details without manual adjustments, but it comes with a significant cost in credits. Understanding when to use this automated approach versus traditional methods like the High...

How to Use Harmonize and Generative Upscale Tools in Photoshop

Creating realistic photo composites requires matching lighting and color between different images—a traditionally time-consuming process. Two new AI-powered tools in Photoshop solve these challenges: Harmonize automatically adjusts lighting and shadows to blend subjects seamlessly into backgrounds, while Generative Upscale enlarges small images without losing detail. These tools work together...

How to Create Convincing Scale Effects in Photoshop Composites

Creating believable scale effects requires more than simply resizing objects—it demands understanding how light, perspective, and atmospheric conditions change with distance. When tiny subjects appear massive or giant objects seem miniature, viewers should feel the illusion is completely natural. This technique combines careful attention to lighting consistency, depth cues,...

How to Flip Images Horizontally and Vertically in Photoshop

Flipping images is a fundamental technique that can dramatically change the composition and impact of your photos. Whether you need to correct the orientation of a subject, create mirror effects, or simply improve the visual flow of your design, knowing how to quickly flip images both horizontally and vertically gives...

How to Use Nano Banana Pro in Photoshop for Background Replacement and Scene Changes

Nano Banana Pro transforms how you place subjects into new environments in Photoshop. This advanced AI model maintains perfect subject likeness while seamlessly integrating them into any background you can imagine. The tool excels at matching lighting, preserving facial features, and even adapting clothing to complement new scenes, all through...

You’ve successfully subscribed to Photoshop Roadmap
Welcome back! You’ve successfully signed in.
Great! You’ve successfully signed up.
Success! Your email is updated.
Your link has expired
Success! Check your email for magic link to sign-in.