5 Hidden Photoshop Features You Probably Didn't Know

5 Hidden Photoshop Features You Probably Didn't Know

Many Photoshop users tend to rely on a familiar set of tools and workflows, often overlooking powerful but less obvious functionalities. This can lead to inefficient processes and missed creative opportunities, making certain tasks feel more cumbersome than they need to be.

This guide and accompanying video demonstrate five underutilized features within Photoshop that can significantly enhance your efficiency and expand your creative toolkit. Learning these capabilities transforms how you approach common design and editing challenges.

Watch the Tutorial: Discover Hidden Photoshop Features

Any links or downloads mentioned by the creator are available only on YouTube

Beyond the Obvious: Maximizing Photoshop's Deep Capabilities

Photoshop's extensive feature set often means that many powerful tools are not immediately apparent or are tucked away in less-frequented menus. This depth allows the software to cater to a vast array of creative needs, from graphic design to photo manipulation and digital painting. The challenge lies in discovering these specialized functionalities that can dramatically improve workflow efficiency and output quality.

One key aspect of mastering Photoshop involves understanding that its utilities extend beyond the basic toolbar and menu items. Advanced users frequently explore options found in:

  • Panel flyout menus
  • Dialog box sub-options
  • Contextual right-click menus

This exploration is crucial for unlocking the program's full potential, enabling users to achieve results more efficiently and creatively than with surface-level knowledge alone. Recognizing these deeper capabilities transforms Photoshop from a mere image editor into a truly comprehensive creative suite.

Practical Tips for Leveraging Hidden Photoshop Features

  • Convert PSDs to Templates: Append a 'T' to your file extension (e.g., design.psdt) to automatically create a new, untitled document when opened, preserving your original template.
  • Sample Colors from Anywhere: Use the Eyedropper Tool by clicking within the canvas and dragging your cursor outside the Photoshop application frame to sample colors from any visible part of your screen.
  • Improve Font Matching: For more accurate and customizable font identification, use the Window > Libraries > Extract from Image > Type feature, which offers larger previews and custom text input.
  • Access Legacy Assets: Restore a wealth of older brushes, shapes, and styles by navigating to their respective panel's gear or flyout menu and selecting "Legacy Brushes," "Legacy Shapes and More," or "Legacy Style and More."
  • Utilize In-App Tutorials: Explore step-by-step tutorials, including those by the video's creator, directly within the Discover Panel (loop icon) under "Hands-on Tutorials" for interactive learning.

More Tutorials about Photoshop Features

Explore additional resources to deepen your understanding and expand your toolkit.

10 hidden and obscure Photoshop tools and features you probably didn’t know
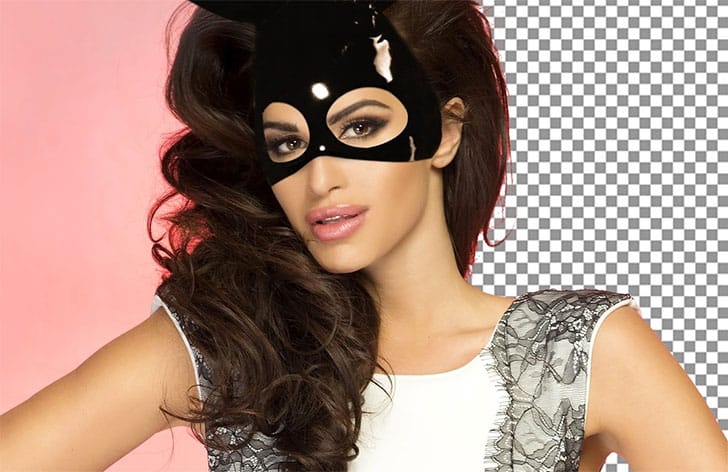
In this Adobe Photoshop tutorial, Nathaniel Dodson will do a quick 45 minute rundown of 10 features (and one bonus trick) that are relatively unknown or obscure in the world of Photoshop. You’ll learn about a trick to cut out hair and then making edges looks smoother and more perfect. You’ll learn about an amazing […] More
10 little-known Photoshop features you should really learn
The real beauty in Photoshop is that even it is a high-end professional software, you can simply open an image and quickly apply effects or corrections to achieve beautiful results. But that can only take you so far. And I don’t mean you should go and learn complex curves manipulation or channel mixing techniques. Those […] More
5 Hidden Photoshop Tips for Real Estate Photography Editing
This tutorial focuses on five hidden features in Adobe Photoshop that can significantly enhance your real estate photos. These specific tools are often overlooked, yet they offer practical solutions that can streamline your editing process. Understanding and utilizing these features can provide you with greater control over your photography. You’ll

Get tutorials & freebies delivered to you.

Subscribe to the Photoshop Roadmap newsletter, a weekly roundup of new tutorials, insights and quality downloads, trusted by 6500+ readers.

You might also like

Painting Digital Art Backgrounds: Techniques and Workflow

A well-crafted background can anchor an entire digital painting, providing atmosphere, depth, and visual context for the subject. This video demonstrates practical approaches to building backgrounds from scratch using digital tools, covering brush selection, color layering, and compositional thinking. Watch the Video Practical Tips Keep these core principles in...

How to Use the Light Adjustment Layer in Photoshop

Photoshop's new Light adjustment layer brings Camera Raw controls — exposure, contrast, highlights, shadows, whites, and blacks — directly into the layers panel as a fully non-destructive, maskable layer. This means you can stack multiple light adjustments, target specific subjects, and combine them with Blend If and other adjustment...

How to Use Object Selection, Remove Background, and the Selection Brush in Photoshop

Selections determine the quality and flexibility of almost every edit you make in Photoshop. Three modern tools — the Object Selection tool, Remove Background with Harmonize, and the Selection Brush — handle the most common selection tasks with far less manual effort, while keeping your original image intact through non-destructive layers....

How to Paint a Digital Background and Composite Wildlife Into It

Building a painted digital background from scratch gives you full control over color, mood, and composition before a single wildlife photo is placed. This walkthrough covers the complete process: blocking in shadows on a black canvas, layering foliage with textured brushes, positioning bird subjects on hand-painted stones, and using...

How to Sharpen Skin Texture Using Frequency Separation in Photoshop

Retouched skin can look great up close but lose all its natural texture the moment you zoom out. Rather than relying on standard sharpening filters, you can recover that texture by duplicating the high-frequency layer inside a frequency separation setup — a method that works whether or not you'...

You’ve successfully subscribed to Photoshop Roadmap
Welcome back! You’ve successfully signed in.
Great! You’ve successfully signed up.
Success! Your email is updated.
Your link has expired
Success! Check your email for magic link to sign-in.