Transform ordinary portraits into playful cartoon characters with exaggerated features and toy-like qualities. This technique combines precise selection methods with creative distortion tools to create caricature-style effects that maintain realistic detail and strong subject resemblance.
The process works best with high-resolution photos featuring good lighting and subjects with shorter hairstyles for easier background removal.
Watch the Video
Essential Tips for Cartoon Portrait Effects
These key techniques will help you achieve convincing cartoon transformations while maintaining image quality:
- Use the Pen tool for precise subject clipping, then apply the Channels method to capture fine hair details against clean backgrounds
- Scale the body down rather than scaling the head up to preserve image resolution and avoid quality loss
- Enlarge eyes by copying them to separate layers, scaling them up, and blending edges with soft layer masks
- Apply the Liquify filter strategically: use the Pucker tool on noses, Bloat tool on mouths, and Warp tool to enhance facial expressions
- Create a toy-like finish with dodge and burn techniques on a 50% gray Overlay layer, plus High Pass filtering for skin smoothing
More Tutorials about Cartoon Effects
Explore additional methods for transforming photos into stylized cartoon artwork.
Photoshop photo to cartoon effect
In the world of digital photography, adding a unique touch to your images can truly make them stand out. One such way to achieve this is by applying a cartoon effect to your photos using Photoshop. This technique is surprisingly simple and can breathe new life into even the most ordinary of images.
By following a few straightforward steps, you can transform your photos into vibrant, works of art. The process involves a combination of adjusting the levels, applying filters, and fine-tuning the d
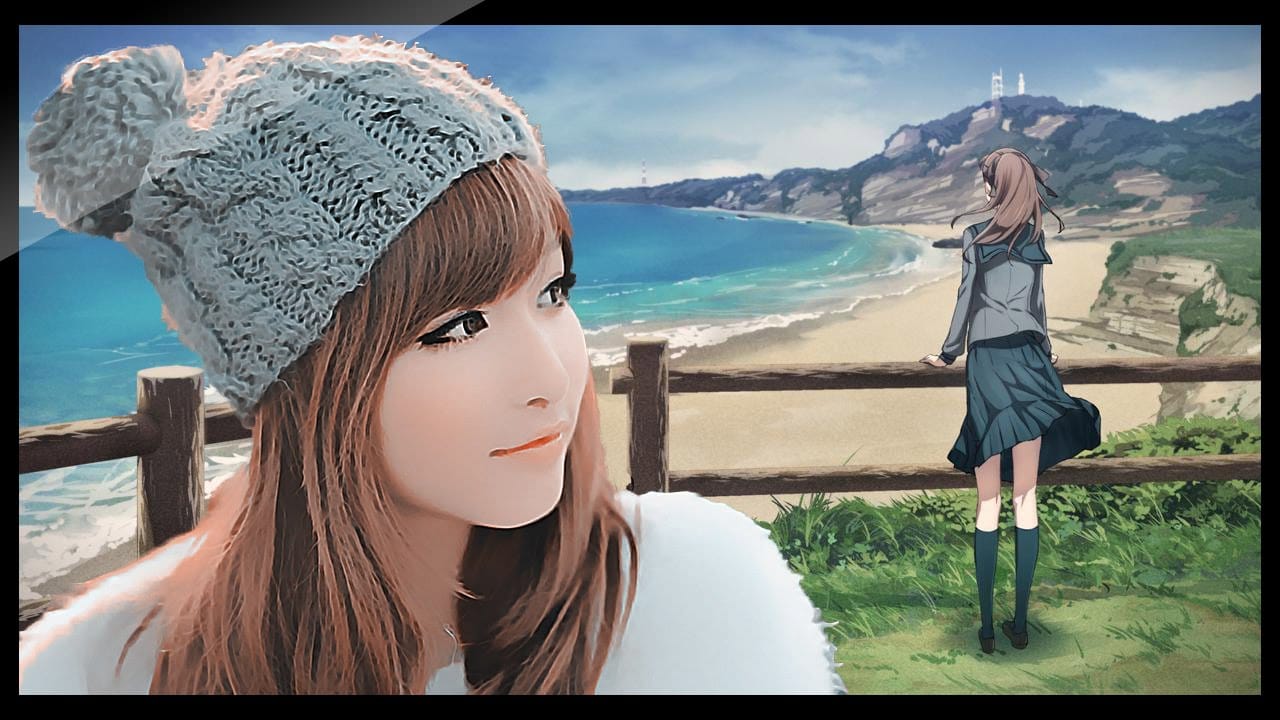
Cartoon effect using Photoshop filters
Playing with Photoshop filters can be incredibly fun and lead to the creation of impressive photo effects. In this quick video tutorial, PSD Box demonstrates how to create a cool cartoon or painting effect using various Photoshop filters. You'll learn how to transform your images into vibrant, cartoon-like artworks by applying different filters and adjustments.
The tutorial covers essential techniques, such as using the Poster Edges filter to outline the details and the Oil Paint filter to give
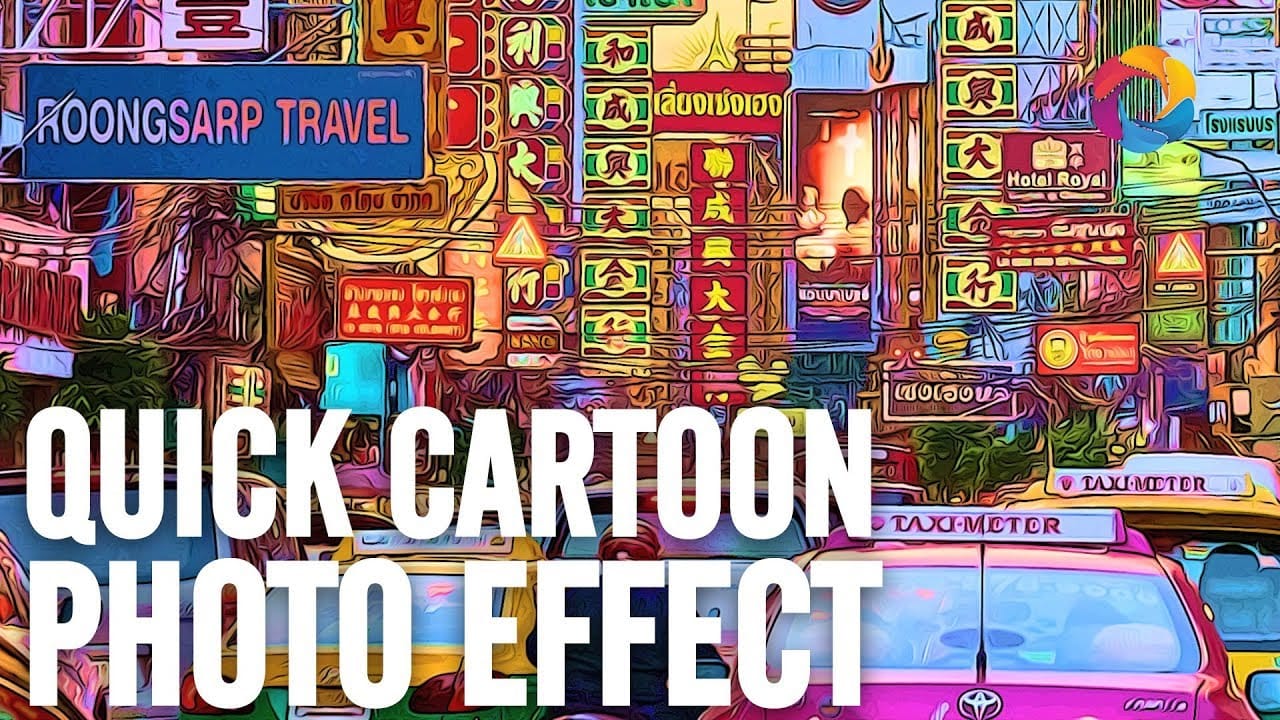
How to turn a photo into a cartoon in Photoshop
Welcome to this new Photo to Cartoon Effect "cartoonize yourself" Photoshop Tutorial. Through this tutorial, and with the power of smart objects you will learn how to cartoonize photos in photoshop and convert almost any photo into a caricature cartoon effect using some filters and smart objects in photoshop.
After finishing this tutorial, you will be able to drag your picture into the PSD file and turn any photo to cartoon effect with a couple clicks. watch the tutorial and cartoonize yourself

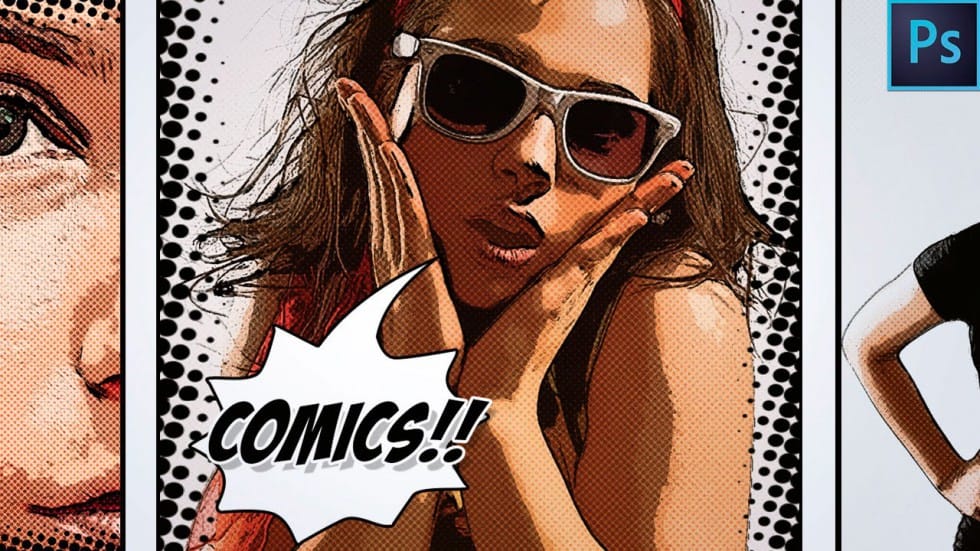
How to Make a Comic Book Cartoon Effect From a Photo in Photoshop
The author provides a step-by-step guide on how to transform a regular photo into a comic book-style cartoon effect using Adobe Photoshop. They explain the process of applying various filters and techniques to achieve the desired look.
The tutorial starts by discussing the importance of selecting the right photo for the comic book effect. The author suggests choosing an image with a clear subject and good contrast. They then guide the reader through the process of applying filters and adjustmen
How to Create Colorful Cartoon Doodles on Model Photos in Photoshop
Cartoon-style illustrations layered over photography create a unique visual fusion that bridges reality and artistic expression. This playful approach transforms ordinary portraits into vibrant, graphic compositions that feel both contemporary and whimsical.
The technique combines traditional drawing skills with digital painting tools to create outlined shapes, bold colors, and stylized details that complement the photographic base. The result is an eye-catching style that works perfectly for c