Create a Neon Text Effect in Photoshop with Blur and Layer Styles

Create a Neon Text Effect in Photoshop with Blur and Layer Styles

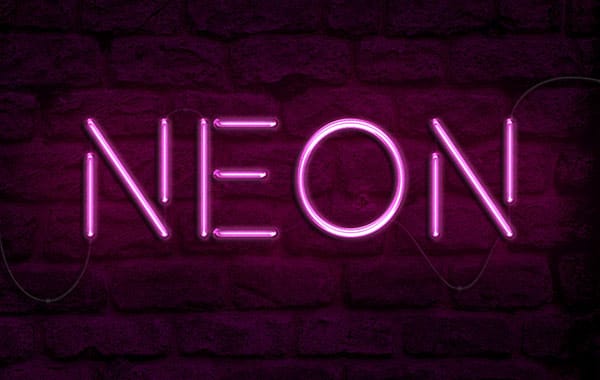
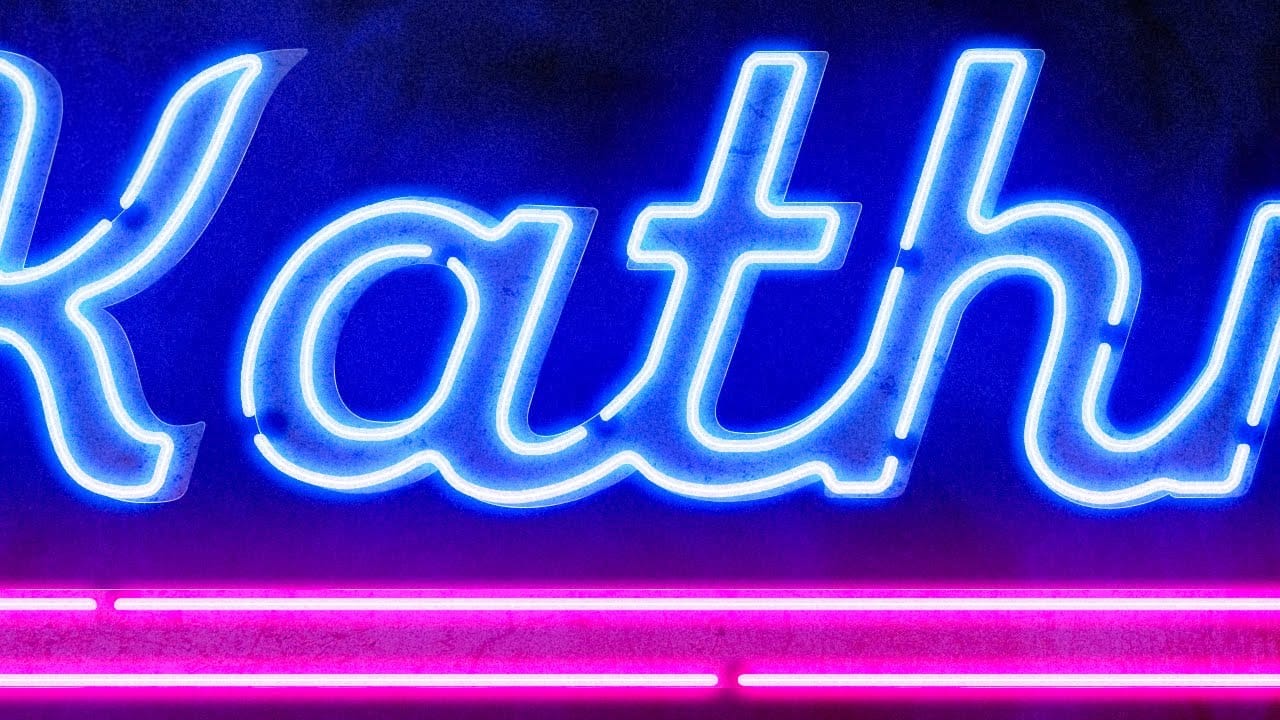
Neon signs bring instant energy to any design with their electric glow and vibrant colors. The luminous quality that makes real neon so captivating can transform ordinary text into something that feels alive and pulsing with light.

This video demonstrates how to recreate that distinctive neon look using Photoshop's blur filters and layer effects. The technique builds multiple glowing layers to achieve an authentic electric sign appearance.

Watch the Tutorial

Video by P A N T E R. Any links or downloads mentioned by the creator are available only on YouTube

Building Authentic Neon Glow Effects

Real neon signs produce light that radiates outward in multiple intensity levels. The brightest glow appears closest to the tube, with softer halos extending further into the darkness. This layered lighting creates the signature neon appearance.

The technique shown uses Progressive Gaussian Blur to simulate this natural light falloff. Each duplicated layer receives a different blur radius, mimicking how light disperses at varying distances from the source.

  • Multiple blur layers create realistic light dispersion
  • Linear Light blend mode intensifies the core glow
  • Smart Objects allow non-destructive editing throughout the process
  • Layer styles add depth with shadows and additional glow effects

Practical Tips for Neon Text Effects

  • Convert text to Smart Objects before applying filters to maintain editability
  • Use decreasing blur values (300, 200, 100, 50, 10) for natural light falloff
  • Set the sharpest layer to Linear Light blend mode for intense core brightness
  • Add noise texture on Overlay mode to simulate the subtle grain of real neon lighting
  • Combine warm and cool glow colors for more realistic color interaction

More Tutorials about Neon Text Effects

Explore additional techniques and variations for creating compelling neon designs in Photoshop.
Create a Realistic Neon Sign Text Effect in Photoshop
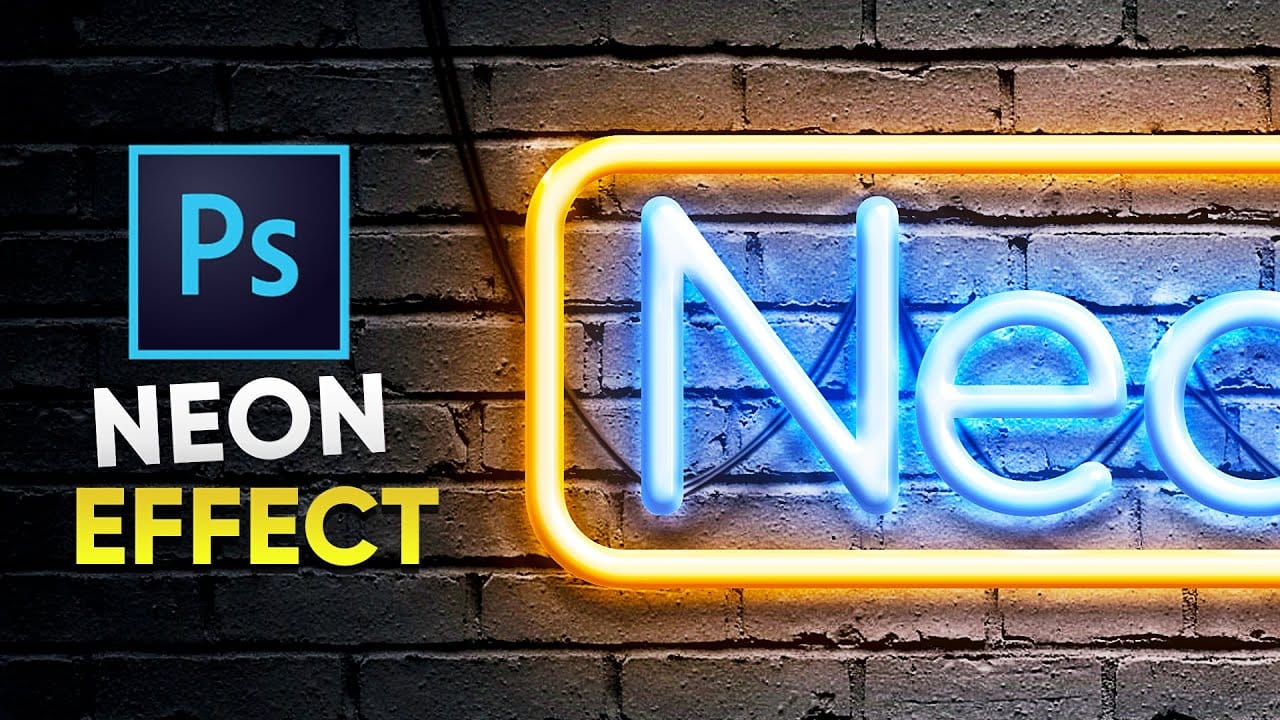
In this Photoshop tutorial by Pixivu, you'll learn how to create a realistic neon text effect, complete with a neon sign and light hanging on a weathered brick wall using only Smart Objects. By the end of the tutorial, you'll be able to create a vibrant and lifelike neon text effect mockup that can be reused and re-applied with a single click. This tutorial offers a practical and efficient method for achieving stunning neon designs. Watch tutorial
How to create a bright realistic neon text effect in Photoshop
Love neon signs? Ever wanted to create your own? With the magic software, we can easily experiment with and create a neon light text effect, no electricity necessary! In fact, whether you're a software expert or a complete beginner, doing so can be a breeze. In this video, we'll check out a couple of different ways to create neon light text effects—from using convenient Smart Objects, to creating text effects from scratch in Adobe Photoshop, to even quick and easy ways to experiment with text e
Create a Realistic Neon Light Text Effect in Photoshop
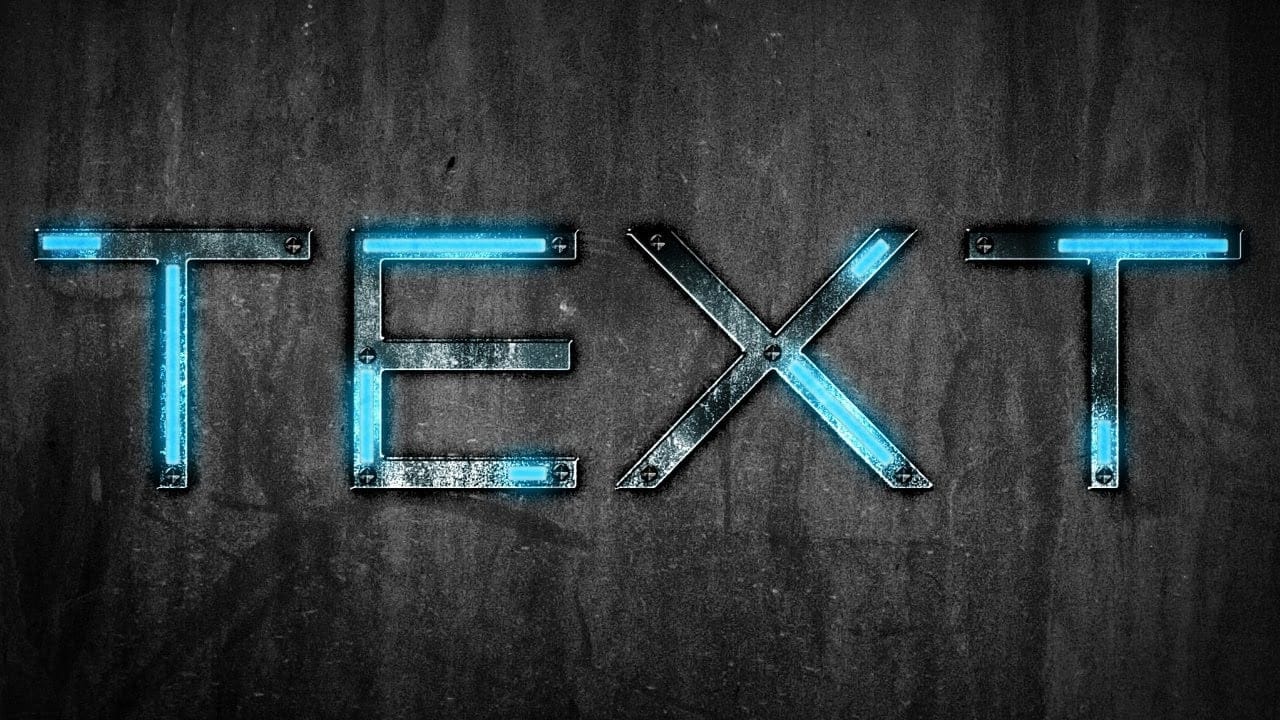
In this tutorial, TextureLabs demonstrates how to create a realistic neon sign text effect using Adobe Photoshop. You'll learn to combine glowing neon colors with a convincing metal base to produce a striking and authentic sign. The tutorial covers various techniques, including layer styles and blending modes, to achieve the luminous neon effect. Additionally, free texture links and more resources are provided to enhance your design. Whether you're a beginner or an advanced user, this tutorial
Futuristic Neon Text Effect in Photoshop
In this tutorial, Brandon Bias from Ch-Ch-Check It shows you how to create a stunning futuristic, grungy neon text effect on metallic letters using Adobe Photoshop. This effect combines multiple blend modes, textures, and layer styles to achieve a unique and eye-catching design. The tutorial begins with creating a new document and adding a grungy background, then moves on to customizing text with specific fonts and character settings. Through detailed steps, you'll learn how to apply various ef

Get tutorials & freebies delivered to you.

Subscribe to the Photoshop Roadmap newsletter, a weekly roundup of new tutorials, insights and quality downloads, trusted by 6500+ readers.

You might also like

Professional Portrait Retouching with the B.S.T. Method in Photoshop

Professional portrait retouching requires artistic choices that automated tools can't make. The B.S.T. method breaks retouching into three focused steps: removing blemishes with precision, smoothing skin while preserving natural texture, and equalizing skin tones throughout the image. This systematic approach gives you complete control over every...

Create Motion Blur Light Effects in Photoshop

Transform ordinary portraits into dynamic, cinematic images by combining path blur effects with creative background textures. This technique creates the illusion of camera movement while maintaining focus on key elements like the subject's eyes, resulting in professional-looking motion blur effects that add energy and visual interest to static...

How to Paint Realistic Jewelry on Portraits in Photoshop

Adding painted jewelry to portraits transforms ordinary photos into fantasy portraits with ornate accessories that never existed. This digital painting technique uses careful layering, proper lighting, and realistic shadows to create convincing rings, earrings, and decorative headpieces. The method combines basic brush work with advanced blending techniques to build up...

How to Sharpen Images Using the High Pass Filter in Photoshop

The High Pass filter method remains one of the most versatile sharpening techniques in Photoshop, offering precise control over which image areas receive enhancement. This non-destructive approach works by identifying edge details and allowing you to selectively apply sharpening exactly where it's needed most. Unlike automated sharpening tools,...

How to Find Missing Actions in the New Photoshop Actions Panel

The redesigned Actions panel in Photoshop can catch users off guard when their custom actions seem to disappear. With the new tabbed interface, your previously created actions are still there—they're just located in a different tab than before. Understanding the new layout will help you quickly access...

Fast Portrait Retouching: Remove Stray Hairs, Clothing Wrinkles, and Fix Backgrounds

Every portrait photographer knows the feeling: you've captured a beautiful shot, but stray hairs, wrinkled clothing, and messy backgrounds turn editing into hours of tedious work. These common retouching challenges can drain your time and energy, especially when dealing with high-volume projects or tight deadlines. This tutorial demonstrates...

You’ve successfully subscribed to Photoshop Roadmap
Welcome back! You’ve successfully signed in.
Great! You’ve successfully signed up.
Success! Your email is updated.
Your link has expired
Success! Check your email for magic link to sign-in.