Create Grungy Halftone Line Effects in Photoshop

Create Grungy Halftone Line Effects in Photoshop

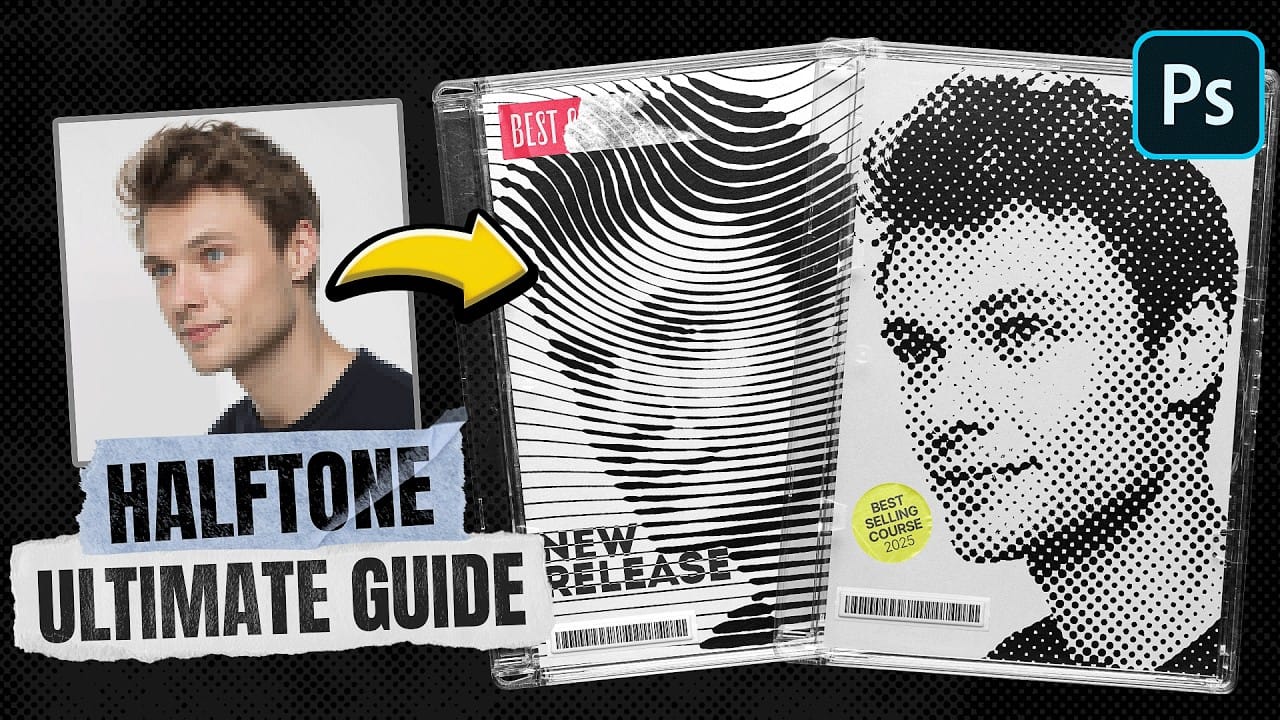
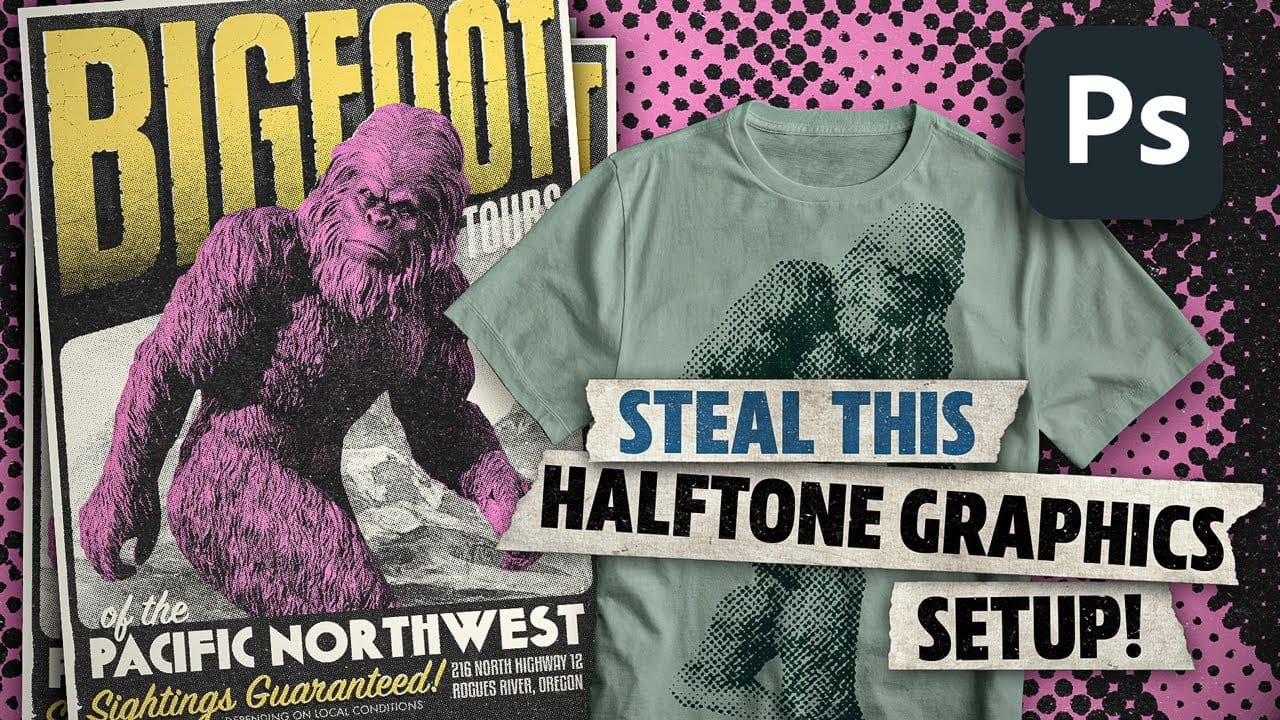
Classic halftone line patterns evoke the raw aesthetic of vintage print media, from underground zines to punk rock posters. These gritty textures transform clean digital photos into pieces that feel authentically analog, complete with the imperfections that make print work compelling.

This technique combines Photoshop's halftone filters with noise and blur effects to create convincing photocopy-style line patterns. The method builds multiple adjustment layers that work together to produce both the linear halftone structure and the organic grunge that makes the effect feel genuine.

Watch the Tutorial

Video by P A N T E R. Any links or downloads mentioned by the creator are available only on YouTube

Understanding Halftone Line Patterns in Print Design

Traditional halftone printing uses patterns of dots, lines, or shapes to simulate continuous tones using only solid ink. Line-based halftones create particularly striking effects because they follow the natural flow of image contours while maintaining the mechanical precision of print reproduction.

The grunge element comes from the imperfections inherent in analog reproduction processes. Photocopy machines, offset printing, and screen printing all introduce subtle distortions that digital designers often try to recreate. These artifacts include:

  • Paper texture bleeding through transparent areas
  • Ink spread creating slightly thicker lines
  • Registration shifts that add organic randomness

Smart object workflows preserve the original image data while allowing extensive experimentation with filter settings. This approach lets designers adjust the halftone scale, contrast, and grunge intensity without permanently altering the base photograph.

Practical Tips for Halftone Line Effects

  • Convert to smart objects first — This preserves editability and allows you to fine-tune filter settings throughout the process
  • Use Vivid Light blend mode for the halftone layer to create strong contrast between lines and background areas
  • Add noise before blur — Apply high noise values (around 275%) then blur slightly to create organic texture that feels authentic
  • Adjust threshold dynamically — Use threshold adjustments with Linear Dodge blending to control line thickness and grunge intensity simultaneously
  • Boost original contrast — Edit the smart object source to increase contrast, which enhances the halftone pattern definition

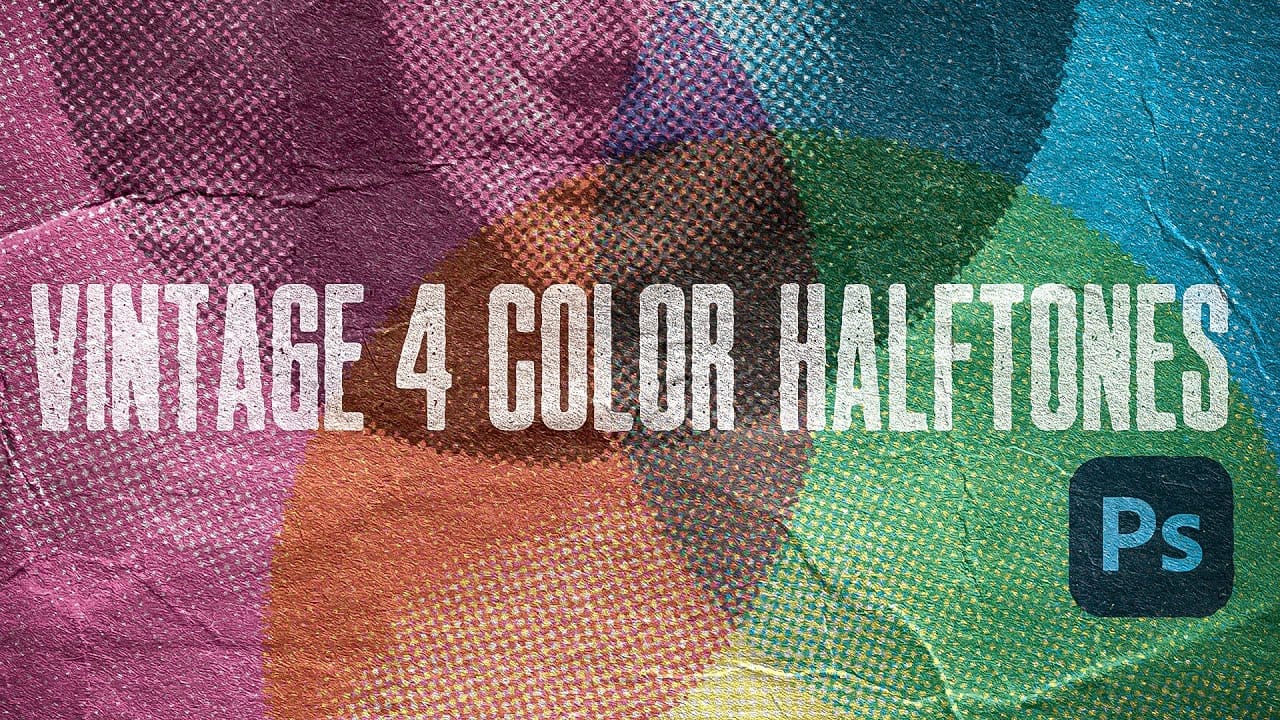
More Tutorials about Halftone Effects

Explore additional techniques for creating vintage and retro halftone patterns.

Create an old-school halftone photo effect in Photoshop
Creating authentic vintage halftone effects can be challenging when working with modern digital photography. Many designers struggle to achieve that classic print aesthetic without the result looking artificial or overdone. This tutorial demonstrates a multi-layer approach to building realistic halftone vintage effects using threshold adjustments, pattern overlays, and selective masking. The technique creates depth and authenticity by working with multiple halftone variations rather than a sing
Ultimate Halftone Effect in Photoshop
Halftone effects can transform ordinary photos into striking graphic designs, but many designers struggle with creating patterns that blend naturally with their images. The traditional approach often results in rigid, uniform dots that don't adapt to the underlying image tones and details. This tutorial demonstrates how to create flexible halftone effects using multiple pattern types and blending techniques. You'll learn to build reusable workflows that can be applied to any image instantly, pl
Create awesome retro halftone effects in Photoshop
Photoshop includes built-in halftone filters, but they often lack flexibility and can feel rigid for creative projects. Many designers struggle with creating authentic vintage halftone effects that remain editable and can be applied to different image sizes and compositions without starting over. This tutorial demonstrates a five-layer halftone setup that functions like a live adjustment layer, offering full control over dot size, color, and distressing effects. The system uses seamless pattern
Create Authentic Vintage Halftone Effects with Custom Patterns in Photoshop
Photoshop's built-in Color Halftone filter creates rigid, geometric results that lack the authentic character of vintage print work. The filter also fails to produce true CMYK separations in RGB documents, missing the black channel entirely and creating an unconvincing simulation of traditional printing methods. This technique uses custom patterns and blend modes to create realistic, grungy CMYK halftones that work as live effects. Unlike the standard filter, this approach produces authentic-lo

Get tutorials & freebies delivered to you.

Subscribe to the Photoshop Roadmap newsletter, a weekly roundup of new tutorials, insights and quality downloads, trusted by 6500+ readers.

You might also like

Create a Liquid Gel Logo Effect in Photoshop

Liquid gel effects transform flat logos into dimensional, glossy designs that appear to bubble and flow. This technique uses multiple layer styles and strategic duplication to build depth, creating surfaces that catch light like thick, viscous liquid. The method combines gradient overlays, bevel effects, and inner glows across several duplicated...

How to Use Photoshop's AI Sharpen Filter and When It's Worth the Cost

Photoshop's new AI Sharpen filter promises one-click sharpening powered by advanced algorithms. This tool uses technology from Topaz Labs to enhance image details without manual adjustments, but it comes with a significant cost in credits. Understanding when to use this automated approach versus traditional methods like the High...

How to Use Harmonize and Generative Upscale Tools in Photoshop

Creating realistic photo composites requires matching lighting and color between different images—a traditionally time-consuming process. Two new AI-powered tools in Photoshop solve these challenges: Harmonize automatically adjusts lighting and shadows to blend subjects seamlessly into backgrounds, while Generative Upscale enlarges small images without losing detail. These tools work together...

How to Create Convincing Scale Effects in Photoshop Composites

Creating believable scale effects requires more than simply resizing objects—it demands understanding how light, perspective, and atmospheric conditions change with distance. When tiny subjects appear massive or giant objects seem miniature, viewers should feel the illusion is completely natural. This technique combines careful attention to lighting consistency, depth cues,...

How to Flip Images Horizontally and Vertically in Photoshop

Flipping images is a fundamental technique that can dramatically change the composition and impact of your photos. Whether you need to correct the orientation of a subject, create mirror effects, or simply improve the visual flow of your design, knowing how to quickly flip images both horizontally and vertically gives...

How to Use Nano Banana Pro in Photoshop for Background Replacement and Scene Changes

Nano Banana Pro transforms how you place subjects into new environments in Photoshop. This advanced AI model maintains perfect subject likeness while seamlessly integrating them into any background you can imagine. The tool excels at matching lighting, preserving facial features, and even adapting clothing to complement new scenes, all through...

You’ve successfully subscribed to Photoshop Roadmap
Welcome back! You’ve successfully signed in.
Great! You’ve successfully signed up.
Success! Your email is updated.
Your link has expired
Success! Check your email for magic link to sign-in.