Creating a Nebula and Planet Scene in Photoshop: Step-by-Step Tutorial

Creating a Nebula and Planet Scene in Photoshop: Step-by-Step Tutorial

Creating compelling cosmic scenes in Photoshop offers a vast canvas for artistic expression, allowing designers to transcend reality and construct their own vibrant universes. The process involves a blend of foundational Photoshop techniques and creative layering to simulate the complex interplay of light, gas, and celestial bodies.

This tutorial provides a comprehensive guide to designing an immersive nebula and planet scene. You will learn how to build dynamic star fields, craft colorful nebulae using various blending modes, and generate realistic planets from simple textures, all while leveraging the flexibility of Smart Objects for iterative design.

Watch the Tutorial

Video by Kepo Art Studio. Any links or downloads mentioned by the creator are available only on YouTube

Foundational Techniques for Cosmic Compositing

Crafting a believable digital cosmos in Photoshop relies on understanding how various layers interact to simulate depth, light, and atmospheric effects. The core challenge lies in transforming abstract concepts like light years and gaseous clouds into tangible visual elements. This involves careful manipulation of colors, textures, and blending modes to achieve the ethereal quality characteristic of deep space imagery.

A key aspect of this creative process is the iterative refinement enabled by Smart Objects. By converting layers into Smart Objects, artists can apply filters and transformations non-destructively, allowing for endless experimentation with parameters such as noise, blur, and distortion. This flexibility is crucial when fine-tuning the subtle nuances of a star field or the swirling colors of a nebula, ensuring that every adjustment contributes to the overall realism and aesthetic appeal of the final composition.

Furthermore, integrating disparate elements like a textured planet and a vibrant light source requires a keen eye for unified lighting and perspective. The successful blending of these components results in a cohesive scene that draws the viewer into a fantastical yet plausible cosmic environment, showcasing the power of digital compositing in transforming simple ideas into breathtaking visual narratives.

Practical Tips for Creating Nebula and Planet Scenes

  • Start with a black color fill layer and apply noise, blur, and levels adjustments to generate a detailed star field.
  • Use multiple color fill layers with layer masks and the Color Dodge blend mode to build a vibrant, layered nebula effect.
  • Apply motion blur to duplicated star layers at different angles to create a dynamic twinkling effect for the stars.
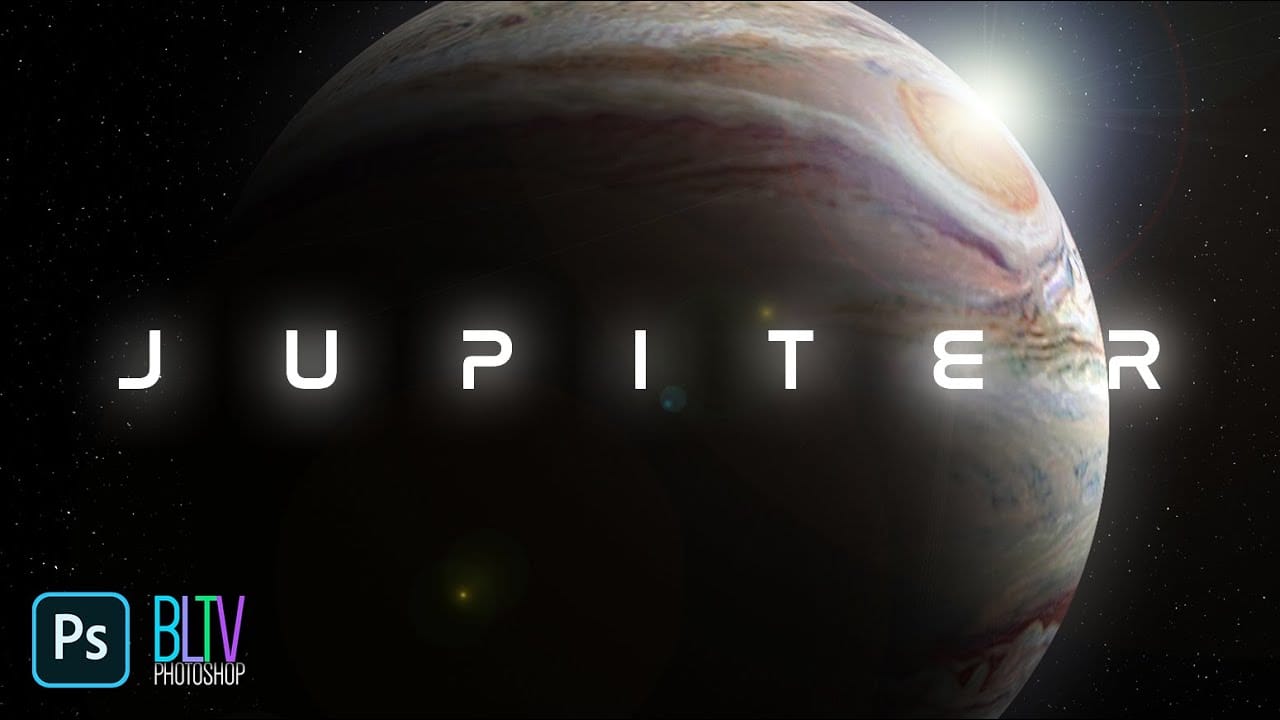
  • Distort a square texture image with the spherize filter to quickly form a realistic planet surface.
  • Incorporate outer glow, inner glow, and a lens flare from a composite layer to add depth and a dominant light source to your planet.

More Tutorials about Space Art

Explore additional tutorials to expand your skills in creating captivating digital space scenes and celestial phenomena.

How to Create a Cinematic UFO Scene in Photoshop
Science fiction imagery has always captured our imagination, and UFO scenes represent one of the most compelling subjects in digital art. Creating a believable extraterrestrial encounter requires careful attention to lighting, atmosphere, and composition to achieve that cinematic quality seen in professional films and concept art. This tutorial demonstrates how to transform an ordinary street photograph into a dramatic sci-fi scene featuring a massive UFO hovering overhead. You'll explore essen
Create a nice tiny planet out of a landscape photo in Photoshop
According to Tutorials Junction, creating a nice tiny planet out of a landscape photo in Photoshop is a straightforward process. The tutorial explains how to achieve this 3D effect using Adobe Photoshop. The video may seem lengthy, but the photo effect itself is quite quick. The majority of the time is spent composing the model and using lighting effects. The key is to start with the right image and make it square, as the filter used for this effect works best with a square format. While the p
Create a Photorealistic Planet Jupiter in Deep Space Image in Photoshop.
In this tutorial, Marty Geller from Blue Lightning TV guides you through the process of creating a striking photorealistic image of Jupiter set in deep space using Photoshop. This step-by-step guide is designed to help both beginners and experienced users enhance their skills in digital art. The tutorial emphasizes the importance of layering and precise adjustments to produce a realistic depiction of Jupiter, showcasing its distinctive bands and swirling storms. Geller explains various techniqu
How to Create an Amazing Space Battle Sci-Fi Scene in Photoshop
In this tutorial by Jenny Le, you will discover how to create stunning sci-fi artwork featuring spaceships, planets, and a galaxy backdrop. The step-by-step guidance provided makes it accessible for artists of all skill levels. You will gain insights on how to compose various space elements effectively. This includes techniques for manipulating and blending these elements to achieve a cohesive and appealing final piece. Jenny Le shares practical tips that simplify the process and enhance your

Get tutorials & freebies delivered to you.

Subscribe to the Photoshop Roadmap newsletter, a weekly roundup of new tutorials, insights and quality downloads, trusted by 6500+ readers.

You might also like

6 Essential Photoshop Effects You Really Need to Learn

Not every Photoshop effect is worth your time. Some are novelties, some are niche, and some will date your work faster than you expect. These six are different — they show up constantly across editorial, advertising, and digital design, and they're the ones most self-taught users have somehow never...

How to Use Photoshop's New Offline AI Remove Tool (No Credits Required)

Photoshop's latest update introduces an offline AI-powered Remove tool that works without internet connectivity or generative credits. This on-device feature processes a 4-5GB AI model locally, enabling fast object removal while maintaining complete privacy since your images never leave your computer. The tool requires high system specifications but...

How to Use the Harmonize Tool for Advanced Photo Compositing in Photoshop 2026

The Harmonize tool transforms compositing by automatically adjusting lighting, color, and shadows to blend objects seamlessly into new backgrounds. This AI-powered feature analyzes both your subject and background, then creates realistic color bleed, reflections, and contact shadows with a single click. While the tool delivers impressive results instantly, combining it...

How to Use Split Toning and Enhanced AI Masks in Camera Raw

Adobe's latest Camera Raw update brings two powerful enhancements that transform how photographers work with masks and color grading. Split toning is now available directly within individual masks, allowing precise color control over shadows, midtones, and highlights in specific image areas. Additionally, AI masks like landscape selection and...

How to Use Harmonize and Rotate Object Tools for Better Composites in Photoshop

Creating believable composites traditionally required hours of manual perspective adjustments and color matching. Two new AI-powered tools in Photoshop change this workflow dramatically. The Rotate Object tool lets you adjust positioning and perspective with interactive 3D controls, while the Harmonize tool automatically matches lighting, shadows, and color tones to blend...

Camera Raw Feathering and Color Grading Features (May 2026 Update)

Adobe Camera Raw's latest update introduces two powerful masking features that solve common editing problems. The new feather and edge controls help create cleaner selections around complex shapes like trees, while color grading within masks allows for precise adjustments without affecting the entire image. These tools work exclusively...

You’ve successfully subscribed to Photoshop Roadmap
Welcome back! You’ve successfully signed in.
Great! You’ve successfully signed up.
Success! Your email is updated.
Your link has expired
Success! Check your email for magic link to sign-in.