How to Create a Final Destination Movie Poster Effect Using Hard Mix Blend Mode in Photoshop

How to Create a Final Destination Movie Poster Effect Using Hard Mix Blend Mode in Photoshop

Movie posters often rely on striking visual techniques to create memorable imagery that captures a film's essence. The Final Destination franchise is known for its distinctive poster designs featuring intricate line art effects that transform photographs into compelling graphic illustrations.

This video demonstrates how to recreate that signature look using Photoshop's Hard Mix blend mode—a powerful but underutilized tool that creates threshold effects with precise control over line weight and detail.

Watch the Tutorial

Video by Nucly • Photoshop and Creative Design Training. Any links or downloads mentioned by the creator are available only on YouTube

Understanding Hard Mix Blend Mode for Line Effects

The Hard Mix blend mode creates a threshold effect by combining the luminance values of two layers, resulting in pure black, white, or primary colors. This makes it particularly effective for converting photographic images into high-contrast line art.

The technique involves creating a gradient pattern that acts as a mask, determining where lines appear based on the underlying image's tonal values. The process transforms complex photographic detail into clean, stylized illustrations while maintaining the original image's structure and form.

  • Threshold control through blend mode interaction
  • Pattern-based line generation using gradients
  • Smart object workflows for non-destructive editing
  • Displacement mapping for organic line variation
  • Layer masking for selective effect application

Practical Tips for Line Art Effects

  • Convert your base image to a smart object before applying filters to maintain editability and allow for easy adjustments
  • Use curves adjustments to fine-tune line thickness by controlling the contrast in your pattern layer
  • Apply median blur to eliminate fine details that might create unwanted noise in the final line effect
  • Create displacement maps from cloud textures to add natural variation to otherwise rigid vertical lines
  • Use layer masks with soft brushes to selectively remove lines from specific areas like eye sockets or text regions

Explore more advanced poster design techniques and text integration methods.

How to Create a Realistic Paper Tear in Photoshop
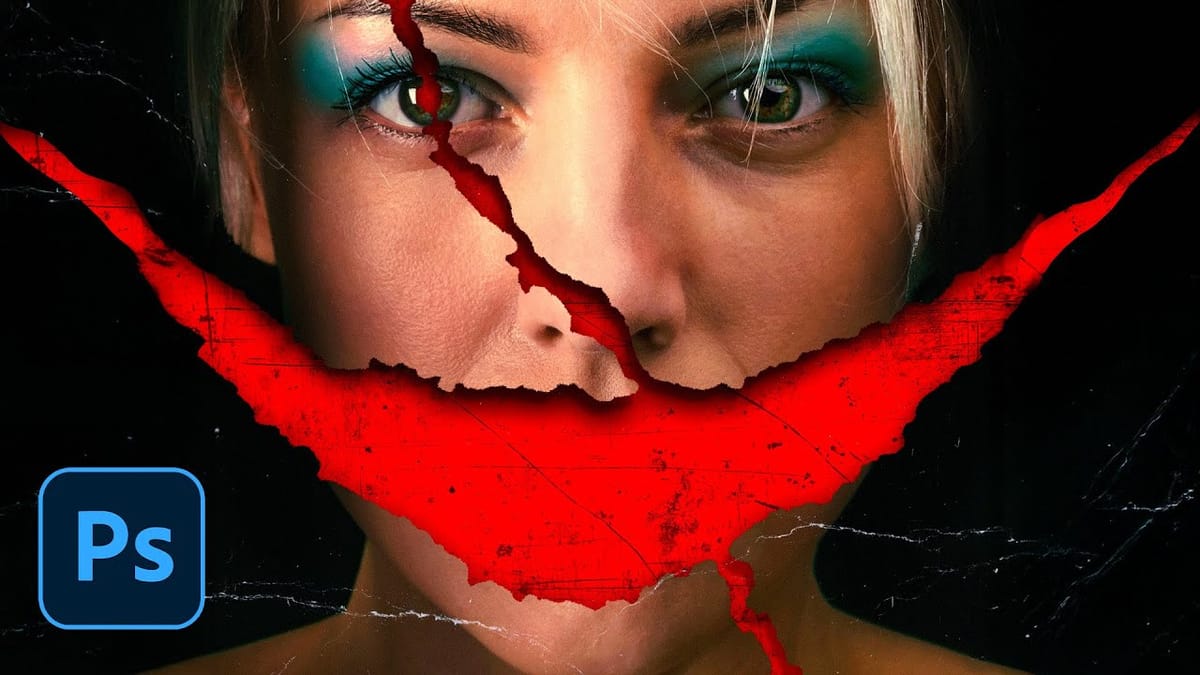
Movie posters with torn paper effects create a sense of mystery and depth that draws viewers in. The technique reveals contrasting elements beneath the surface — perhaps a gritty red background behind a clean portrait, or weathered textures that suggest hidden stories. This approach transforms simple portraits into dramatic compositions that
Horror, Blood and Gore Photoshop Effects and Brushes
Learn how to create horror blood and gore special effects with this list of 70 Photoshop tutorials and brushes. More
Ranking Every Wes Anderson Movie Poster: A Design Analysis
Wes Anderson’s films are renowned for their distinctive visual style, but the evolution of his movie poster design tells a fascinating story of creative growth and collaboration. From the raw indie aesthetic of his 1996 debut to the meticulously crafted artwork of recent releases, Anderson’s posters showcase a journey from
Create Obama Hope Poster in Photoshop
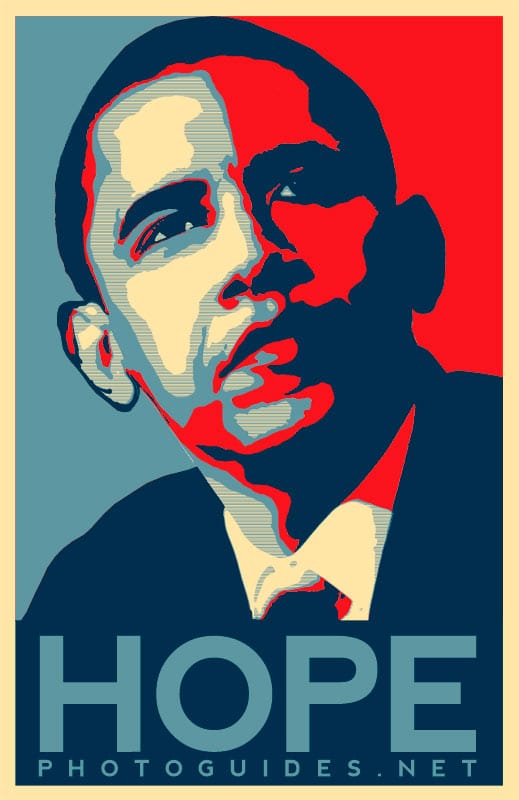
In today’s tutorial, Marty will show you how to create and personalize your own version of Barack Obama’s iconic “HOPE” poster design using Photoshop. This tutorial is perfect for both beginners and advanced users who want to learn how to recreate this timeless piece of graphic design history. To make it easier for you to […] More

Get tutorials & freebies delivered to you.

Subscribe to the Photoshop Roadmap newsletter, a weekly roundup of new tutorials, insights and quality downloads, trusted by 6500+ readers.

You might also like

How to Remove Distractions, Expand Borders, and Polish a Portrait in Photoshop

A cluttered background, tight framing, and flat lighting can undermine an otherwise strong portrait. This workflow covers the full process of cleaning up a photo using Photoshop's AI-powered Remove Tool, extending the canvas with Generative Expand, replacing the sky, and finishing with Camera Raw adjustments for grain,...

Create Realistic Rim Light Effects on Portraits in Photoshop

Rim lighting transforms ordinary portraits into dramatic, professional-looking images by adding bright highlights around the edges of your subject. This technique simulates light hitting the outer contours of a person, making them stand out from their background with a natural, glowing effect. The key to convincing rim light lies...

How to Use Photoshop's Layer Cleanup Tool to Organize Messy Projects

Complex editing projects with Generative Fill and Expand often result in dozens of unnamed layers cluttering your workspace. The new Layer Cleanup tool automates the tedious process of renaming layers and removing empty ones, transforming chaotic layer panels into organized, manageable structures. This workflow improvement saves significant time during post-...

How to Use Curves for Composite Color Matching in Photoshop

Curves adjustments are essential for making composite elements look natural and cohesive. Understanding how curves manipulate light values and color channels gives you precise control over matching different elements to their new backgrounds. The key to successful color matching lies in analyzing the color temperature and brightness relationships between your...

You’ve successfully subscribed to Photoshop Roadmap
Welcome back! You’ve successfully signed in.
Great! You’ve successfully signed up.
Success! Your email is updated.
Your link has expired
Success! Check your email for magic link to sign-in.