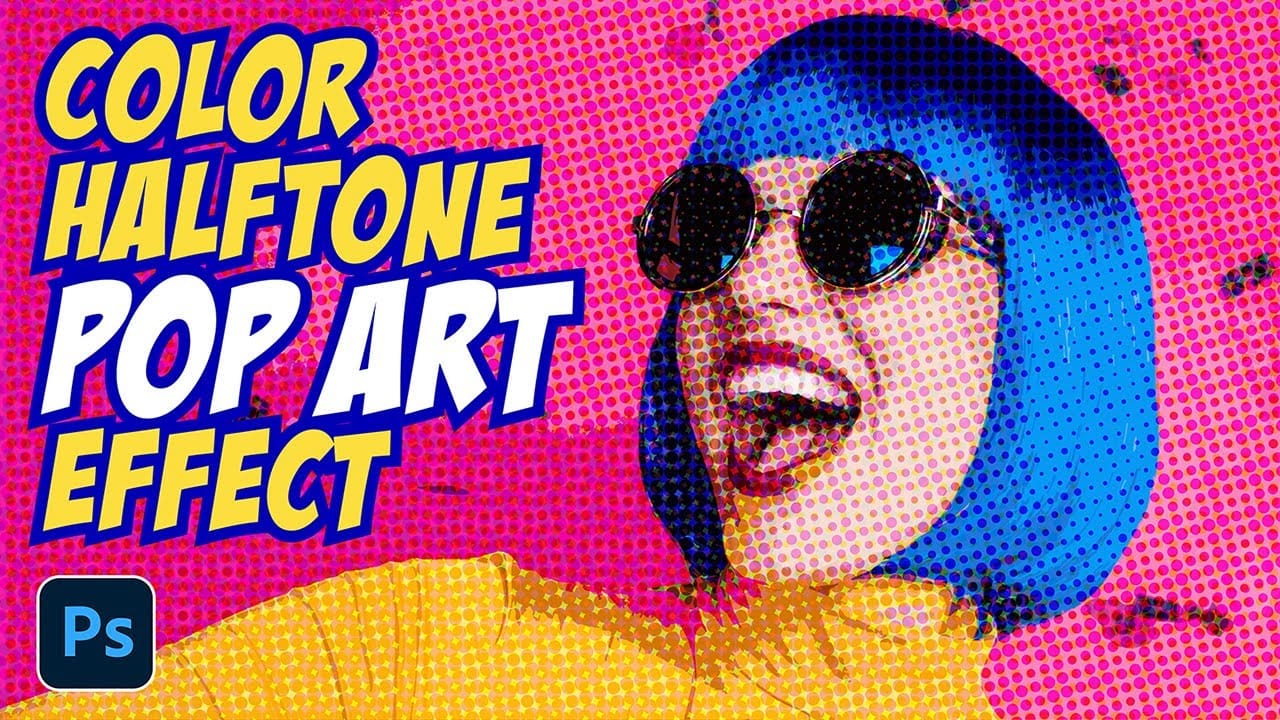
How to Create a Grungy Pop Art Collage with Halftone Effects in Photoshop

How to Create a Grungy Pop Art Collage with Halftone Effects in Photoshop

Pop art collages capture the bold, experimental spirit of 1960s graphic design through layered compositions and striking visual contrasts. This aesthetic combines commercial printing techniques with artistic rebellion, creating designs that feel both nostalgic and contemporary.

This tutorial demonstrates how to build a complete pop art collage from a portrait photograph, incorporating halftone patterns, geometric shapes, and textural elements that define the genre's distinctive look.

Watch the Tutorial

Video by P A N T E R. Any links or downloads mentioned by the creator are available only on YouTube

The Visual Language of Pop Art Collages

Pop art emerged as a direct response to mass media culture, transforming commercial printing techniques into high art. The movement's pioneers like Roy Lichtenstein and Andy Warhol deliberately embraced the mechanical imperfections of commercial reproduction—visible halftone dots, bold color separations, and layered compositions that celebrated rather than concealed their artificial origins.

Modern digital interpretations of this style rely on recreating these same visual elements through filters and layered compositions. The halftone pattern becomes a key design element, while geometric cutouts and contrasting textures add depth and visual interest. Bold color choices and high contrast black-and-white elements create the tension that makes pop art so visually compelling.

The collage aspect introduces another layer of complexity, combining multiple visual languages within a single composition. Paper-like cutouts, drop shadows, and varied textures create a sense of physical depth that mimics the mixed-media approaches favored by pop artists.

Practical Tips for Pop Art Collages

  • Convert your subject to black and white first, then apply the halftone pattern for better control over the final contrast levels
  • Use the Filter Gallery > Sketch > Halftone Pattern with dot settings around 3-5 for optimal visual impact without overwhelming detail
  • Apply halftone effects to a duplicated layer with Darker Color blend mode at 70-80% opacity to preserve underlying colors
  • Create geometric shapes using the Polygonal Lasso Tool and fill with solid colors on separate layers for easy editing
  • Add multiple drop shadows with different colors (gray and colored) to enhance the paper cutout illusion

More Tutorials About Pop Art Effects

Explore additional techniques for creating vintage and pop art-inspired designs in Photoshop.
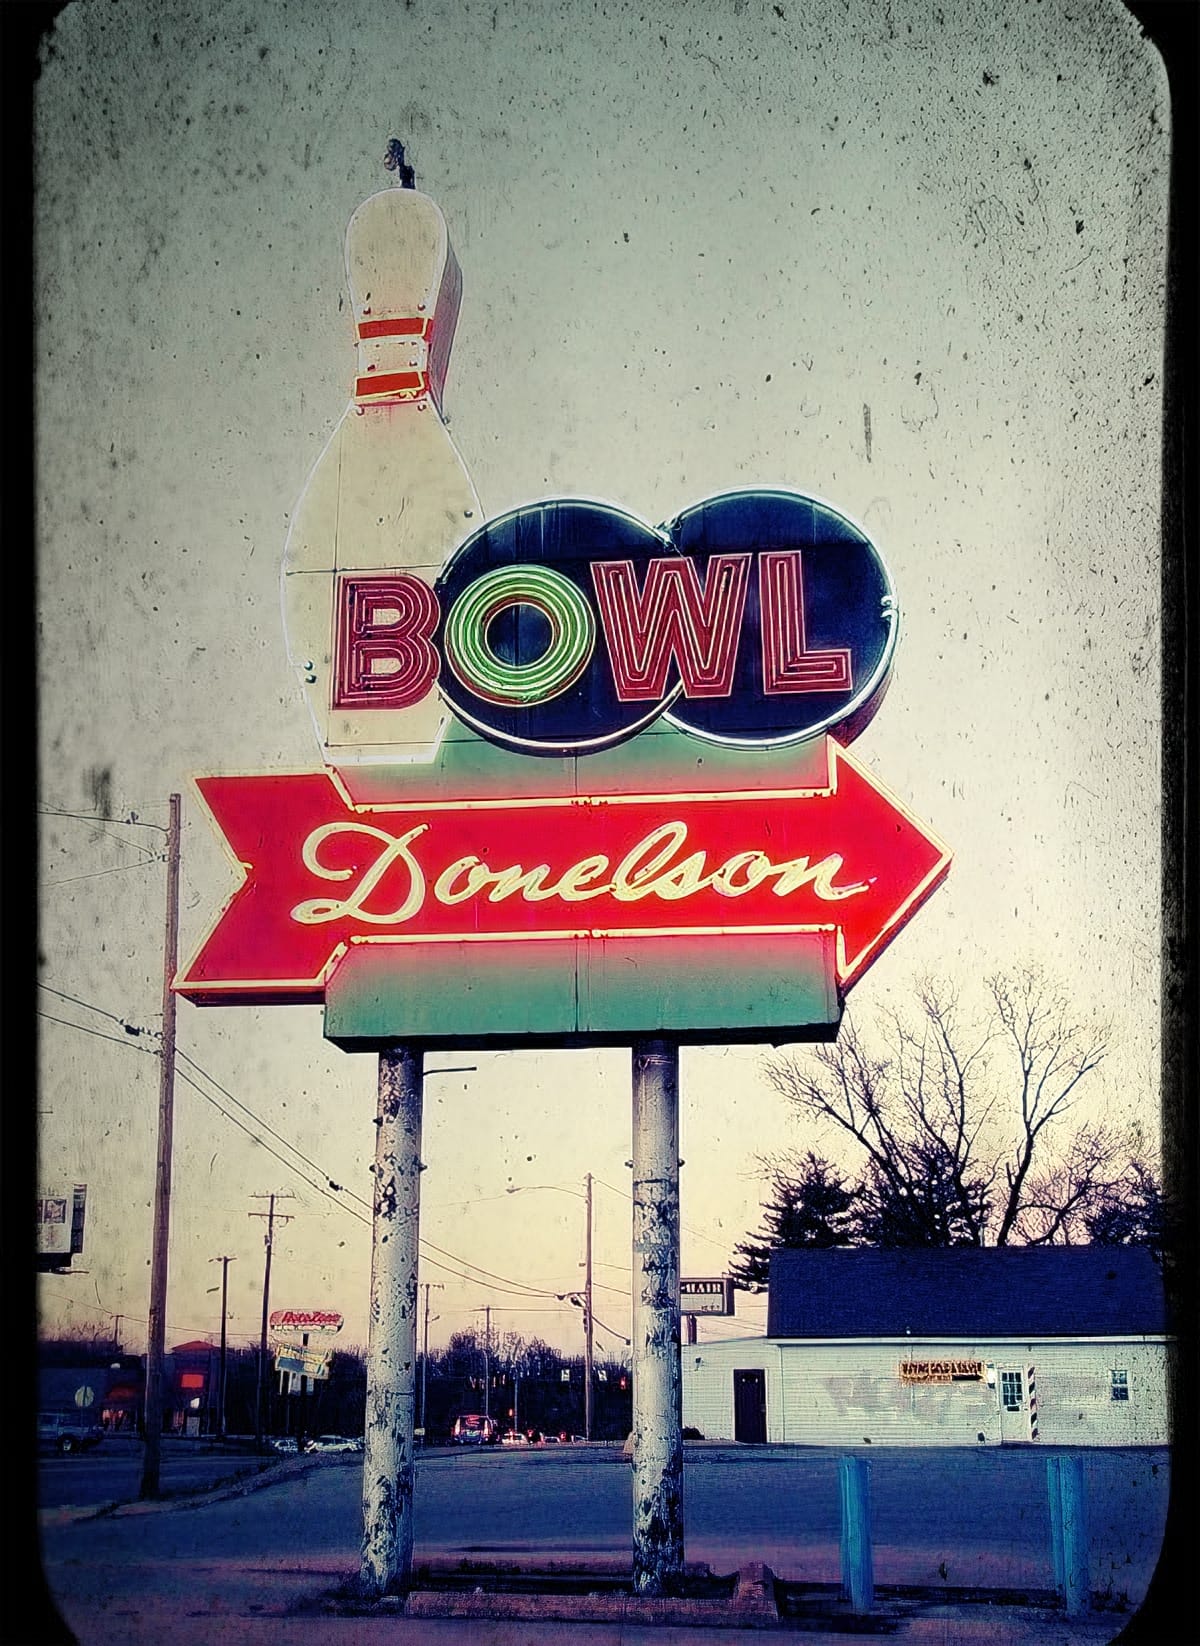
Grunge and Dirty Retro Photo Effect in Photoshop
In this tutorial we are going to learn how to give a grunge dirty retro photo effect to any image in a quick and easy way. For this matter we are going to use the awesome Perfect Effects Free Edition Photoshop plugin, which is, by the way, absolutely free. 👁️This is an older tutorial, and some external links or data sources mentioned may no longer be accessible. However, the content covers a unique topic and remains valuable despite any broken connections. We've kept the post intact for its ed
Create a Retro Pop Art Effect with Color Halftone in Photoshop
Pop art transformed ordinary subjects into bold, graphic statements through vibrant colors and distinctive printing techniques. The movement's signature look came from commercial printing methods, especially the visible halftone dots that created depth and texture in mass-produced images. This video demonstrates how to recreate that iconic aesthetic digitally, combining artistic filters with halftone patterns to achieve the striking visual impact of 1960s pop art posters and comic book illustra
How to make a stylish pop art portrait from a photo in Photoshop
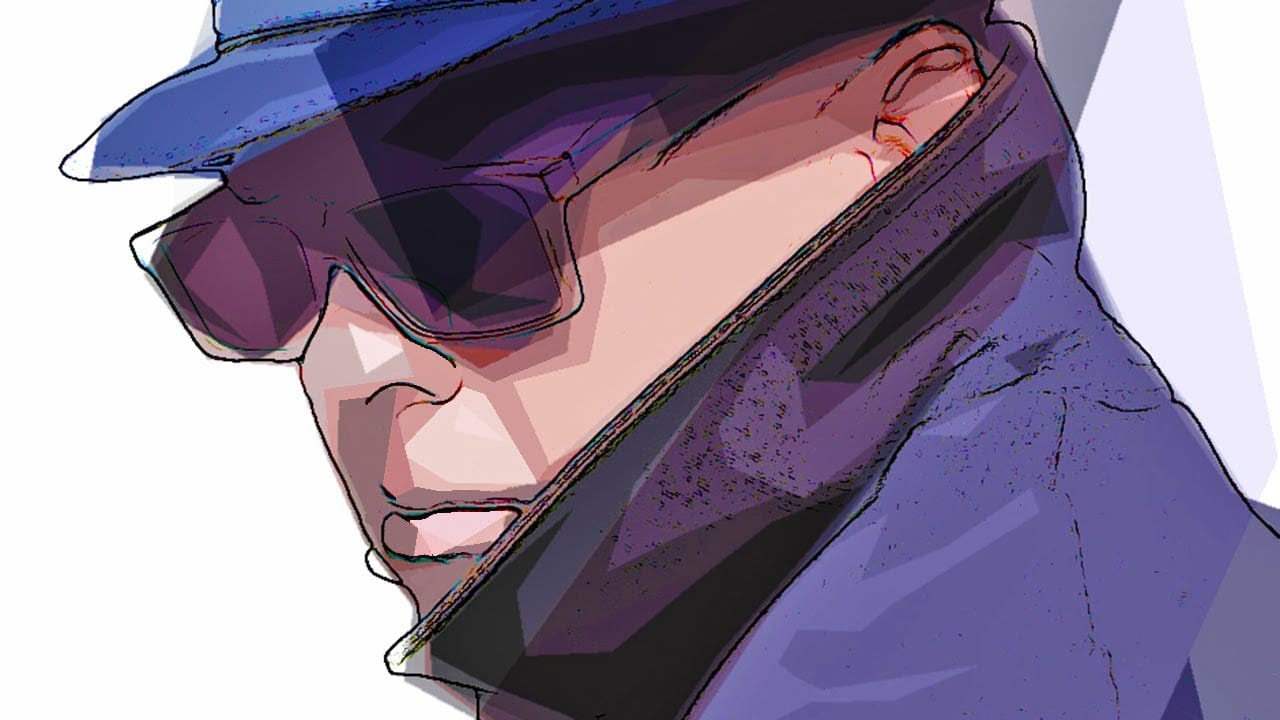
This video explores a creative approach to transforming ordinary photographs into vibrant pop art portraits using Adobe Photoshop. It offers a practical method for achieving a distinctive artistic effect that can be applied to various images. Viewers will learn a streamlined process for applying artistic filters and adjustments, enabling them to achieve a bold pop art style. The tutorial also emphasizes efficient workflow, demonstrating how to replace the source photo without having to redo all
How to Make a Photo Collage in Photoshop
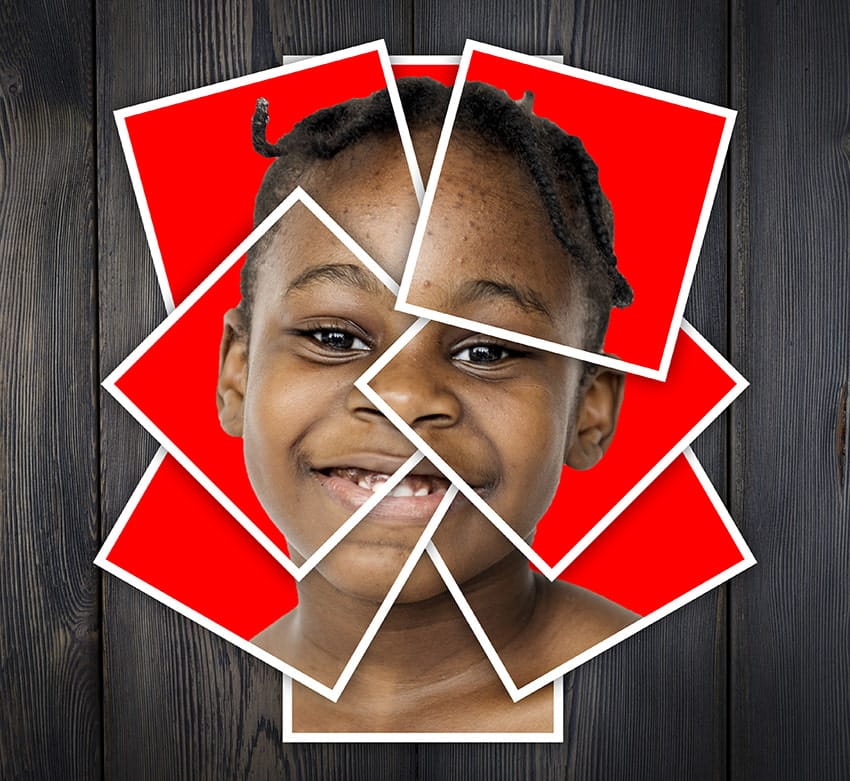
In this tutorial by Envato Tuts, you'll delve into a unique technique for creating photo collages in Photoshop. Rather than assembling a traditional multi-image composition, this approach focuses on crafting a striking portrait using scattered polaroid-style photos. The tutorial guides you through the process of arranging individual snapshots of a young teen girl smiling, each positioned to contribute to a cohesive, unified portrait. This technique is distinct from standard collages as it forms

Get tutorials & freebies delivered to you.

Subscribe to the Photoshop Roadmap newsletter, a weekly roundup of new tutorials, insights and quality downloads, trusted by 6500+ readers.

You might also like

How Photoshop's Enhance Edge Feature Removes Hair Masking Halos

Hair masking has long been one of the most tedious tasks in photo compositing — especially when switching between dark and light backgrounds reveals unwanted halos along the edges. Photoshop's new Enhance Edge feature, available in beta 27.11, offers an AI-powered approach to this problem by generating...

How to Use Quick Compare and Dynamic Layers in Photoshop Beta

Photoshop Beta's latest update introduces two tools worth knowing: a Quick Compare toggle for instant before/after previews, and a Dynamic Layer feature that lets you control AI-generated effects with a simple slider. Together, they streamline how you review edits and apply prompt-based changes like adding...

Retouching Pet Portraits in Photoshop: Cleaning Fur, Eyes, and Fine Details

Pet photos rarely arrive perfectly clean — staining around the eyes, discolored fur near the mouth, and stray hairs are common problems that need fixing before any serious portrait work begins. This workflow covers how to remove those distractions manually using overpaint and fur brushes, then finish with eye enhancement techniques...

Before and After View Plus Dynamic Layers in Photoshop Beta

Photoshop Beta currently includes two features that work quite differently from each other. The first adds a straightforward before-and-after comparison tool directly into the editing workspace — something that sounds simple but solves a real problem when a file already has multiple layers. The second, Dynamic Layers, uses AI...

How to Blend Multiple Exposures for Car Light Trails in Photoshop

Stacking multiple exposures of a night scene lets you capture far more light trail detail than any single shot can deliver. This technique uses the Lighten blending mode to combine a bright base image with several car light trail frames, keeping only the brightest pixels from each layer for a...

You’ve successfully subscribed to Photoshop Roadmap
Welcome back! You’ve successfully signed in.
Great! You’ve successfully signed up.
Success! Your email is updated.
Your link has expired
Success! Check your email for magic link to sign-in.