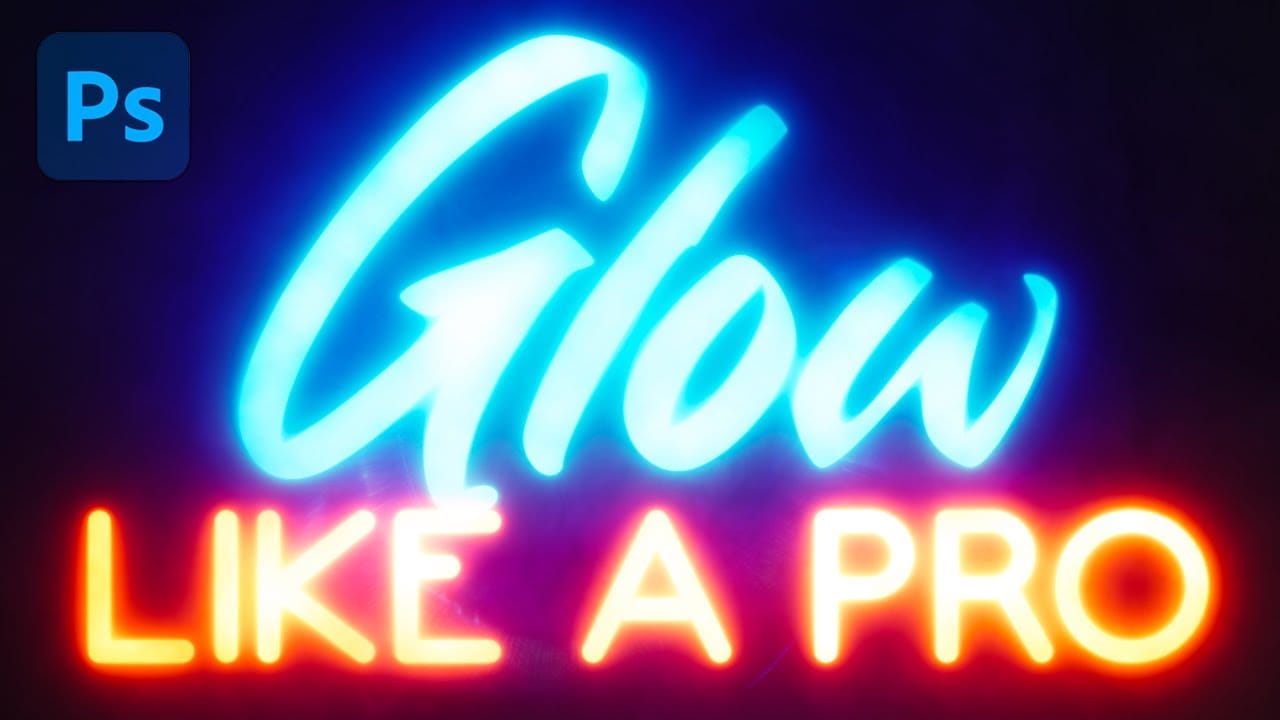
YouTube thumbnails compete for attention in crowded video grids, where bright, eye-catching designs make the difference between clicks and scrolls. Glowing effects transform ordinary portraits into luminous, professional thumbnails that stand out immediately.
This tutorial shows how to add realistic rim lighting, colored gradients, and glowing highlights to create thumbnails that demand attention, even for complete Photoshop beginners.
Watch the Video
Video by Brendan Williams. Any links or downloads mentioned by the creator are available only on YouTube
Essential Tips for Glowing Thumbnails
These key techniques will help you create professional glowing effects that grab viewers' attention:
- Use complementary colors: Blue and orange gradients create maximum contrast and visual impact in thumbnail grids
- Set up proper canvas dimensions: Work with 1280x720 pixels minimum or any 16:9 aspect ratio for YouTube compatibility
- Apply gradient maps with screen blending: Create custom glowing brushes by combining black paint layers with gradient maps and screen blend mode
- Paint rim lighting strategically: Use the Shift key while brushing to create clean, straight highlight lines around subject edges
- Test thumbnail visibility: Zoom out frequently to check how your design looks at actual thumbnail size in video grids
More Tutorials About Glowing Effects
Explore additional techniques for creating luminous effects in your designs.
Use This Photoshop Technique to Boost Your Social Media Views
Creating a photo that captures attention on a busy social media feed is a common challenge. Even with a strong composition, an image can get lost in the noise if it lacks the polished, atmospheric quality that makes viewers stop and look closer. The frustration often lies in knowing what
 Zenzdesign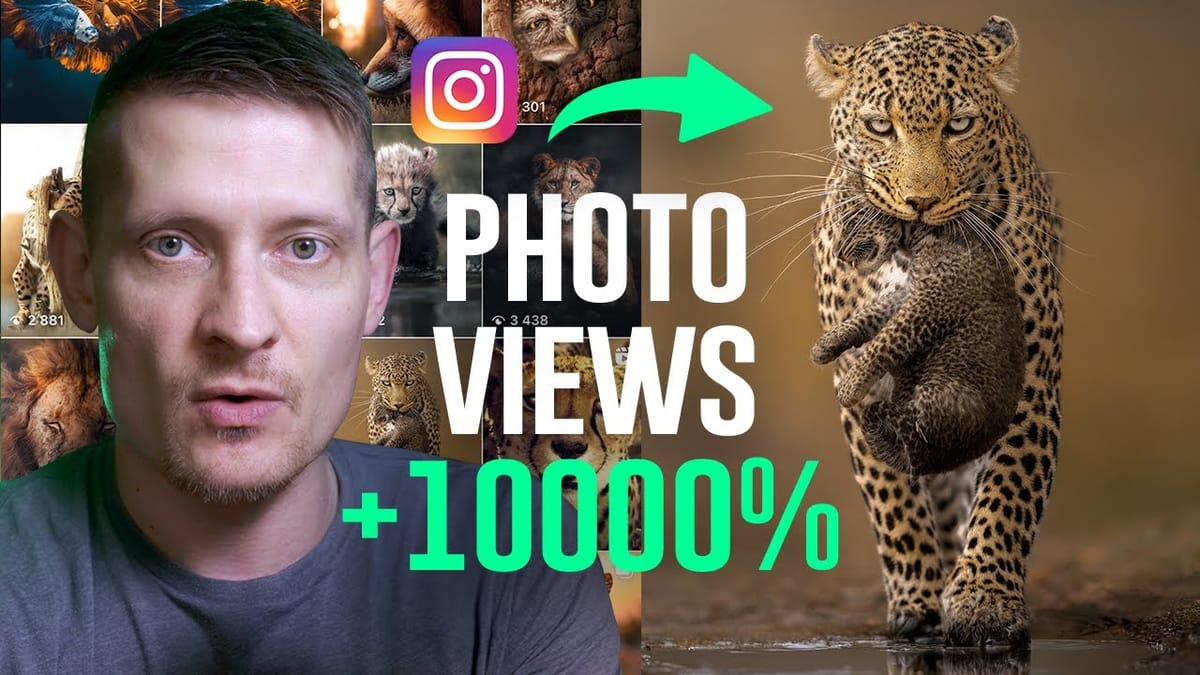
How to Create a Y2K Glowing Effect in Photoshop
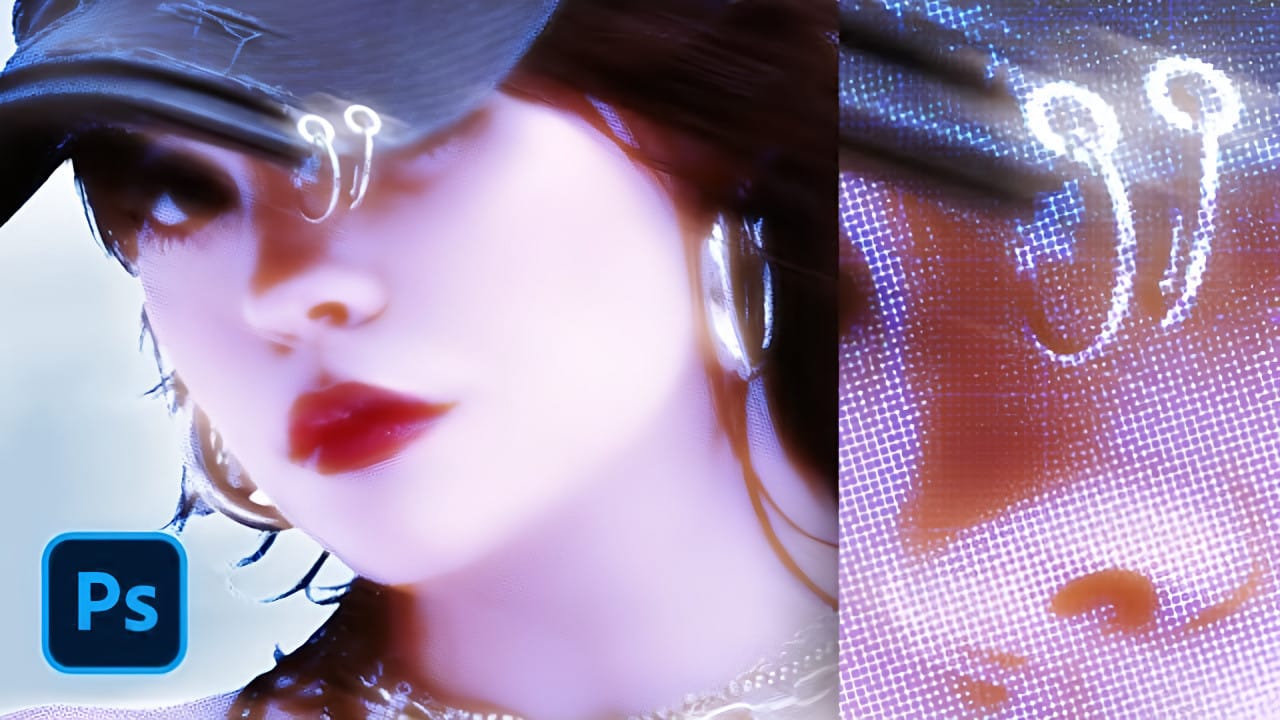
The Y2K aesthetic brings back the futuristic dreams of the late 1990s and early 2000s, with its signature metallic surfaces and electric blue glows. This distinctive visual style captures the era's optimistic vision of digital technology through luminous effects and holographic-inspired colors.
This tutorial demonstrates how to transform any portrait into a glowing Y2K masterpiece using multiple blur techniques, gradient mapping, and strategic layer blending in Photoshop.
Watch the Tutorial
Create the Cinematic Bloom Glow Effect in Photoshop
This guide will walk you through the steps to create a stunning bloom effect using Photoshop and DaVinci Resolve. This technique enhances your highlights, infusing your photos and videos with a cinematic glow that adds a dreamy atmosphere.The bloom effect simulates the appearance of black diffusion filters commonly found
 Zenzdesign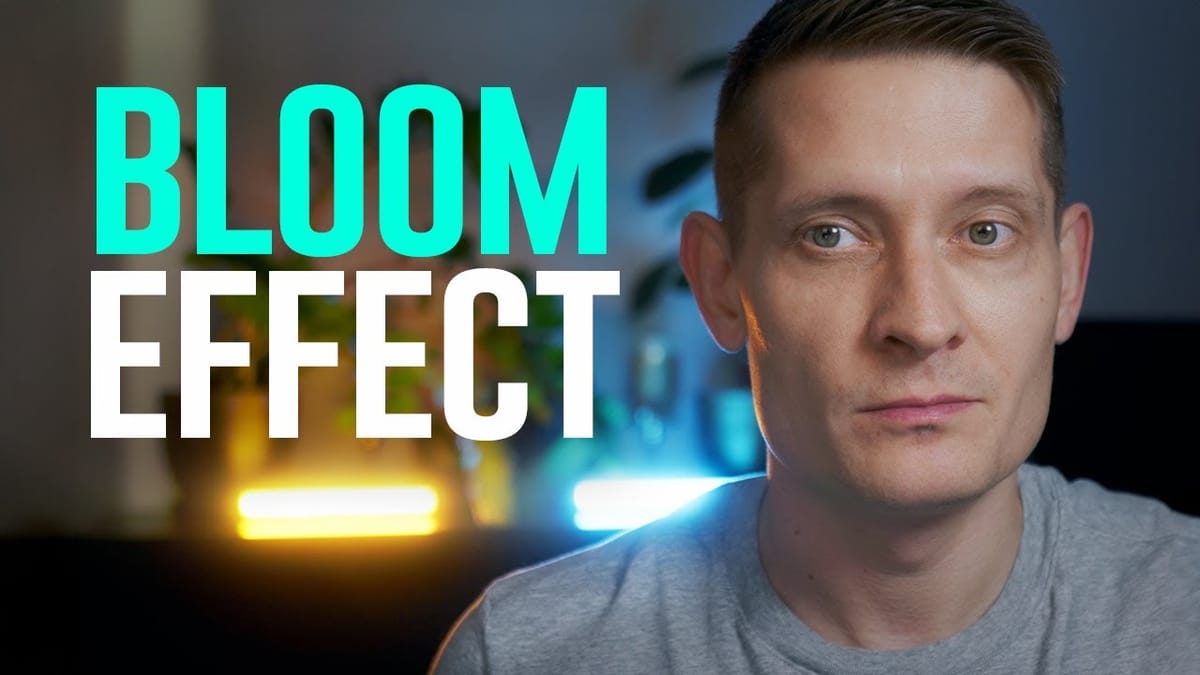
Glowing Text Effect in Photoshop
In this tutorial from TextureLabs, you'll learn a technique to enhance the Outer Glow effect in Photoshop for more realistic results on text and logos.
The tutorial offers a straightforward approach to create a vibrant and lifelike glow that surpasses the traditional flat appearance. Additionally, TextureLabs encourages applying the same technique to photographs to achieve glowing effects, expanding the tutorial's application beyond text and logos.
This tutorial is ideal for those looking to e