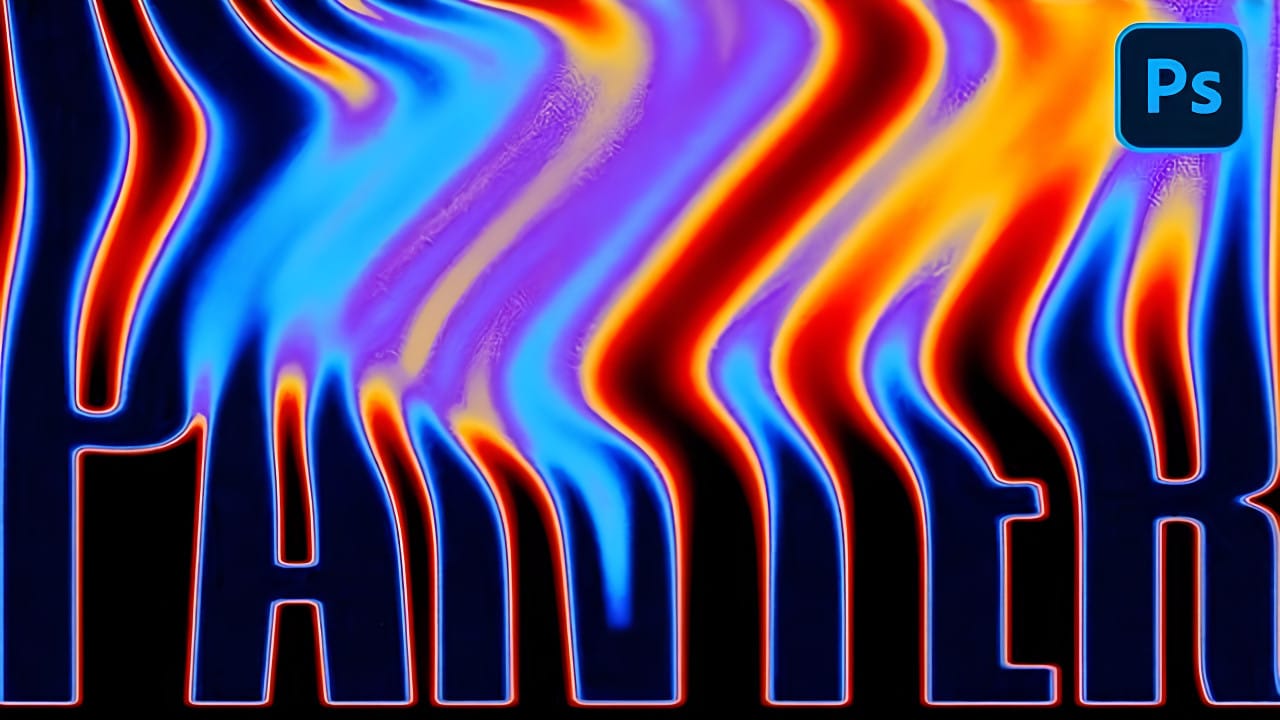
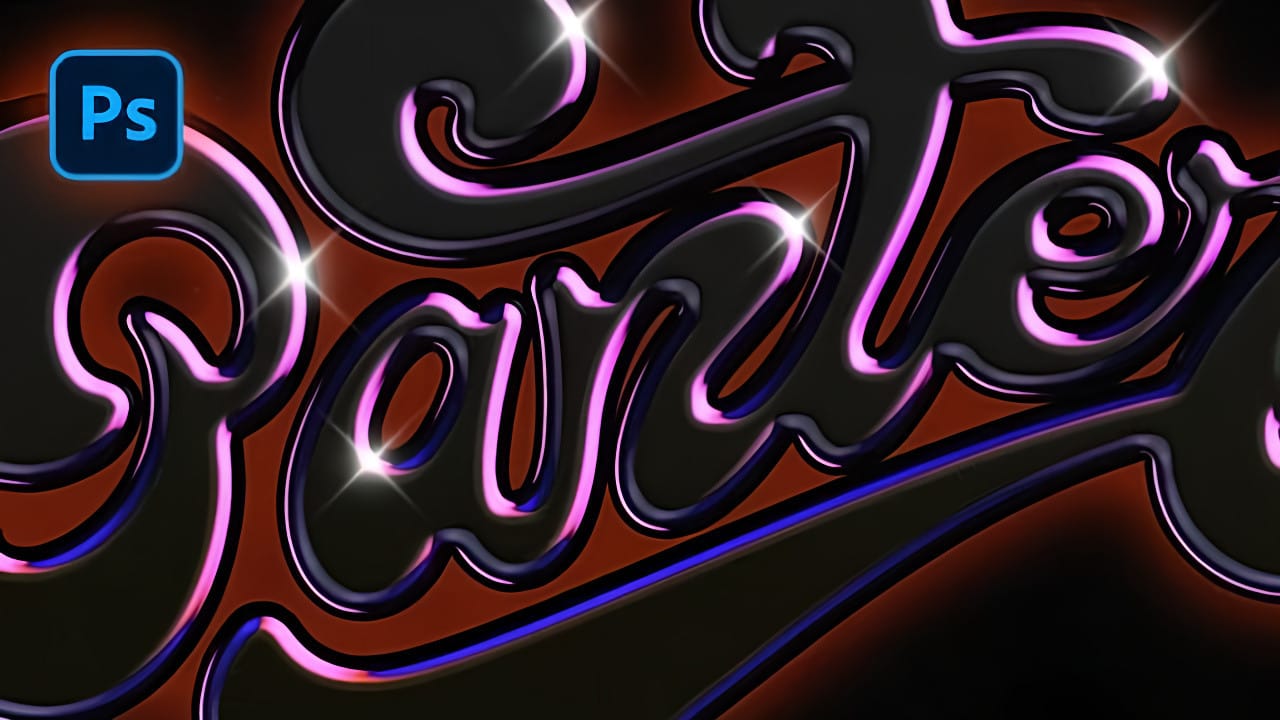
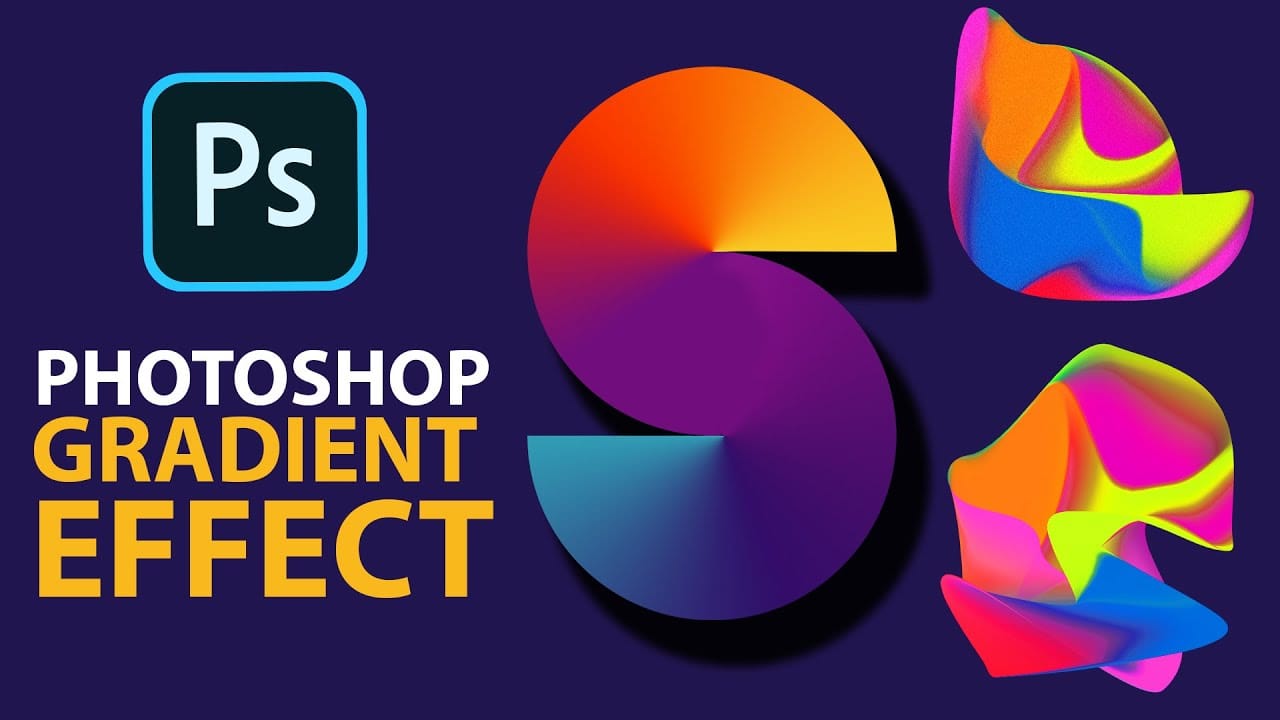
How to Create Gradient Chrome Text Effect in Photoshop

How to Create Gradient Chrome Text Effect in Photoshop

Chrome effects elevate text from ordinary typography into polished, metallic masterpieces that command attention. The reflective surfaces and dimensional depth create that premium look perfect for modern logos, eye-catching headlines, and promotional graphics that need to stand out.

This technique demonstrates how to build realistic chrome text using gradient overlays, strategic layer effects, and color adjustments to achieve a sophisticated metallic finish with vibrant rainbow reflections.

Watch the Tutorial

Video by P A N T E R. Any links or downloads mentioned by the creator are available only on YouTube

Understanding Chrome Text Effects in Digital Design

Chrome effects rely on the interplay between light reflection and dimensional depth to create convincing metallic surfaces. The key lies in building layers of highlights, shadows, and color transitions that mimic how light bounces off polished metal.

The diamond gradient style creates the characteristic chrome reflection pattern, while curve adjustments enhance contrast to achieve that mirror-like quality. Adding colorful gradients through gradient maps transforms basic chrome into vibrant, rainbow-tinted metal surfaces.

  • Bevel and emboss effects create the initial dimensional foundation
  • Diamond gradient overlays generate realistic reflection patterns
  • Curve adjustments enhance metallic contrast and depth
  • Gradient mapping introduces vibrant color transitions
  • Noise textures add surface detail and realism

Practical Tips for Chrome Text Effects

  • Use condensed or bold fonts for better visibility of metallic effects and dimensional details
  • Set diamond gradient style to zero angle with 150% scale for optimal reflection distribution
  • Apply strong curve adjustments with raised highlights and lowered shadows for maximum metallic contrast
  • Add colorful gradient map handles progressively from yellow to green to purple for smooth transitions
  • Include subtle noise overlay at 16-20% with unchecked monochrome for realistic surface texture

Explore more chrome and metallic text techniques for your design projects.
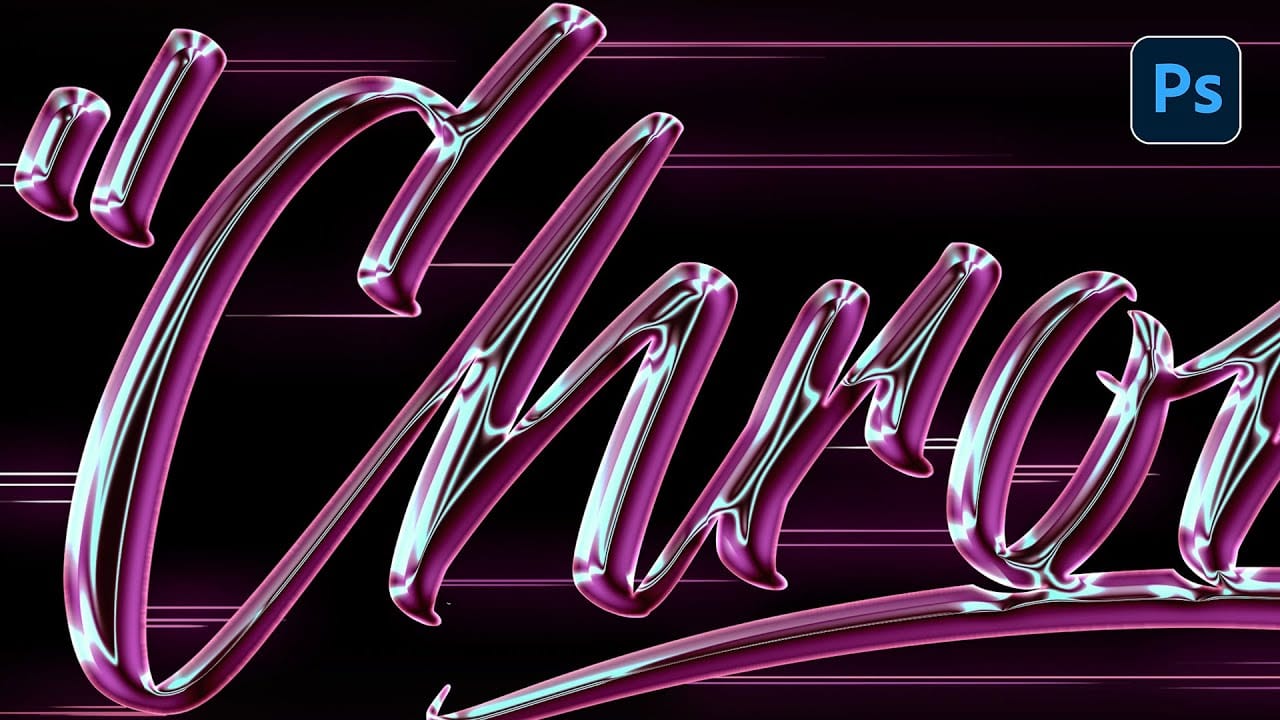
Electric chrome text effect Photoshop Tutorial
In this tutorial by Angelo Konofaos, you'll learn how to create an electric chrome text effect in Adobe Photoshop. Using blending options and adjustment layers, the tutorial guides you through the process of transforming text into a sleek chrome finish that radiates a vibrant, electric feel. Perfect for adding a futuristic touch to your designs, this tutorial teaches you some interesting techniques to achieve polished and eye-catching text effects that grabs the attention. Watch tutorial
Create Liquid Gradient Text Effect in Photoshop
Liquid text effects transform ordinary typography into flowing, organic shapes that seem to move across the page. This dynamic style captures the fluid properties of water, paint, or molten materials, creating text that appears to drip, flow, or splash. The technique combines shape manipulation with blur effects and gradient mapping to achieve a smooth, liquid appearance that works particularly well for creative projects, digital art, and modern branding applications. Watch the Video Unders
How to Create a Dark Chrome Text Effect in Photoshop Using Advanced Layer Styles
Chrome effects transform ordinary text into polished, metallic masterpieces that command attention. The reflective surfaces and dimensional depth create that premium, high-end look perfect for logos, headlines, and promotional graphics. This tutorial demonstrates a layered approach using multiple bevel and emboss effects, strategic color choices, and gradient overlays to build realistic chrome text with a dark, sophisticated finish. Watch the Tutorial Understanding Chrome Text Effects in Di
Cerate Stunning Gradient Effects in Photoshop
In this Photoshop tutorial, Trish from Quistt Photoshop demonstrates how to create stunning colorful gradients. This technique is perfect for enhancing lettering designs and art posters. Follow along to learn how to apply vibrant gradients that will make your designs pop. Trish walks you through the process of using gradient tools and adjustment layers to craft beautiful, seamless transitions of color. You'll discover how to use gradients to add depth and dimension to your designs, making them

Get tutorials & freebies delivered to you.

Subscribe to the Photoshop Roadmap newsletter, a weekly roundup of new tutorials, insights and quality downloads, trusted by 6500+ readers.

You might also like

Painting Digital Art Backgrounds: Techniques and Workflow

A well-crafted background can anchor an entire digital painting, providing atmosphere, depth, and visual context for the subject. This video demonstrates practical approaches to building backgrounds from scratch using digital tools, covering brush selection, color layering, and compositional thinking. Watch the Video Practical Tips Keep these core principles in...

How to Use the Light Adjustment Layer in Photoshop

Photoshop's new Light adjustment layer brings Camera Raw controls — exposure, contrast, highlights, shadows, whites, and blacks — directly into the layers panel as a fully non-destructive, maskable layer. This means you can stack multiple light adjustments, target specific subjects, and combine them with Blend If and other adjustment...

How to Use Object Selection, Remove Background, and the Selection Brush in Photoshop

Selections determine the quality and flexibility of almost every edit you make in Photoshop. Three modern tools — the Object Selection tool, Remove Background with Harmonize, and the Selection Brush — handle the most common selection tasks with far less manual effort, while keeping your original image intact through non-destructive layers....

How to Paint a Digital Background and Composite Wildlife Into It

Building a painted digital background from scratch gives you full control over color, mood, and composition before a single wildlife photo is placed. This walkthrough covers the complete process: blocking in shadows on a black canvas, layering foliage with textured brushes, positioning bird subjects on hand-painted stones, and using...

How to Sharpen Skin Texture Using Frequency Separation in Photoshop

Retouched skin can look great up close but lose all its natural texture the moment you zoom out. Rather than relying on standard sharpening filters, you can recover that texture by duplicating the high-frequency layer inside a frequency separation setup — a method that works whether or not you'...

You’ve successfully subscribed to Photoshop Roadmap
Welcome back! You’ve successfully signed in.
Great! You’ve successfully signed up.
Success! Your email is updated.
Your link has expired
Success! Check your email for magic link to sign-in.