How to Create Natural Glow and Highlights Using Blend If in Photoshop

How to Create Natural Glow and Highlights Using Blend If in Photoshop

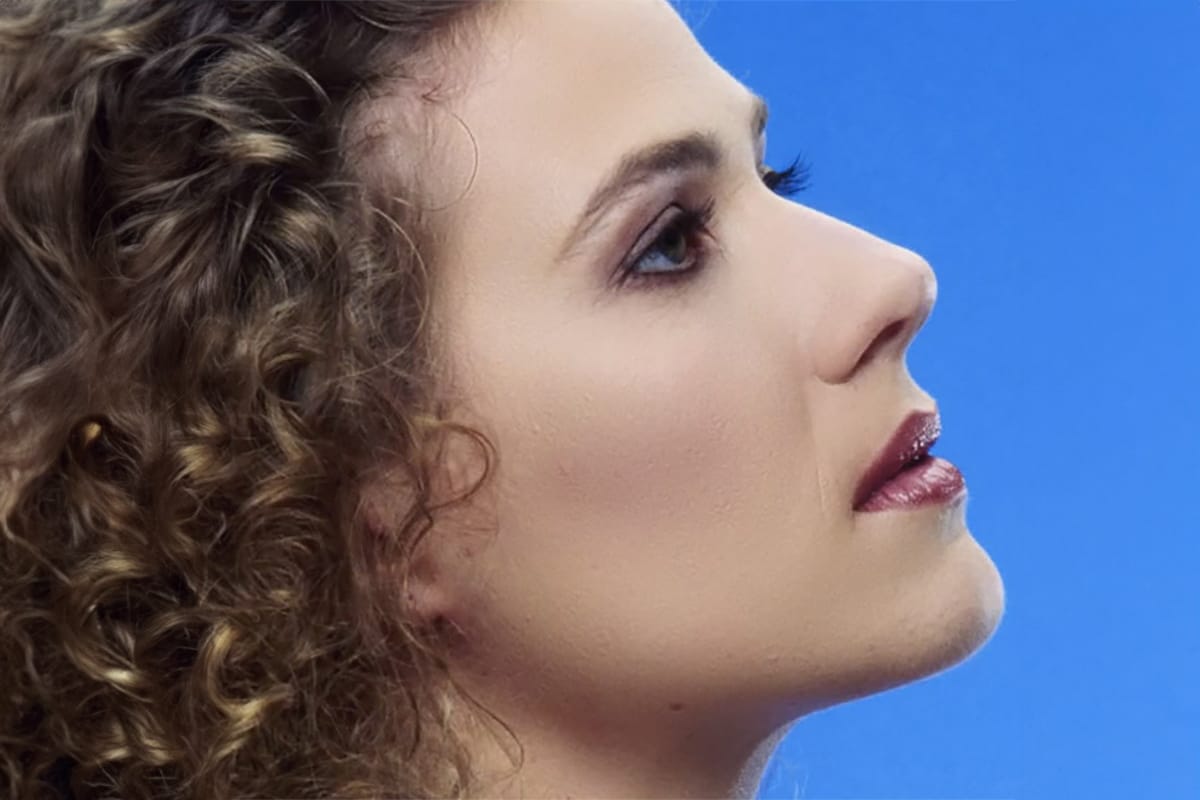
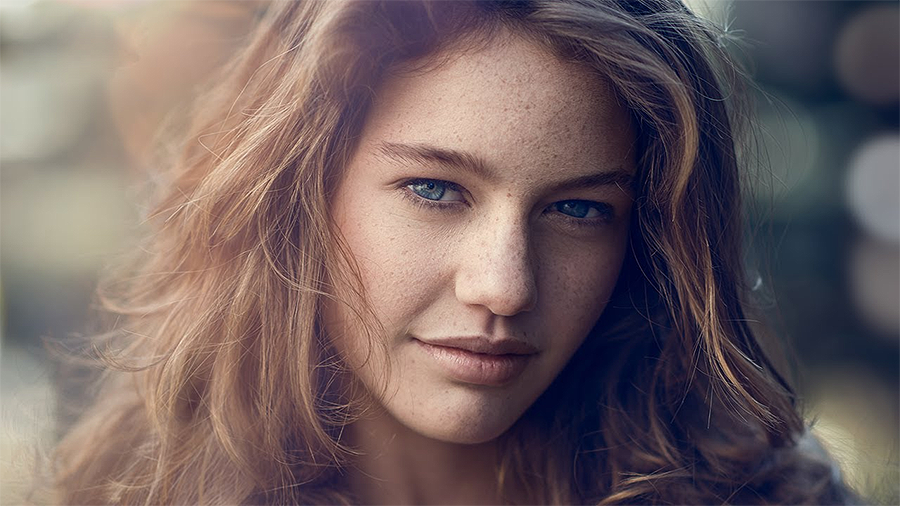
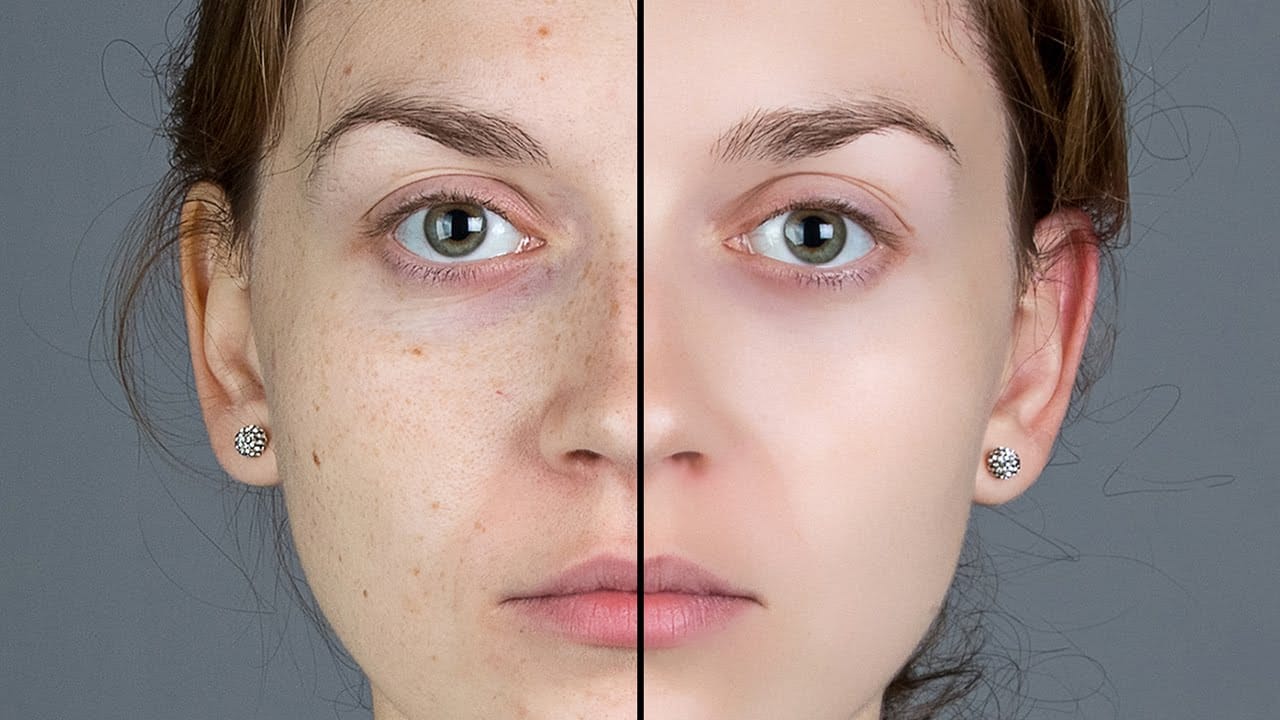
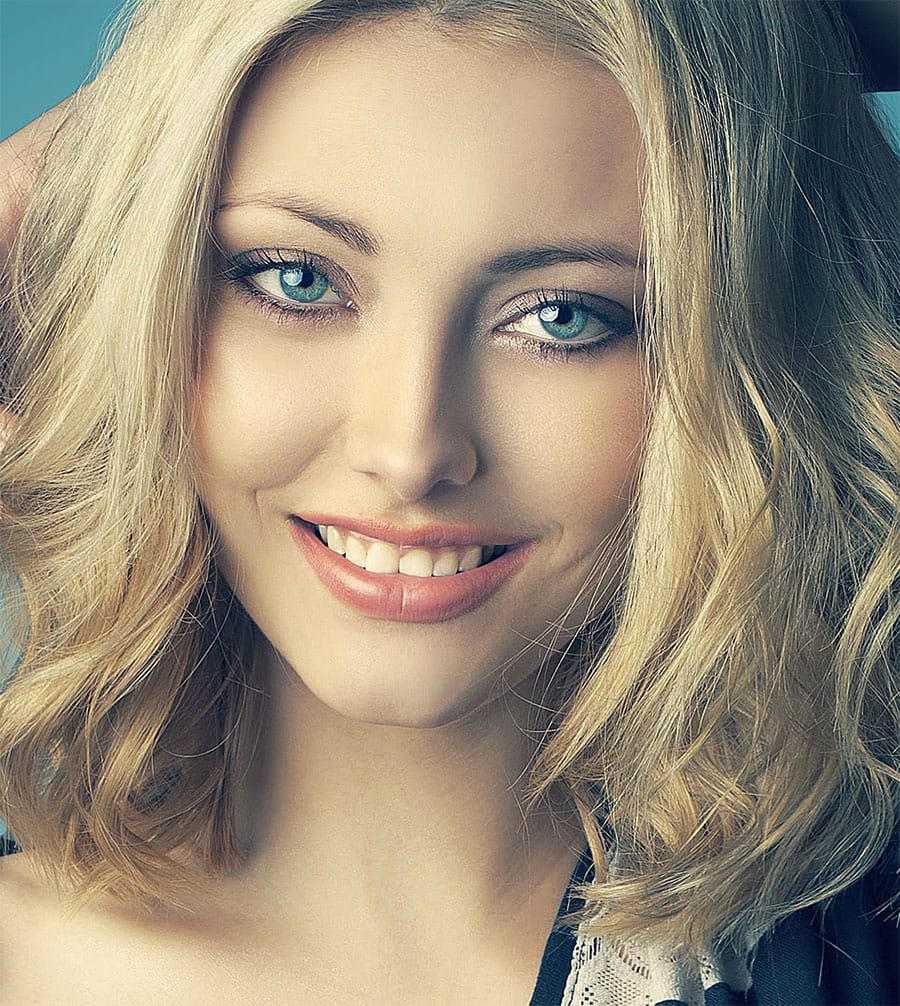
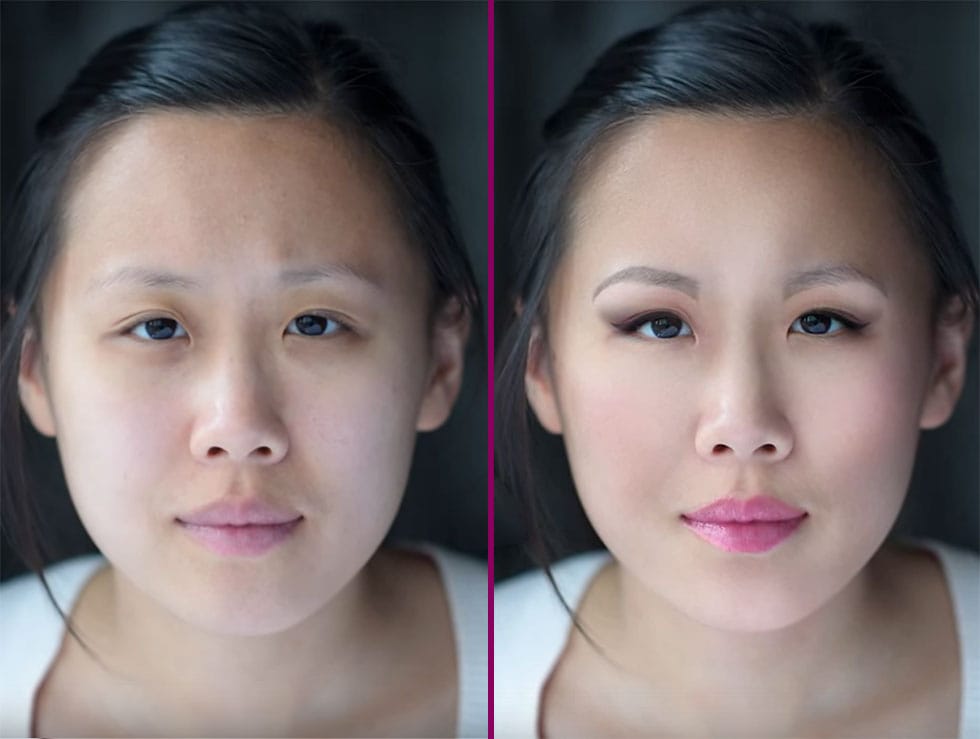
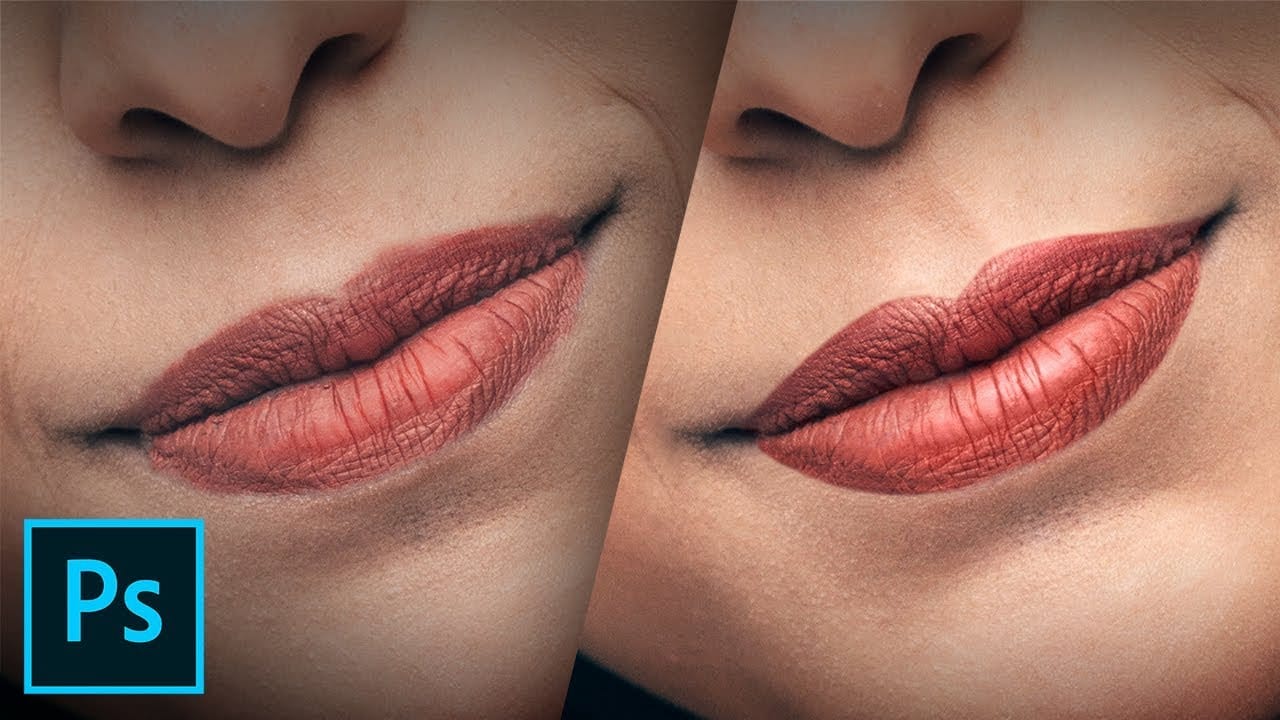
Creating natural-looking highlights and skin glow in portraits requires techniques that enhance existing light rather than adding artificial effects. The Blend If feature in Photoshop offers precise control over how highlights appear, targeting only the brightest areas of your image while preserving natural skin texture.

This method works by selectively applying adjustments based on the underlying tonal values, ensuring that enhancements only affect areas where highlights would naturally occur. The result is a healthy, luminous appearance that maintains the authenticity of your original photograph.

Watch the Video

Video by Vera Change. Any links or downloads mentioned by the creator are available only on YouTube

Practical Tips

These key techniques will help you achieve natural-looking highlights that enhance rather than overwhelm your portraits:

  • Create separate layers for different facial areas like eyes, lips, and cheeks to control blend settings independently for each region
  • Hold Alt while splitting the Blend If slider points to create smooth transitions that prevent harsh edges in your highlight effects
  • Use layer masks with black brushes to selectively remove highlights from areas that are already well-lit, maintaining balanced exposure
  • Start with overexposed curves adjustments, then use Blend If to make the effect appear only in naturally bright areas
  • Apply selective color adjustments to whites with negative black values, then blend using underlying layer settings for realistic glow

Explore these beauty retouching tutorials to enhance your portrait editing skills with professional techniques.

Natural Skin Smoothing in Photoshop
Professional beauty retouching demands techniques that smooth skin while preserving natural texture. This advanced method combines inverted layers with Vivid Light blend mode to create seamless skin enhancement without the artificial "plastic" look common in over-processed images. The technique works by canceling out layer information through inversion, then selectively applying blur and sharpening filters to reconstruct realistic skin texture while eliminating blemishes and color irregularitie
Natural outdoor portrait retouching in Photoshop
This tutorial guides you through the complete process of achieving a natural outdoor portrait retouch in Adobe Photoshop. You will learn essential techniques to enhance your portraits while maintaining their authentic feel. Starting with fixing hair, you'll discover how to tidy up those stray strands effectively. The tutorial then moves on to smoothing skin, teaching you to use frequency separation, which helps preserve texture while improving the overall look. You'll also explore methods for
Smooth Skin and Remove Blemishes and Scars in Photoshop
Achieving flawless skin in portraits often requires careful retouching to enhance natural beauty without sacrificing detail. This tutorial demonstrates a reliable Photoshop workflow for refining skin texture and addressing common imperfections. Viewers will discover how to efficiently smooth skin texture, eliminate blemishes and scars, and precisely restore important facial features like eyes and lips, ensuring a natural and polished outcome. Watch the Tutorial The Principles of Natural Ski
Easy Beauty Retouching in Photoshop
In this comprehensive Photoshop tutorial by PSD Box, you'll explore various fashion retouching techniques. Learn how to paint realistic hair, retouch skin, and much more. This tutorial is ideal for photographers looking to enhance their studio or fashion portraits, as well as anyone interested in mastering retouching skills in Photoshop. Whether you're a professional or a hobbyist, these techniques will help you create stunning, polished images. Enhance your retouching expertise and elevate th
Complete Makeup Retouching in Photoshop
In the four-video tutorial series by Impossible Color, viewers can learn the basics of applying digital makeup to their photos in Photoshop. The first video teaches how to smooth out the skin without creating a fake, blurry, or plastic look, keeping the natural pores and details of the skin while removing blemishes and other imperfections. The second video in the series focuses on shaping the face with natural-looking contours and highlights without losing any of the detail. This technique is
Enhanced Beauty Retouching Techniques
In this video tutorial by Andrei Oprinca from PSDBox, learn basic beauty retouching techniques to enhance a portrait image. You'll discover how to clear blemishes, apply makeup, and enhance features like the eyes and lips. Additionally, the tutorial goes beyond standard retouching by demonstrating how to add glamour to your portrait with eyelid jewels using stock images. Perfect for anyone looking to improve their portrait editing skills and add a touch of elegance to their images. Watch tuto
How to Create Beautiful Lips in Photoshop with Professional Techniques
Transform ordinary lip photos into stunning, polished portraits using a proven four-step method that combines cleaning, shaping, dodging and burning, and adding strategic shine. This comprehensive approach removes distractions while enhancing natural beauty, creating lips that look clean, dimensional, and professionally retouched. The technique uses curves adjustment layers and masking to build up brightness and shadows gradually, giving you complete control over the final result while maintain
Photoshop Basics: Three Ways to Use Blend If
Photoshop's Blend If feature is a powerful yet often underutilized tool for integrating multiple images. It unlocks creative possibilities, allowing elements to blend naturally without harsh edges or artificial-looking transitions. This method goes beyond basic opacity adjustments, offering precise control over how layers interact based on their tonal values. This video tutorial provides a clear guide on leveraging Blend If to achieve professional results. It demonstrates how to seamlessly merg
Recover completely lost details in highlights in Photoshop
In the tutorial by PiXimperfect, the author explores a simple Photoshop trick to "recover" details in an image with overexposed and blown-out highlights. The tutorial focuses on using two key ingredients: a reference texture image and a blend mode. The author explains that by utilizing a reference texture and applying the Multiply blend mode, you can effectively cover up the areas with no visible details, effectively "saving the day" and restoring the lost information. The tutorial provides a s
How to make colors pop in Photoshop
Selective color enhancement transforms dull photographs into vibrant, dramatic images by targeting specific areas like hair, skin, eyes, and clothing. This non-destructive approach uses precise selections and adjustment layers to boost colors naturally. The technique creates professional results by treating each element separately, allowing you to enhance blue sweaters, brighten eyes, warm skin tones, and intensify hair colors without affecting the entire image. Watch the Tutorial Practical

Get tutorials & freebies delivered to you.

Subscribe to the Photoshop Roadmap newsletter, a weekly roundup of new tutorials, insights and quality downloads, trusted by 6500+ readers.

You might also like

How to Create Digital Collages Using Layers and Blend Modes in Photoshop

Digital collages combine multiple images through strategic layering and blending techniques to create compelling visual stories. This beginner-friendly approach demonstrates how to build complex compositions by layering textures, portraits, and objects while using blend modes to seamlessly integrate each element. The process focuses on practical workflow techniques including smart object...

Building Complex Composites Using Generative Fill and Layer Blending

Complex surreal composites require more than just combining random images. The key to professional results lies in systematic layering, consistent masking techniques, and building a reusable library of generated elements. This approach transforms scattered AI-generated content into cohesive artistic visions. The tutorial demonstrates how to deconstruct an existing composite to...

How to Add Any Face to Mount Rushmore Using Photoshop and AI

Adding faces to Mount Rushmore creates striking digital art that combines portrait photography with AI-powered stone carving effects. This technique uses generative AI to transform any portrait into a realistic granite sculpture that matches the lighting, texture, and monumental style of the famous presidential memorial. The process combines traditional selection...

Creating Floral Wreath Overlays in Photoshop

Floral overlays transform ordinary portraits into magical compositions perfect for pet photography, baby portraits, and creative projects. This technique shows you how to build custom floral wreaths using AI-generated base elements and real floral PNG files, creating frames that can hold any subject in the center. The process combines symmetry...

Concept Development and Mood Boarding with Firefly Boards for Fashion Design

Fashion design concept development traditionally requires gathering inspiration from multiple sources, creating mood boards, and iterating through ideas before presenting to clients. Firefly Boards streamlines this entire workflow into a single workspace where you can source inspiration, generate new variations through AI remixing, and organize final concepts into professional presentations....

How to Use Dynamic Text Shapes in Photoshop

The Dynamic Text tool introduced in 2025 was revolutionary for automatic text sizing and layout, but 2026 brings an exciting update that adds shape options to this powerful feature. You can now create circular text, arches, and bow configurations with the same intelligent resizing capabilities that made the original tool...

You’ve successfully subscribed to Photoshop Roadmap
Welcome back! You’ve successfully signed in.
Great! You’ve successfully signed up.
Success! Your email is updated.
Your link has expired
Success! Check your email for magic link to sign-in.