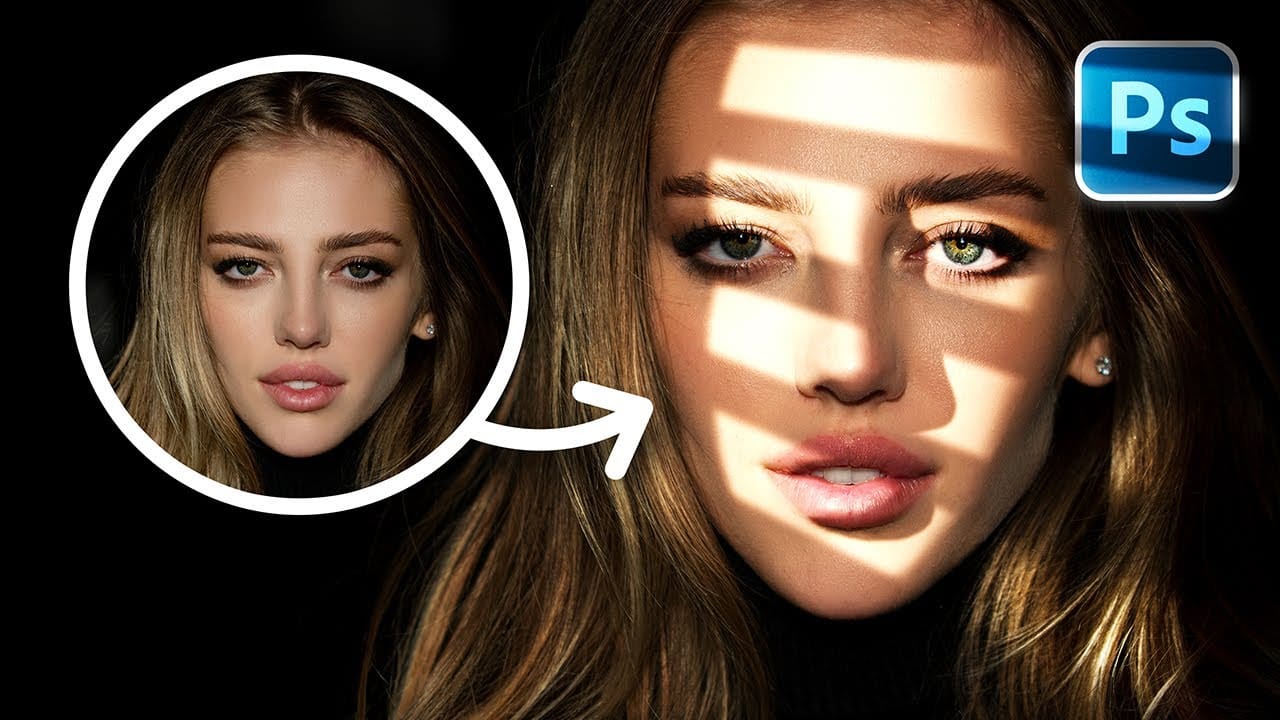
Professional studio portraits achieve their dramatic impact through carefully controlled lighting that creates striking contrast between subject and background. This technique transforms ordinary photos into compelling black and white portraits by using the existing highlights and shadows in your image to blend seamlessly with a dark background.
The method relies on blend modes and selective masking to isolate your subject while maintaining natural-looking transitions. No expensive studio equipment required—just a photo with decent contrast and these essential editing steps.
Watch the Video
Video by Brendan Williams. Any links or downloads mentioned by the creator are available only on YouTube
Practical Tips
Master these essential techniques for creating professional-looking studio portraits from regular photos.
- Start with images that have natural highlights and shadows—the contrast will determine how well your subject separates from the black background
- Hold Alt/Option while dragging the Blend If sliders to split them and create smooth transitions instead of harsh edges
- Use inverted layer masks on your curves adjustments to paint contrast selectively with a soft brush at 50% opacity
- Apply clipping masks to your adjustment layers so contrast changes only affect the subject, not the background
- Refine the Blend If settings after adding contrast adjustments to bring back any lost subject details
Related Articles and Tutorials
Explore more advanced portrait editing techniques and creative black and white effects.