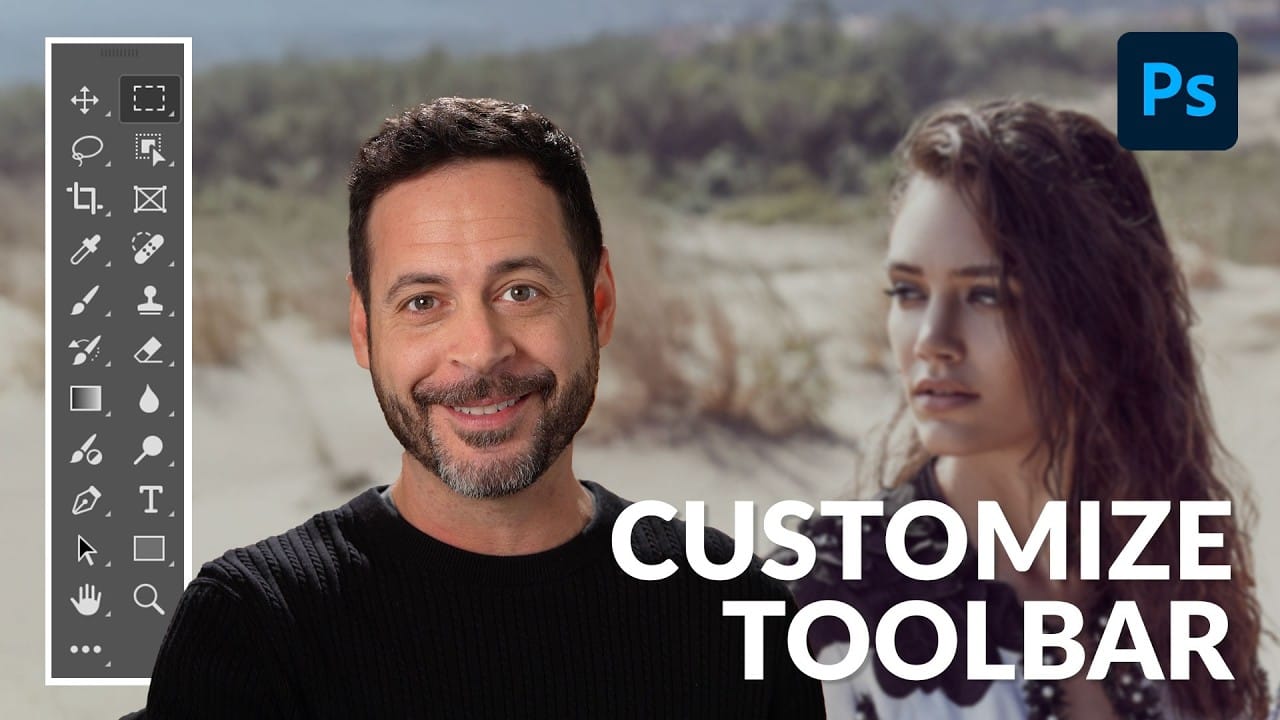
A cluttered workspace can slow down even the most experienced Photoshop user. With dozens of panels, tools, and windows competing for screen space, the default interface often includes features you rarely use while hiding the ones you need most.
This tutorial demonstrates how to organize your Photoshop workspace to match your specific workflow. You'll learn to remove unnecessary panels, arrange essential tools, and create custom workspace presets for different types of projects.
Watch the Tutorial
Video by PHLEARN. Any links or downloads mentioned by the creator are available only on YouTube
The Psychology of Workspace Design
Photoshop's default workspace follows a design philosophy of comprehensive access — every tool and panel is available from the start. This approach ensures that new users can discover features, but it creates visual noise that can overwhelm focused creative work.
Professional workflows benefit from progressive disclosure, where only the most relevant tools remain visible during specific tasks. Photo retouchers need constant access to layers, adjustments, and properties panels, while digital painters might prioritize brushes, colors, and navigator windows. The key lies in identifying which panels you access multiple times per session versus those you use occasionally.
Custom workspaces also reduce cognitive load by eliminating decision fatigue. When your essential tools occupy consistent positions, muscle memory develops naturally, allowing you to focus on creative decisions rather than interface navigation.
Practical Tips for Workspace Organization
- Start by removing panels you rarely use — drag tabs out and close them to create more space for frequently accessed tools
- Group related panels together using drag-and-drop, such as combining Properties and Adjustments for photo editing workflows
- Use the compact view (collapse panels) to organize window arrangements more easily, then expand when satisfied with the layout
- Create multiple workspace presets for different project types — photo editing, typography, or digital painting each benefit from unique panel arrangements
- Lock your workspace once organized to prevent accidental panel movements, while still allowing height adjustments between grouped windows
More Tutorials about Photoshop Workspace
These related articles explore additional workspace optimization techniques.