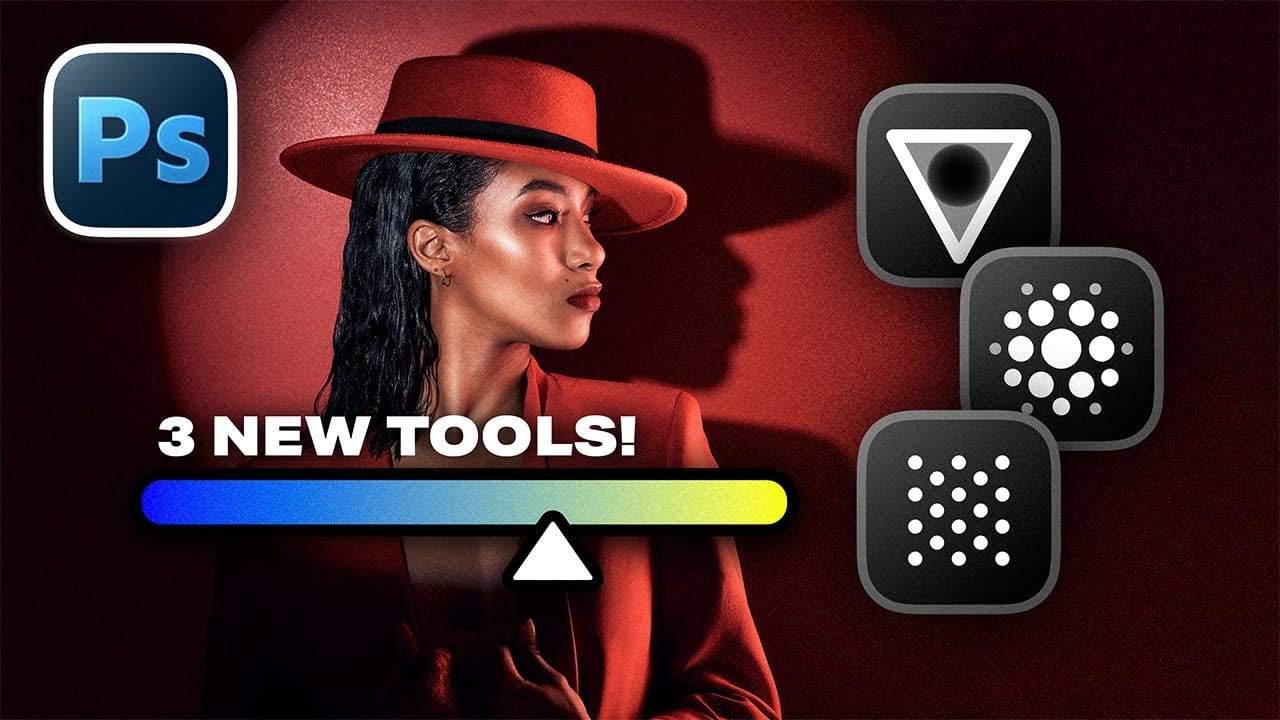
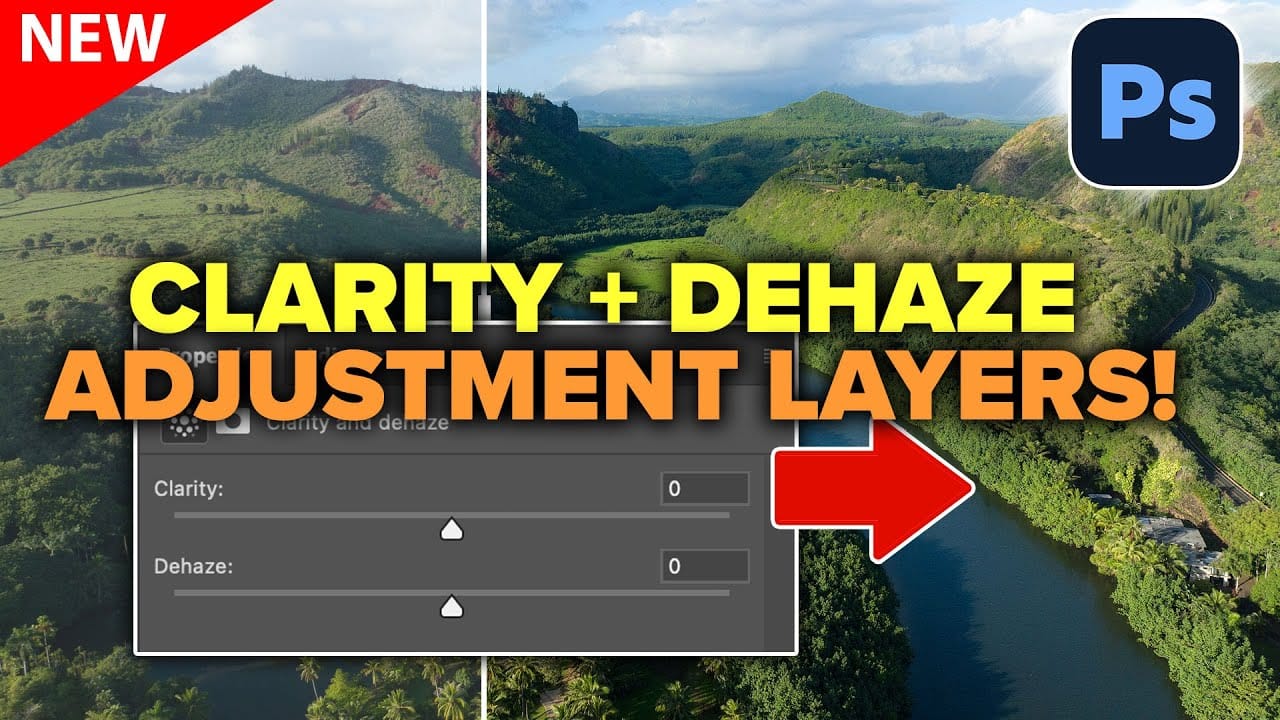
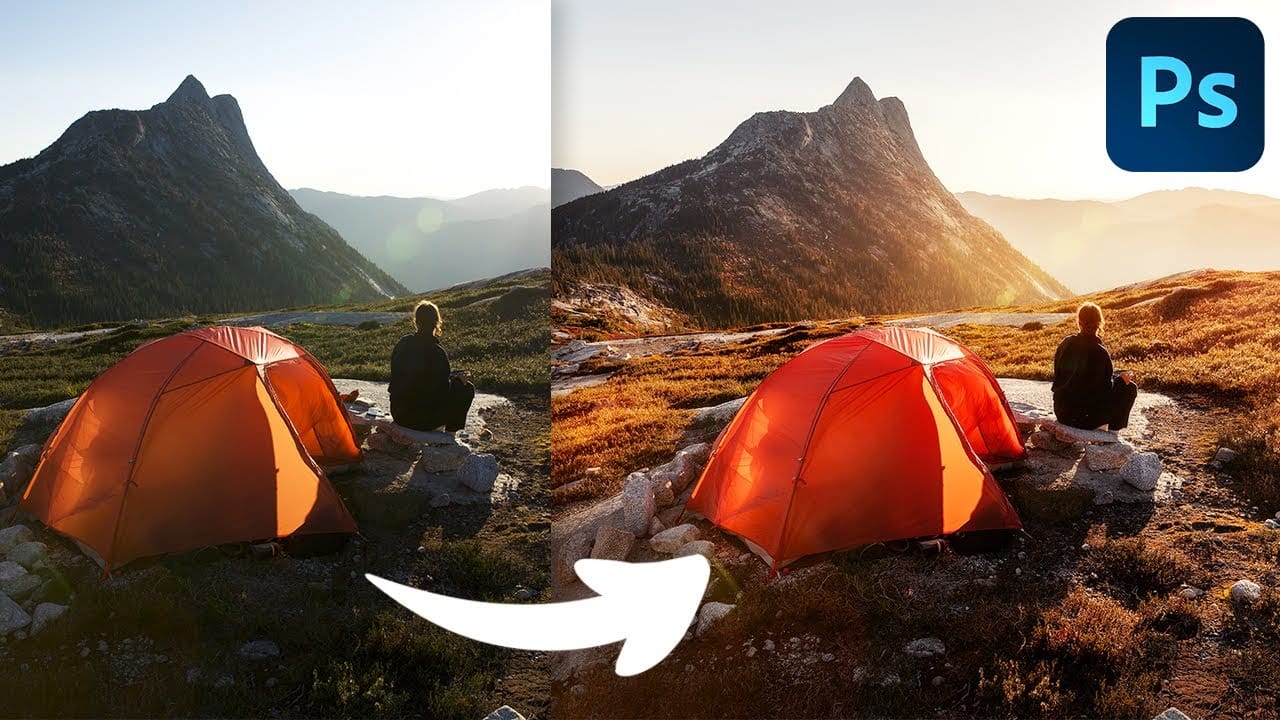
Three new adjustment layers in Photoshop beta bring Camera Raw's most powerful tools directly into your layers panel. Color and Vibrance, Clarity and Dehaze, and Grain adjustments now work as standard adjustment layers, eliminating the need for smart objects while maintaining all the precision masking and blending capabilities you expect.
This breakthrough allows photographers to apply global-quality Camera Raw adjustments with local control, creating more efficient workflows without file bloat or the complexity of nested smart objects.
Watch the Video
Video by Greg Benz Photography. Any links or downloads mentioned by the creator are available only on YouTube
Practical Tips
Master these new adjustment layers with these essential techniques:
- Use clipping masks to inherit underlying layer masks and blend modes, allowing multiple adjustments to share the same targeting
- Apply luminosity masks with these adjustments for seamless blends without halos, especially effective for sky enhancements
- Leverage Blend If options to control where grain appears, keeping shadows clean while adding texture to highlights like film grain
- Create separate adjustment layers for different areas rather than using multiple Camera Raw filters, avoiding file bloat and smart object complexity
- Take advantage of vibrance adjustments which aren't available as local adjustments in Camera Raw but work perfectly as targeted layers
Related Articles and Tutorials
Explore more advanced adjustment layer techniques and workflows for professional photo editing.