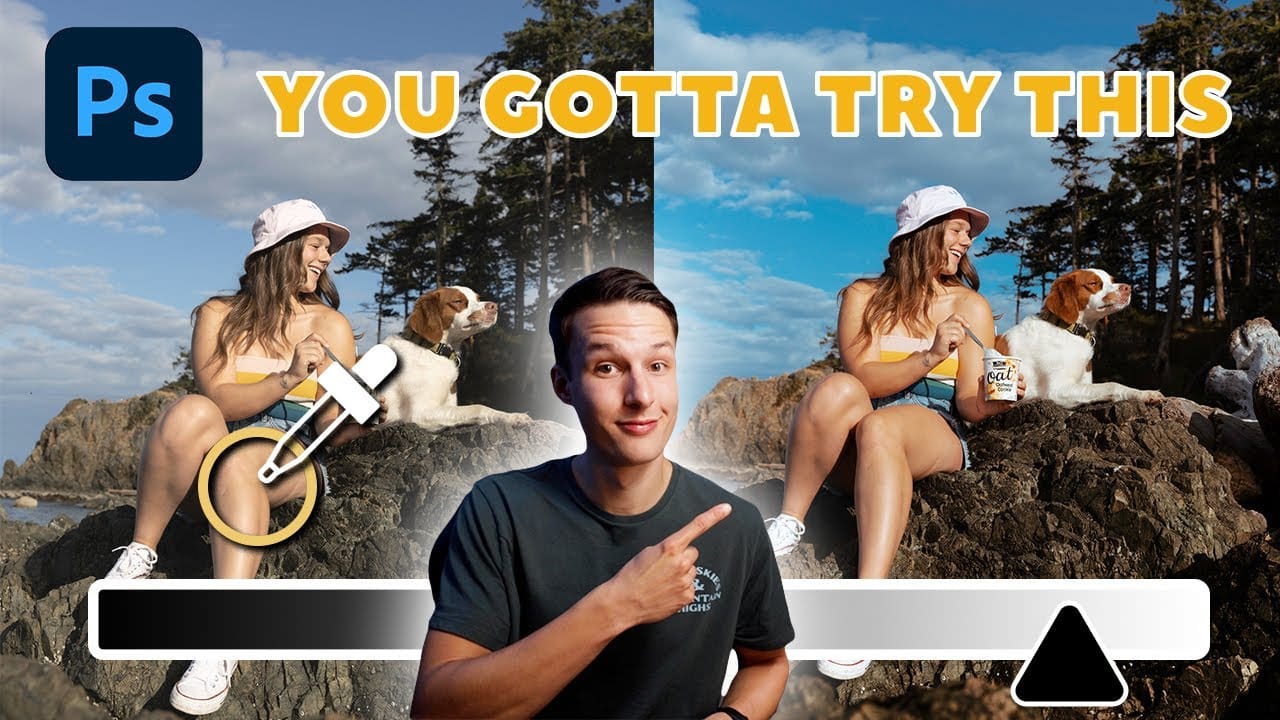
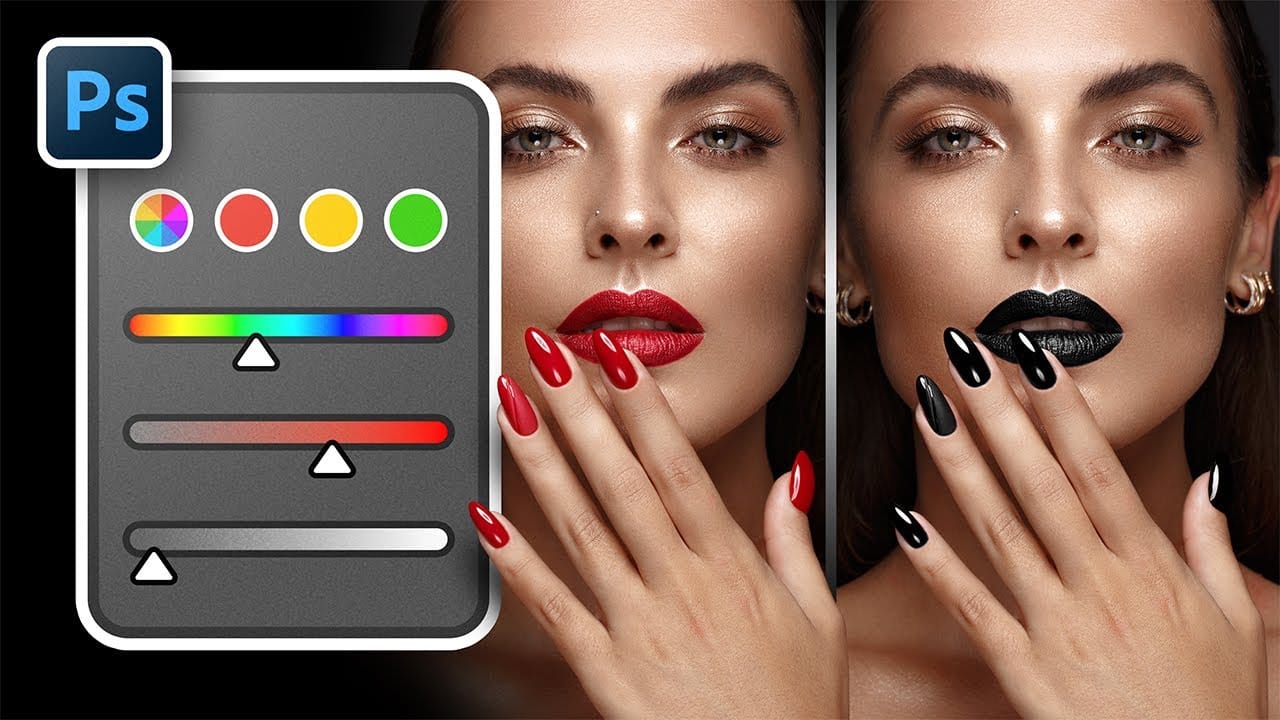
Point Color, hidden within Photoshop's Camera Raw filter, offers unprecedented control over individual colors in your images. This powerful tool lets you target specific color ranges with precision, adjusting hue, saturation, luminance, variance, and range for each selected area.
Unlike traditional color adjustment methods, Point Color uses an eyedropper to sample colors directly from your image, automatically identifying similar tones throughout the photo for comprehensive yet targeted editing.
Watch the Video
This tutorial demonstrates the complete Point Color workflow using a landscape image with multiple distinct color areas.
Video by PHLEARN. Any links or downloads mentioned by the creator are available only on YouTube
Practical Tips
Follow these essential techniques to master Point Color adjustments:
- Convert your layer to a smart object before applying Camera Raw filter to maintain non-destructive editing capabilities
- Choose one dominant color range for high saturation while keeping other colors more subtle to maintain visual hierarchy
- Use the variance slider to introduce natural color variation rather than flat, uniform tones
- Adjust the range settings to control how much of similar colors get affected by your modifications
- Increase luminance slightly when boosting saturation to maintain natural-looking color intensity
Related Articles and Tutorials
Explore these comprehensive guides to expand your color editing skills and techniques.