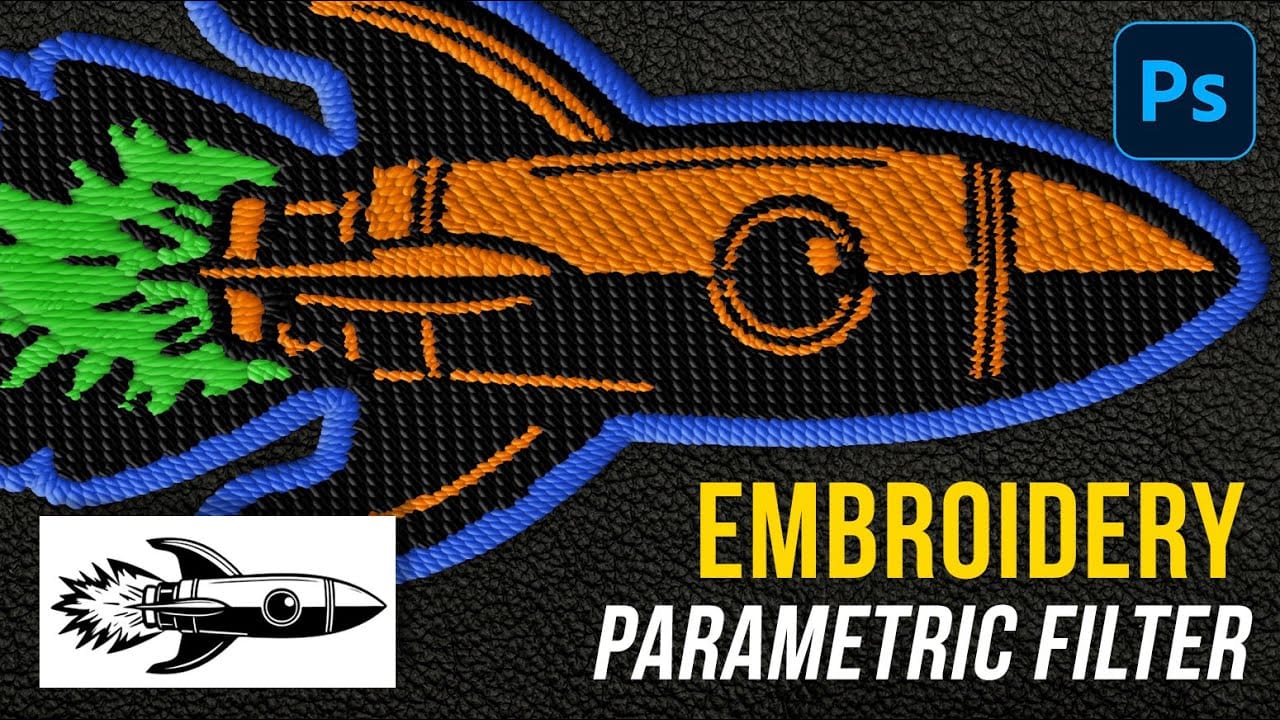
Professional embroidery patches add authenticity and texture to digital designs, from sports jerseys to vintage logos. The new parametric embroidery filter in Photoshop beta transforms flat graphics into convincing stitched effects with realistic thread details and customizable imperfections.
This technique works with any logo or graphic, creating patches that can be seamlessly composited onto fabric surfaces with proper shadows and lighting effects.
Watch the Tutorial
Video by Photoshop Training Channel. Any links or downloads mentioned by the creator are available only on YouTube
Essential Tips for Embroidery Filter Effects
These key settings help create the most realistic embroidered patch effects:
- Set Number of Colors to eight for complex logos, or two for simple designs with bold color contrasts
- Adjust Imperfections to 0.25 instead of the default 1.0 to add realistic thread misalignment without overdoing it
- Switch to Ultra Resolution only after finalizing all parameters to maintain smooth workflow performance
- Convert the layer to a smart object before scaling to preserve the parametric filter settings
- Apply bevel and emboss with dual drop shadows—one tight contact shadow and one longer cast shadow—for dimensional realism
Related Articles and Tutorials about Photoshop Filters
Explore more advanced filter techniques and creative effects for professional results.
How to Create Realistic Embroidery Effects Using Photoshop's Parametric Embroidery Filter
Adobe's introduction of parametric filters in Photoshop beta has opened up new possibilities for creating realistic textile effects without complex manual techniques. The embroidery filter stands out as particularly powerful for transforming logos, graphics, and text into convincing stitched designs with remarkable detail and customization options.
This tutorial demonstrates how to use the new parametric embroidery filter to create authentic-looking knitted embroidery effects. You'll learn the
How to Create Seamless Patterns in Photoshop Using the Offset Filter
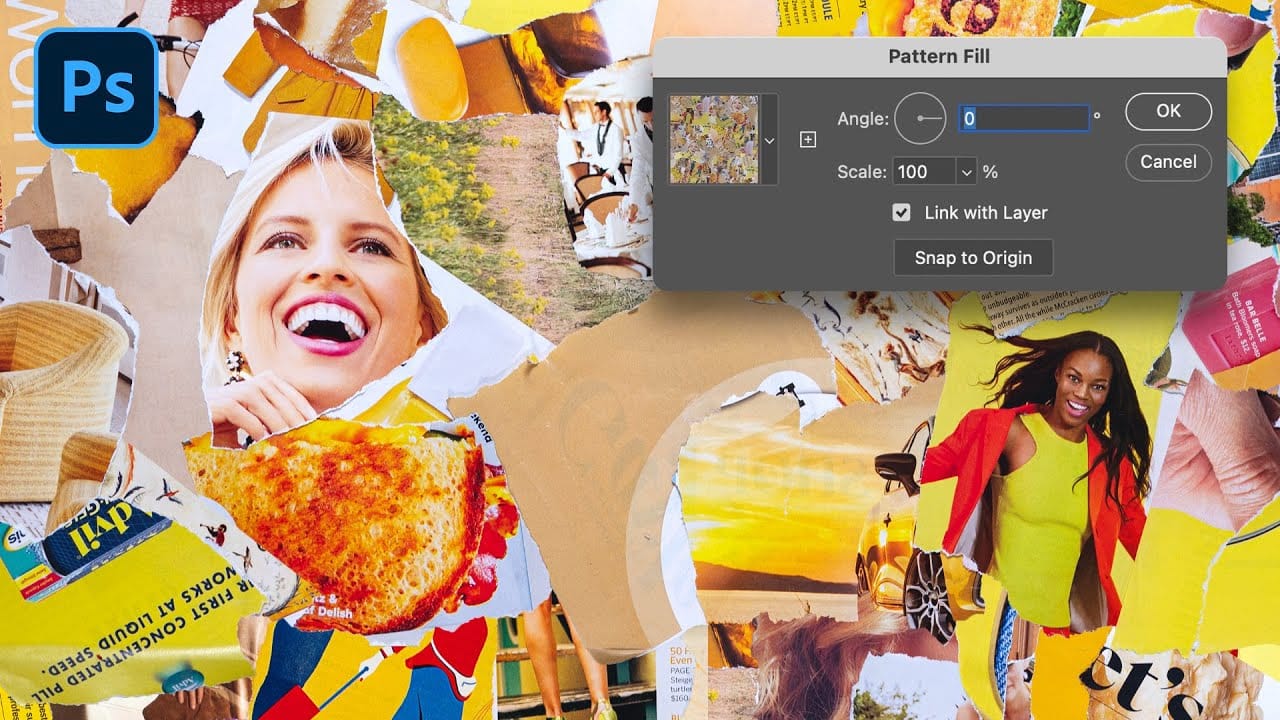
Transforming ordinary images into professional repeating patterns opens up endless creative possibilities. From custom backgrounds to textile designs, seamless patterns eliminate obvious cutting lines and repetitive elements that reveal themselves when an image tiles across a surface.
This technique works with any type of image - from photographs to collages to digital artwork - and creates patterns that can be scaled, rotated, and positioned without showing visible seams or obvious repetition.
How to use Parametric Filters in Adobe Photoshop 2024 Beta
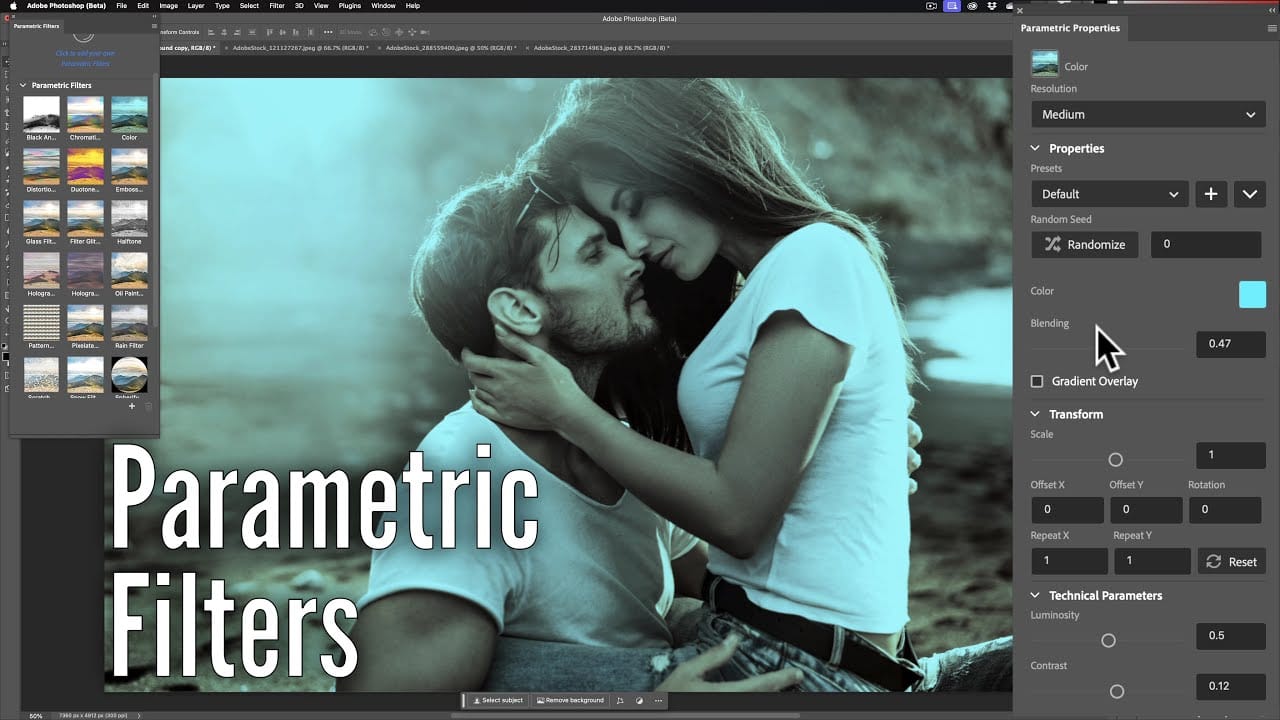
Photoshop's latest beta version introduces a new feature called parametric filters that allows users to non-destructively modify images with various stylized filters. These filters can be used to add distinct looks to images by applying presets like sepia, vintage or oil painting effects. parametric filters are applied as adjustment layers so users can readjust or remove the filters at any time. The filters are accessed through the Filter > Parametric Filters menu where different options can be
On1 Photo RAW 2025: Top 5 New Features
OnOne Photo RAW 2025 introduces an array of impressive features that streamline and elevate the photo editing experience. Let’s explore the top five game-changers and how they empower photographers to achieve stunning results: * Generative Eraser: Removing distracting elements from photos used to be a tedious task. Photo RAW 2025 tackles
 Enrique Flouret