Transform a face into a creative mixed media portrait

Transform a face into a creative mixed media portrait

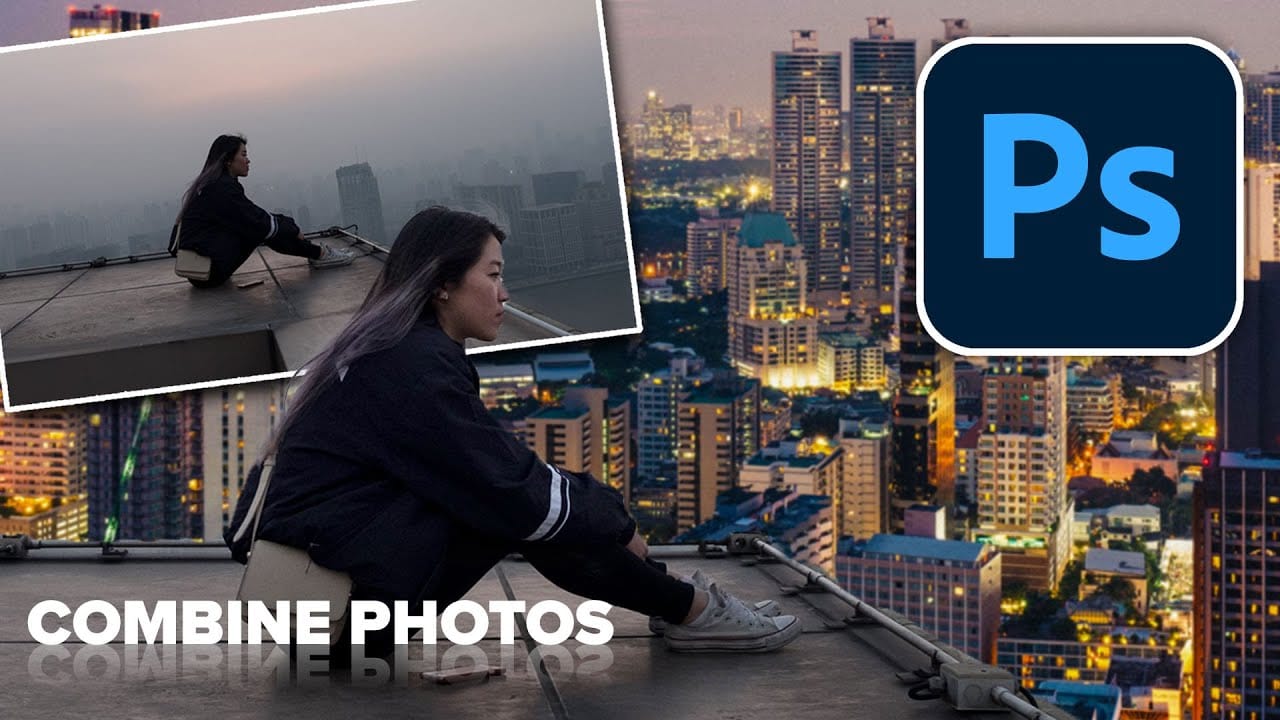
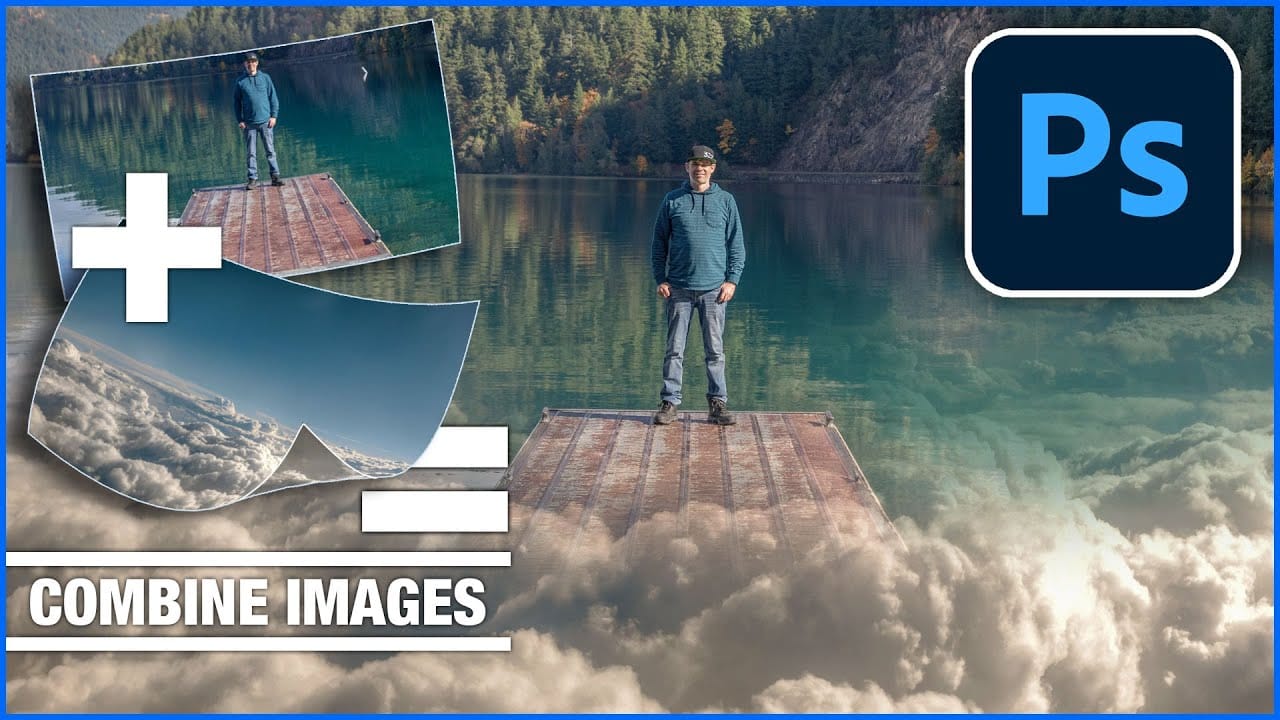
This tutorial demonstrates a powerful Photoshop technique for transforming standard photographs into dynamic mixed media portraits. It explores how to achieve a unique artistic aesthetic that blends traditional art elements with digital imagery.

Viewers will learn a non-destructive workflow to apply textured effects and patterns to a portrait, with the added benefit of easily replacing the subject without redoing the entire process. This approach is ideal for artists and designers seeking efficiency and flexibility in their creative projects.

Watch the Tutorial: Mixed Media Portrait Effect

Video by Blue Lightning. Any links or downloads mentioned by the creator are available only on YouTube

The Art of Mixed Media in Digital Portraiture

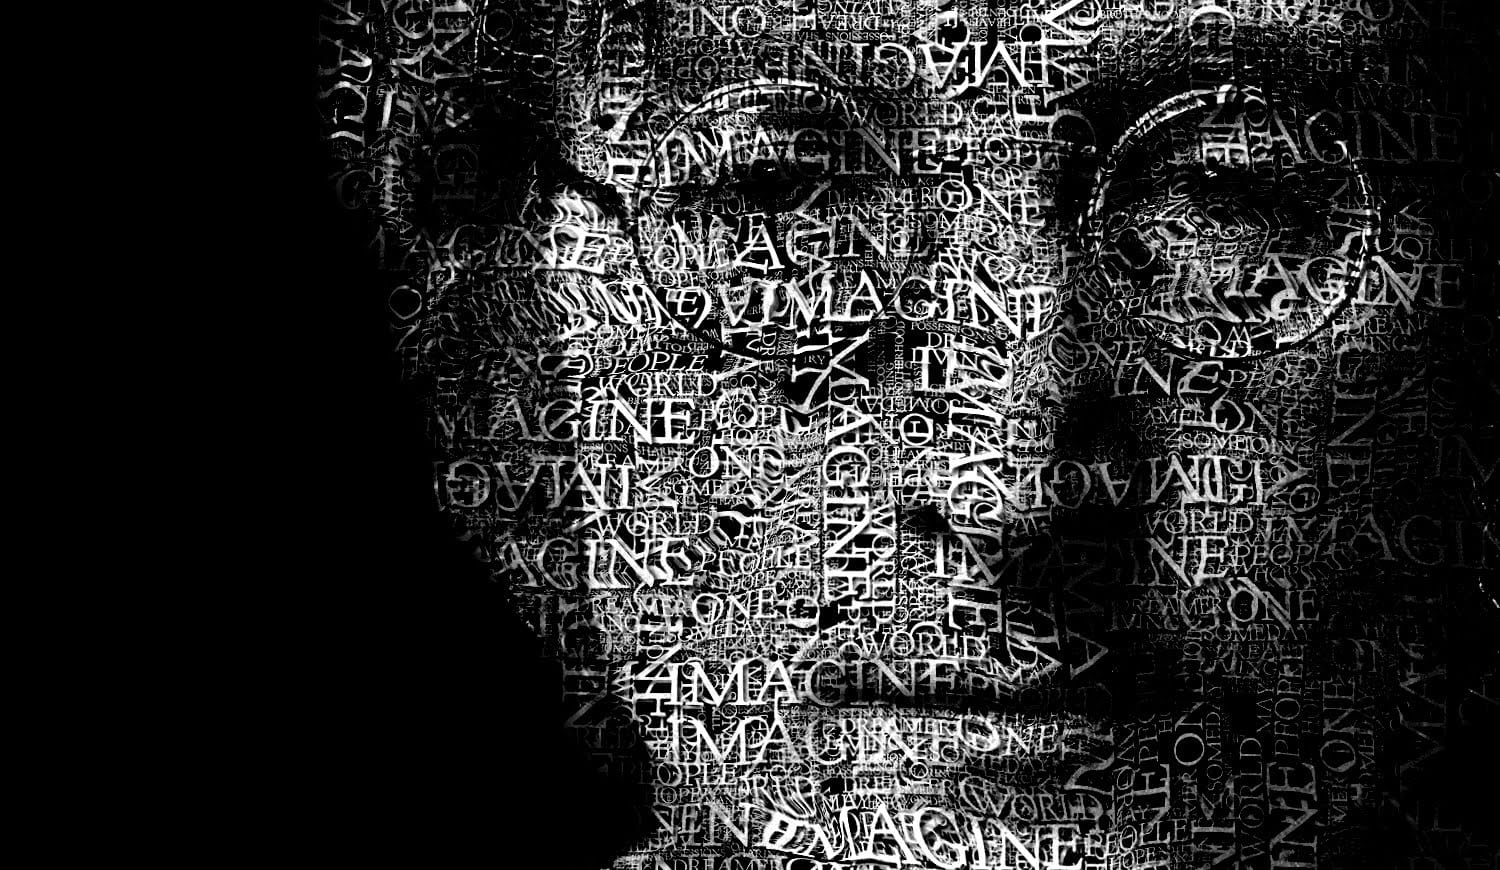
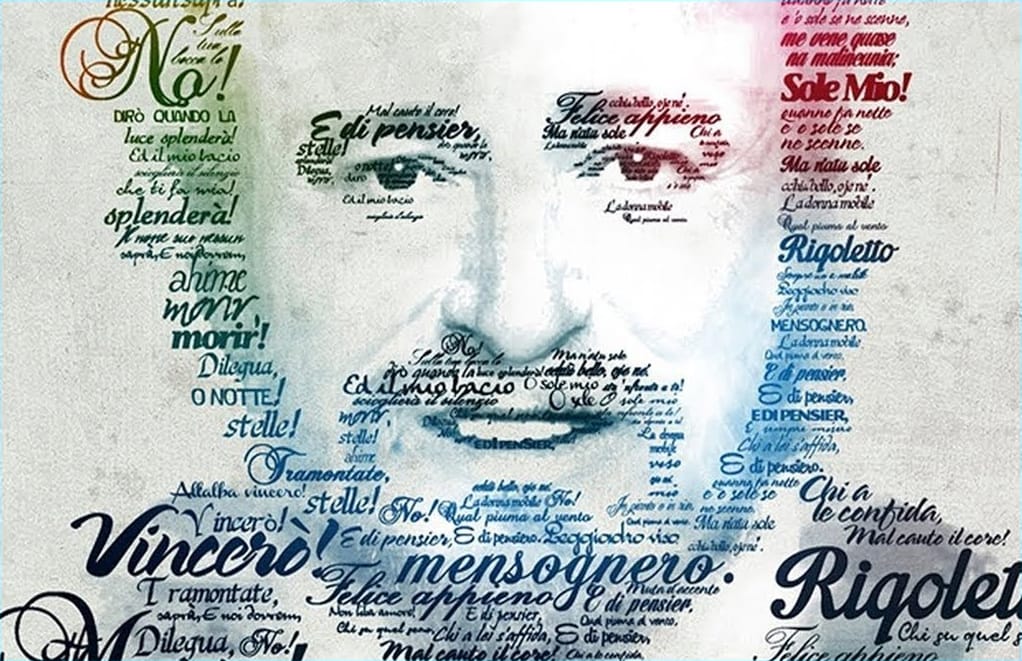
Mixed media art traditionally involves combining different art forms and materials within a single piece, creating a rich, layered aesthetic. In the digital realm, this concept translates into blending photographic elements with textures, patterns, and brushstroke effects to achieve a similar tactile and artistic quality.

Digital tools allow for extensive experimentation without the constraints of physical materials. This freedom enables artists to integrate diverse components—such as *paper textures*, *paint splatters*, *collage elements*, and *drawing lines*—seamlessly into a portrait. The goal is to move beyond a simple photograph, imbuing the image with character and depth that evokes a handmade feel.

The beauty of digital mixed media lies in its non-destructive nature. Techniques like Smart Objects and layer masks provide flexibility, allowing artists to adjust or replace elements long after the initial creation, ensuring a versatile and adaptable workflow.

Practical Tips for Mixed Media Portraits in Photoshop

  • Convert your photo to a Smart Object early for non-destructive editing and the ability to adjust filters at any time.
  • Utilize the Channels panel to create precise selections from texture layers, ensuring accurate masks.
  • Unlink the layer and layer mask to independently reposition or resize your subject within the applied texture, offering greater control.
  • Name your layers, especially Smart Objects, for better organization and easier identification during subject swaps.
  • Reduce opacity when aligning a new subject to see the original placement underneath, aiding in accurate resizing and positioning.

More Tutorials about Photoshop Portrait Effects

Explore additional resources to further enhance your skills in transforming portraits and blending images within Photoshop.

Create a Typographic Portrait in Photoshop
This Photoshop tutorial by Blue Lightning TV takes you through crafting a stunning portrait built entirely from words. Learn to prep your photo, create a text cloud filled with the subject's special words, and position and manipulate the text to perfectly follow the contours of the face. The video guides you through using displacement maps, smart objects, and adjustment layers to achieve a cohesive and personalized final image. It's a creative twist on portraiture, perfect for adding a unique t
How to combine and blend photos in Photoshop
In this tutorial by Colin Smith from Photoshop Cafe, you'll explore various methods to seamlessly combine and blend photos in Photoshop. Colin covers the basics of getting photos into Photoshop and demonstrates different techniques for layering and blending images. The tutorial provides practical guidance on how to integrate multiple photos into a cohesive composition. Whether you’re working with selections or blending layers directly, you’ll learn how to achieve smooth transitions and create v
How to combine and blend photos in Photoshop
In this tutorial, Colin Smith from Photoshop Cafe demonstrates effective techniques for combining and blending multiple photos in Photoshop. You'll learn two distinct methods for merging images, allowing you to seamlessly integrate different elements into a cohesive composition. Colin also covers four advanced techniques for blending layers together, helping you achieve smooth transitions and harmonious effects. These techniques are essential for creating compelling visuals where multiple image
Create a creative typographic portrait in Photoshop
This tutorial by Gareth David, guides you through creating a typographic portrait of Pavarotti in Adobe Photoshop, divided into four main stages: preparation, creating a type base, type positioning, and color blending. The preparation stage involves gathering a subject image, canvas texture, color image, and text, along with downloading necessary fonts. Next, you arrange the prepared text in Photoshop to form the portrait. The final stage focuses on blending, using a type mask and color layer t

Get tutorials & freebies delivered to you.

Subscribe to the Photoshop Roadmap newsletter, a weekly roundup of new tutorials, insights and quality downloads, trusted by 6500+ readers.

You might also like

Professional Portrait Retouching with the B.S.T. Method in Photoshop

Professional portrait retouching requires artistic choices that automated tools can't make. The B.S.T. method breaks retouching into three focused steps: removing blemishes with precision, smoothing skin while preserving natural texture, and equalizing skin tones throughout the image. This systematic approach gives you complete control over every...

Create Motion Blur Light Effects in Photoshop

Transform ordinary portraits into dynamic, cinematic images by combining path blur effects with creative background textures. This technique creates the illusion of camera movement while maintaining focus on key elements like the subject's eyes, resulting in professional-looking motion blur effects that add energy and visual interest to static...

How to Paint Realistic Jewelry on Portraits in Photoshop

Adding painted jewelry to portraits transforms ordinary photos into fantasy portraits with ornate accessories that never existed. This digital painting technique uses careful layering, proper lighting, and realistic shadows to create convincing rings, earrings, and decorative headpieces. The method combines basic brush work with advanced blending techniques to build up...

How to Sharpen Images Using the High Pass Filter in Photoshop

The High Pass filter method remains one of the most versatile sharpening techniques in Photoshop, offering precise control over which image areas receive enhancement. This non-destructive approach works by identifying edge details and allowing you to selectively apply sharpening exactly where it's needed most. Unlike automated sharpening tools,...

How to Find Missing Actions in the New Photoshop Actions Panel

The redesigned Actions panel in Photoshop can catch users off guard when their custom actions seem to disappear. With the new tabbed interface, your previously created actions are still there—they're just located in a different tab than before. Understanding the new layout will help you quickly access...

Fast Portrait Retouching: Remove Stray Hairs, Clothing Wrinkles, and Fix Backgrounds

Every portrait photographer knows the feeling: you've captured a beautiful shot, but stray hairs, wrinkled clothing, and messy backgrounds turn editing into hours of tedious work. These common retouching challenges can drain your time and energy, especially when dealing with high-volume projects or tight deadlines. This tutorial demonstrates...

You’ve successfully subscribed to Photoshop Roadmap
Welcome back! You’ve successfully signed in.
Great! You’ve successfully signed up.
Success! Your email is updated.
Your link has expired
Success! Check your email for magic link to sign-in.