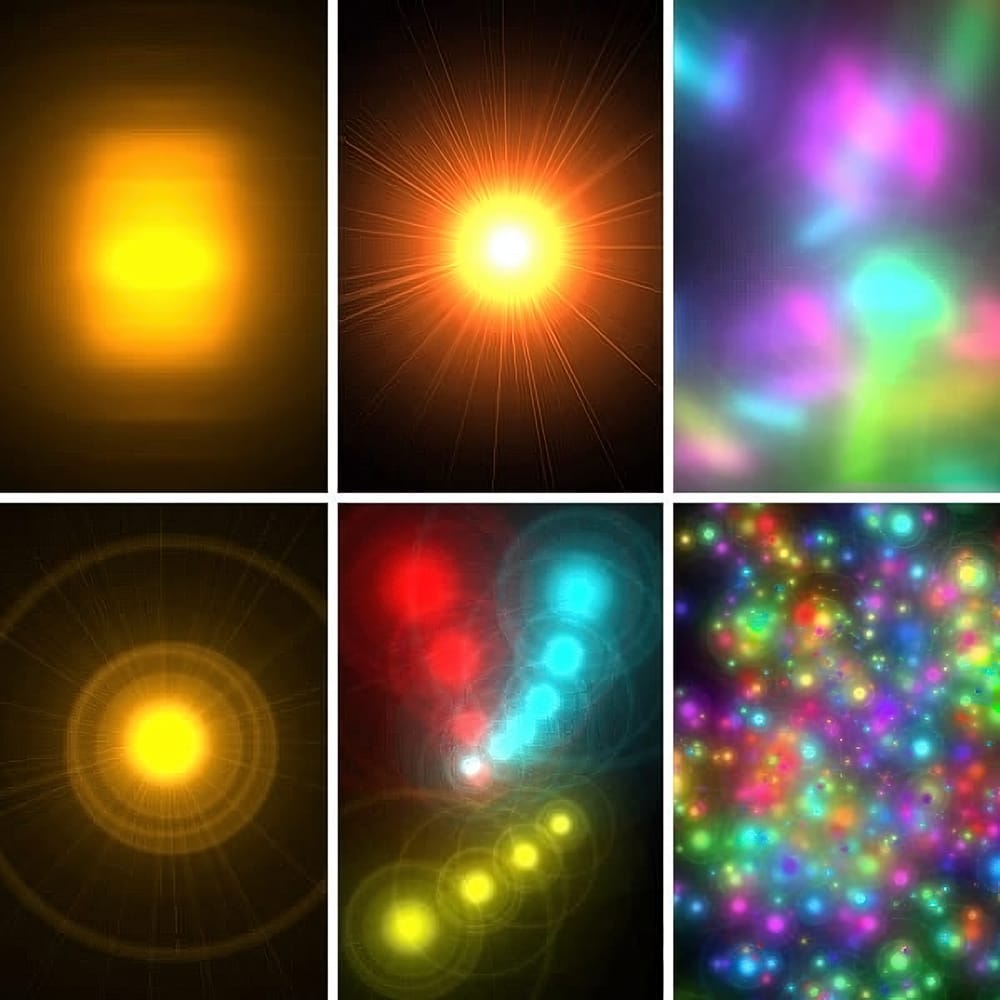
The lens flare filter in Photoshop typically requires a background layer with content, making it difficult to apply the effect non-destructively. This limitation prevents you from easily adjusting, moving, or modifying the lens flare after applying it.
A simple workaround allows you to create lens flares on separate layers, giving you complete control over opacity, positioning, color adjustments, and blending modes. This technique uses filter history and the Screen blending mode to isolate the lens flare effect.
Watch the Video
Practical Tips
Follow these steps to create editable lens flares on separate layers:
- Apply the lens flare to your background layer first, then immediately undo it with Command/Ctrl+Z to save the settings
- Create a new layer, fill it with black using Shift+Delete, then apply the same lens flare using the recent filter option
- Set the black layer's blending mode to Screen to make the black transparent and reveal only the lens flare
- Use Hue/Saturation adjustments to change the lens flare color and warm up or cool down the effect
- Apply Transform (Command/Ctrl+T) to rotate, scale, or reposition the lens flare to better fit your composition
Related Articles and Tutorials
Explore more lighting effects and creative techniques to enhance your photography:
Quick and Easy way to create Glowing Lights Photoshop Brushes
This time, I'll commit myself to tech you a nice illustration technique in a few steps, rather than my usual detailed explanations. This tutorial explains how to create glowing lights brushes using the Lens Flare filter included in the default installation of Adobe Photoshop.
This technique is amazingly simple, but the resulting brushes are so cool that you might find yourself spending your Saturday nights experimenting with brush dynamics and blending settings instead of hanging out with a bun
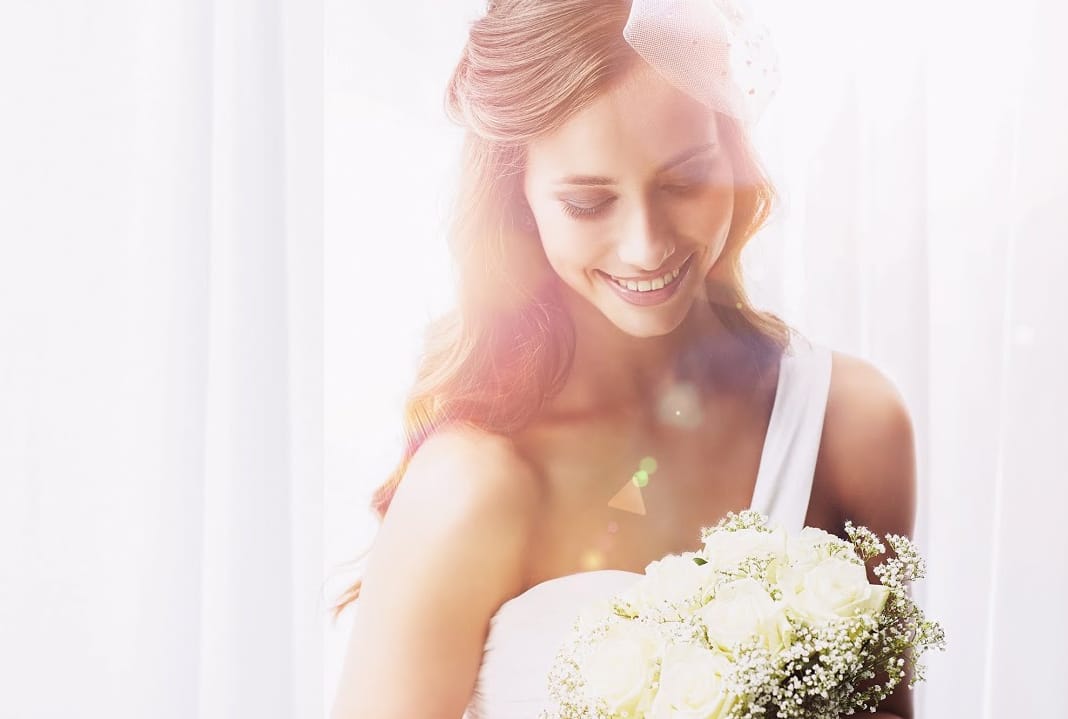
Create a Beautiful Wedding Photography with Flares and Bokeh in Photoshop
Serge Ramelli, a talented photographer and instructor, has just released a new Wedding Toolkit. In this episode, he will demonstrate how to use this toolkit to add flares and light leaks to your wedding photos. This technique can help create a strong emotional impact in your images.
Photography is often described as "writing with light." By improving the way you work with light, you can enhance the overall quality of your photography, whether it's portraits or landscapes. Serge Ramelli provides
Lighting Effects to Create Drama in Photoshop
In this tutorial, John Whitehead demonstrates how to add dramatic lighting effects in Photoshop to transform flat lighting into something much more dynamic. You'll learn how to use various tools such as lighting effects filters, lens flare, smart objects, and LUTs to completely alter the mood and appearance of your image.
If you want to follow along with the tutorial, you can download the provided image and apply the same techniques. This guide is perfect for photographers and digital artists l
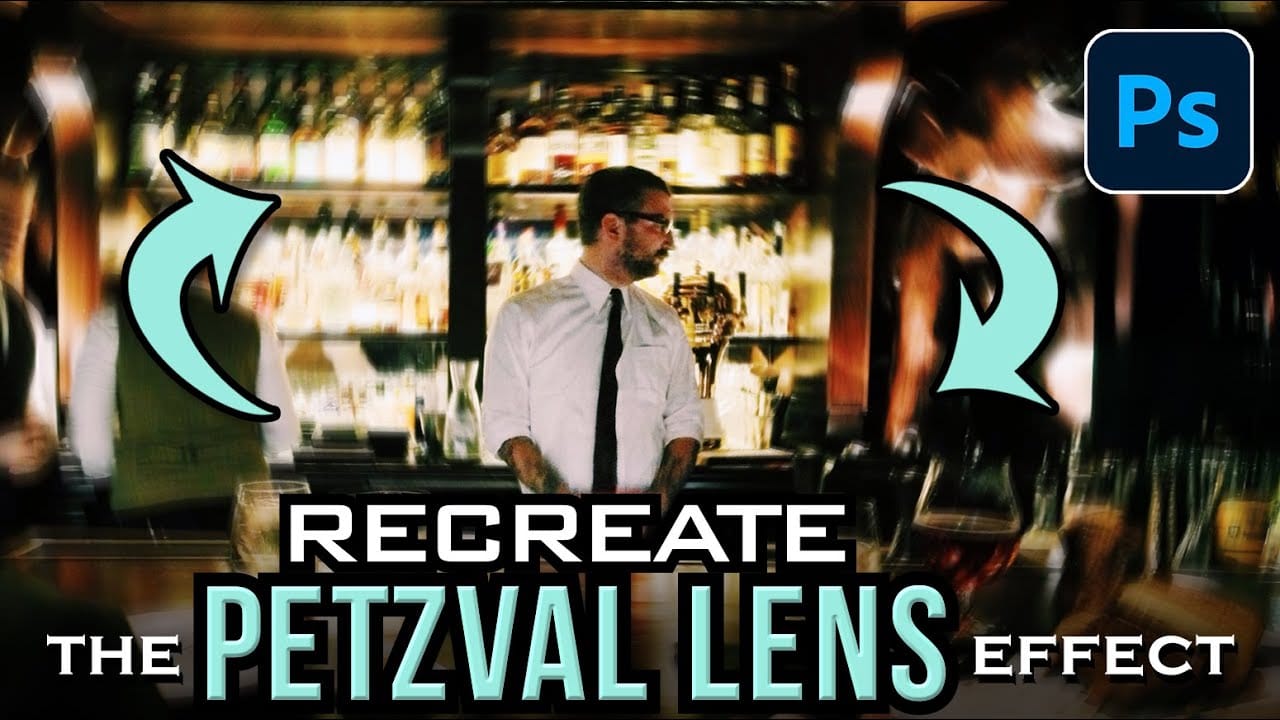
How to Create a Vintage Petzval Lens Effect in Photoshop
The Petzval lens, invented in 1840, creates a distinctive swirling, dreamlike blur that transforms ordinary photographs into vintage masterpieces. This unique optical effect features sharp central focus with rapidly falling sharpness toward the edges.
Recreating this coveted vintage aesthetic in Photoshop allows photographers to achieve the same romantic, spiraling bokeh without investing in expensive historical lenses.
Watch the Video
Practical Tips for Petzval Lens Effects
* Convert you
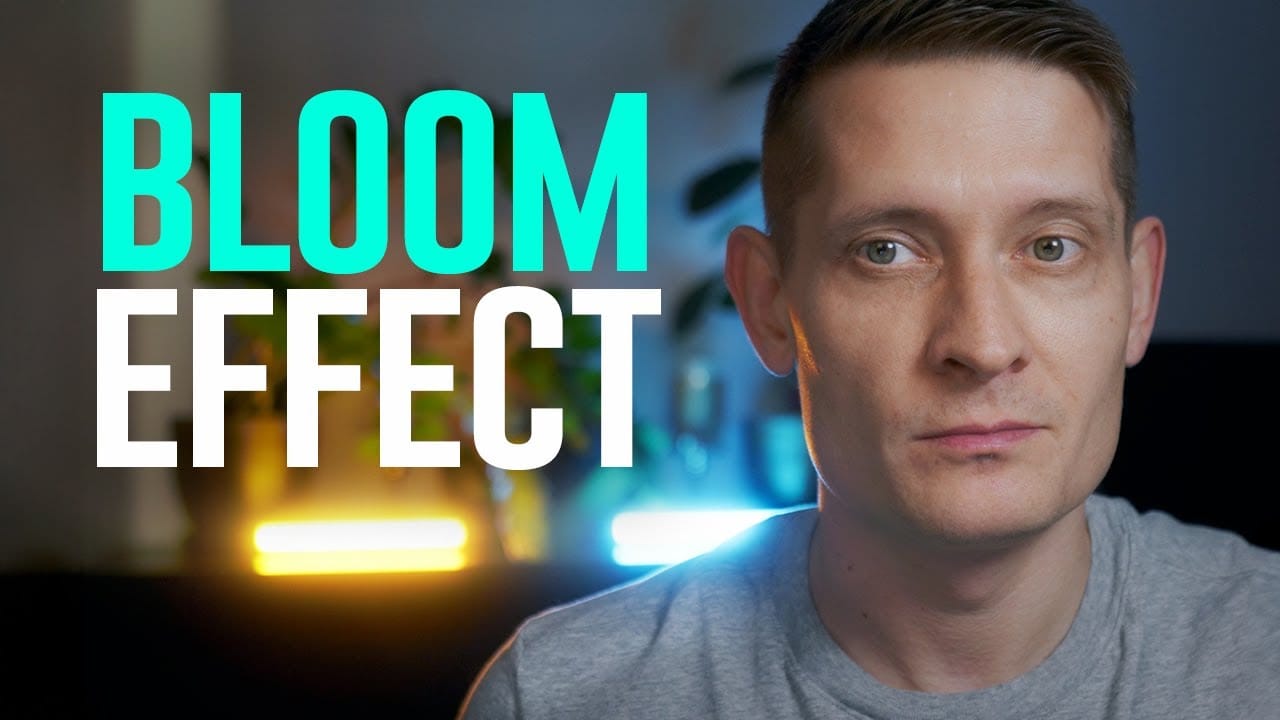
Create the Cinematic Bloom Glow Effect in Photoshop
This guide will walk you through the steps to create a stunning bloom effect using Photoshop and DaVinci Resolve.
This technique enhances your highlights, infusing your photos and videos with a cinematic glow that adds a dreamy atmosphere.The bloom effect simulates the appearance of black diffusion filters commonly found in photography and cinematography. These filters soften images and contribute a soft, glowing quality to highlights. This approach is ideal for anyone looking to enrich their v
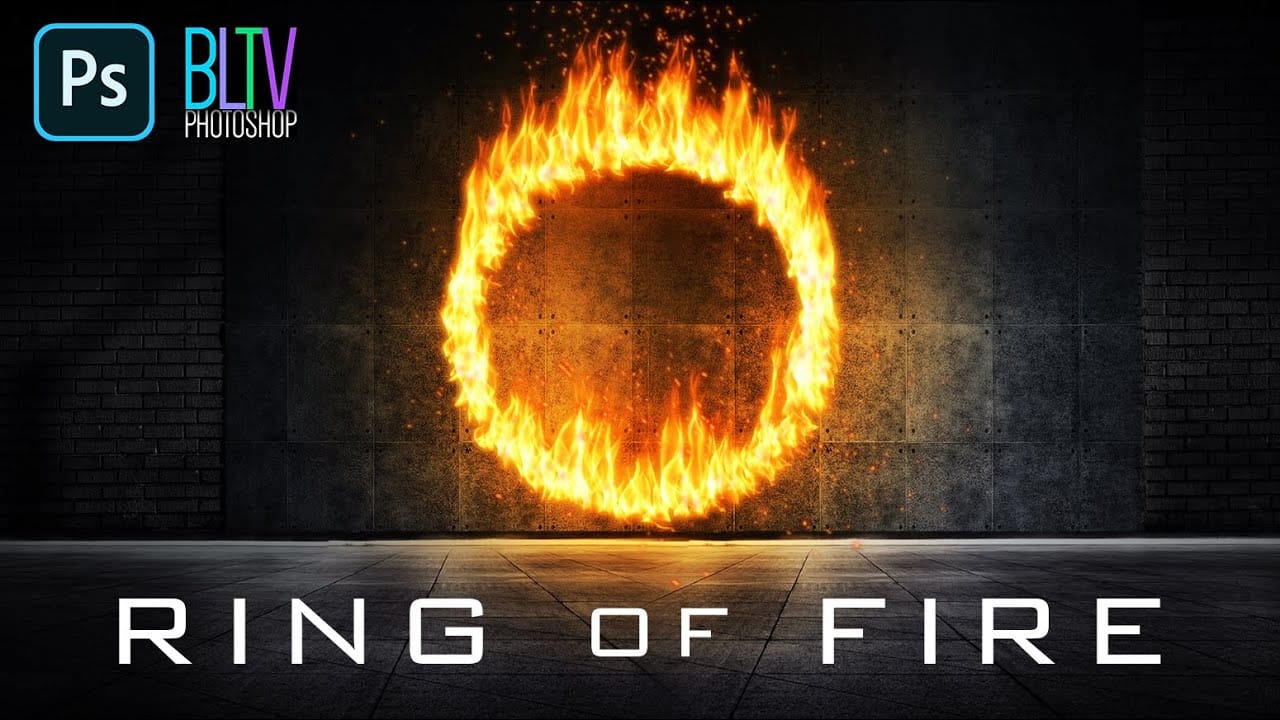
Create a Powerful Ring of Fire in Adobe Photoshop
Adding realistic fire effects can dramatically enhance digital art and photo manipulations, bringing a sense of energy and intensity to any scene. Mastering these techniques allows designers to transform ordinary images into captivating visual narratives.
This tutorial demonstrates how to construct a powerful ring of fire in Photoshop, covering essential steps from path creation to applying dynamic flame and spark effects. Viewers will gain practical skills for integrating complex visual elemen
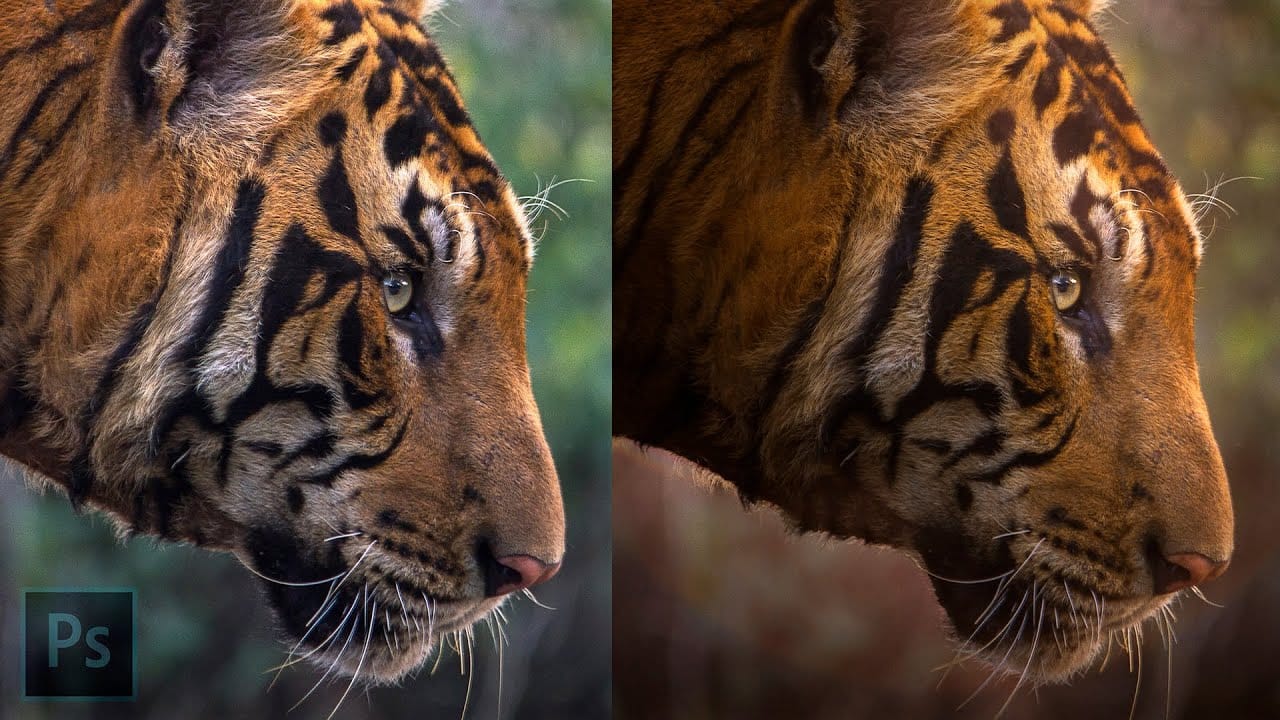
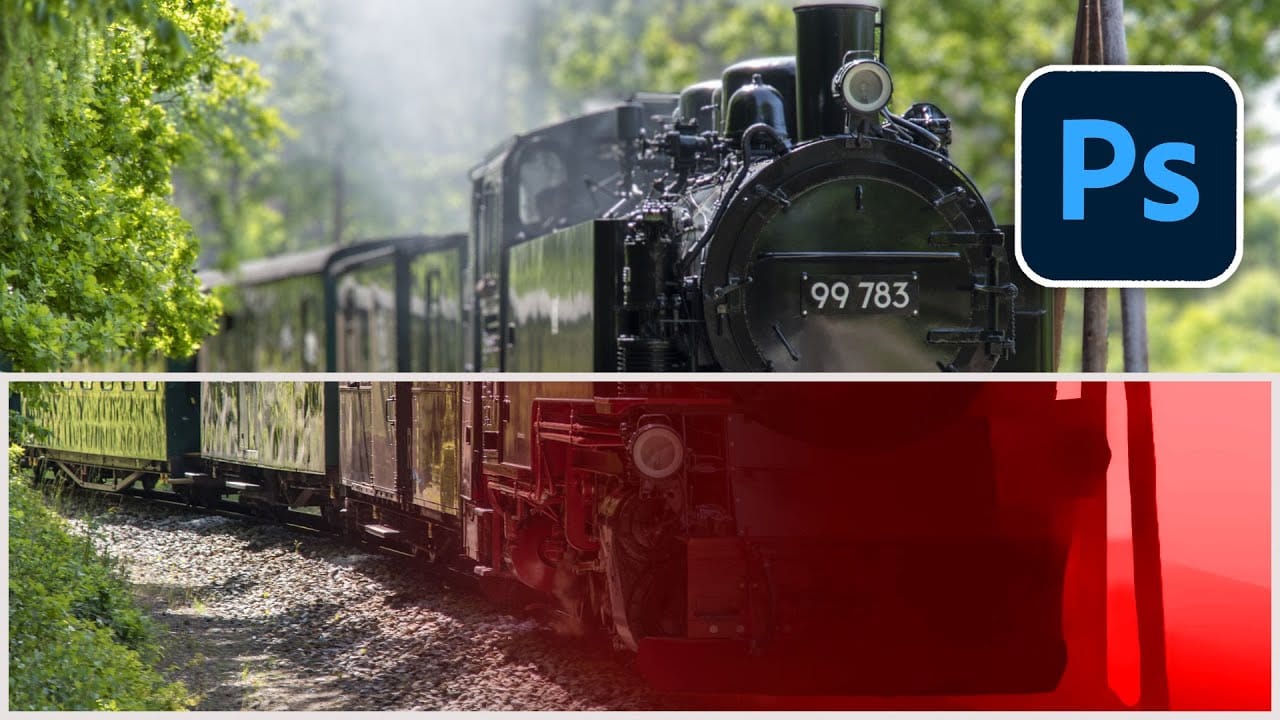
Magically change focus of photos in Photoshop
In this Photoshop tutorial, Colin Smith demonstrates the most powerful way to change the depth of field or background blur in your photos. This technique leverages depth maps, neural filters, and lens blur to achieve professional results.
Colin starts by explaining how to create and use depth maps, which are essential for controlling the focus and blur levels in specific areas of your photo. Depth maps allow you to simulate a shallow depth of field, making your subject stand out against a blurr
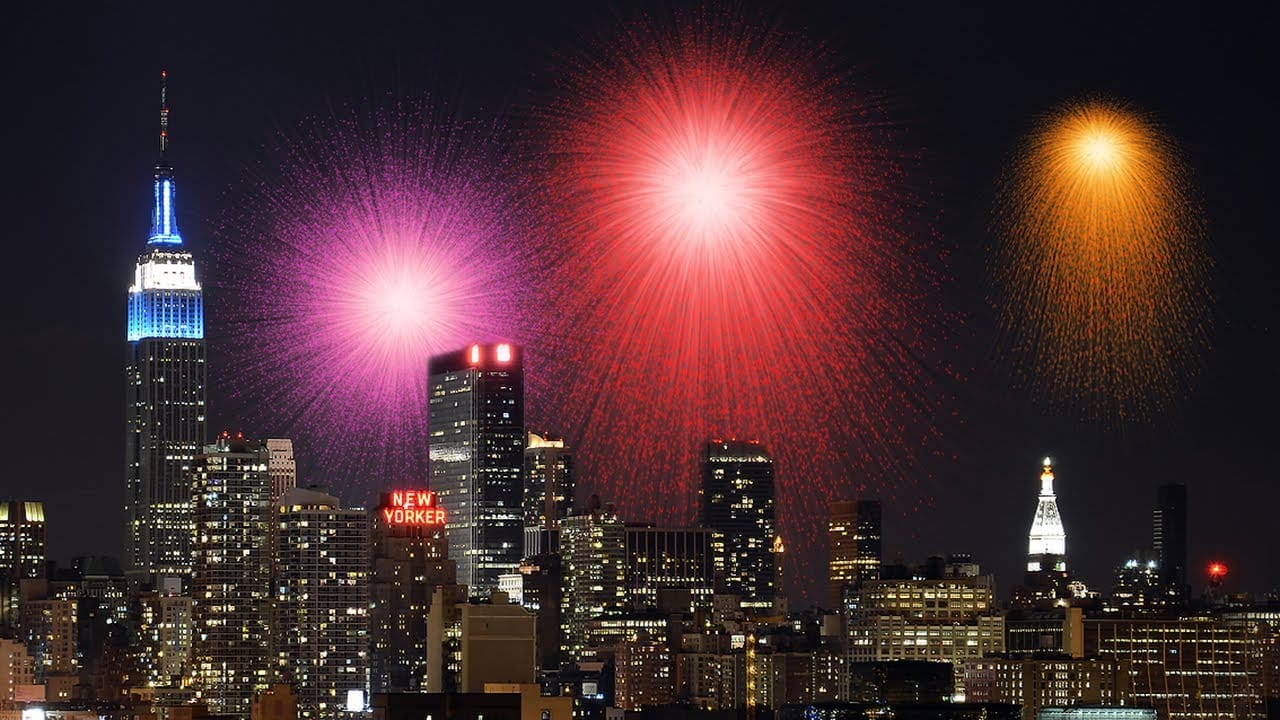
Create awesome fireworks in Photoshop
Achieving the distinct, scattered spark effect of fireworks in Photoshop might seem like a complex task. This tutorial reveals a clever technique, starting with a simple white dot and the often-overlooked "Dissolve" blend mode. This initial step lays the groundwork for realistic bursts by generating a unique scattered pixel pattern, a foundation far more organic than traditional brush strokes.
From this surprising starting point, the process unfolds to incorporate dynamic transformations, vibra
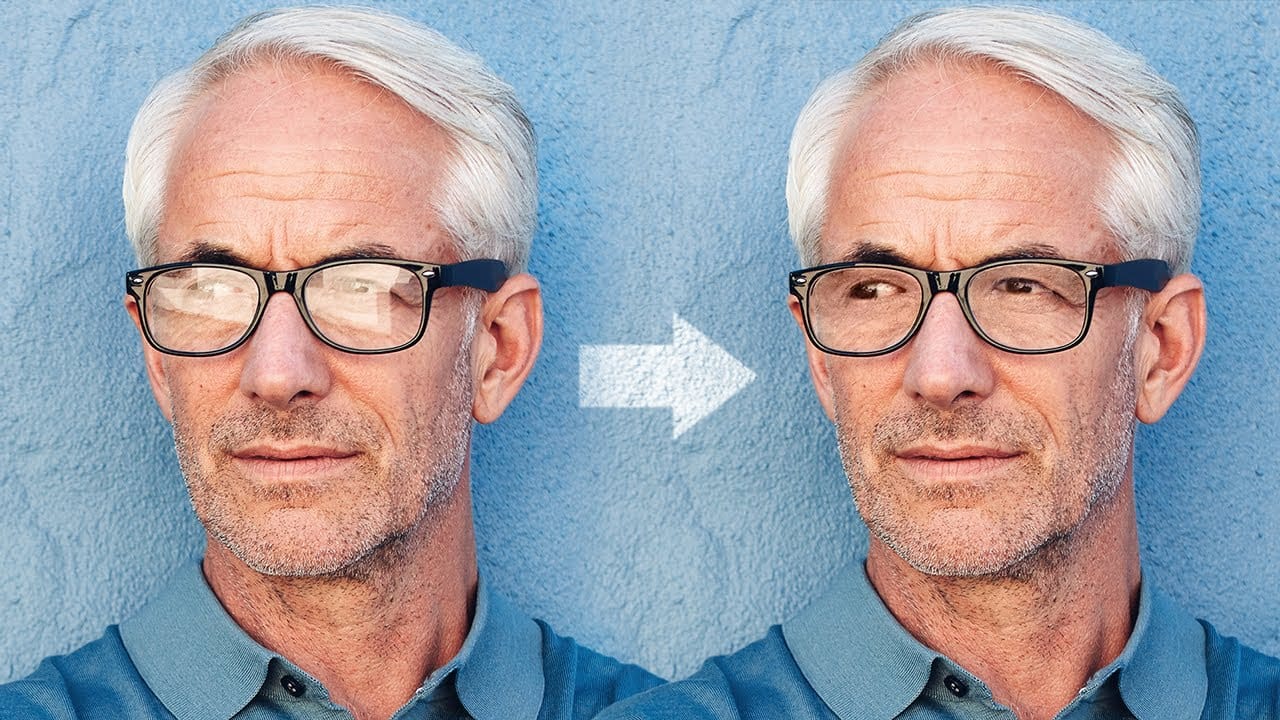
Magically remove glare from glasses in Photoshop
In this tutorial, authored by PiXimperfect, the viewer is presented with a straightforward, three-step process to remove complex glare from glasses in Photoshop. The guide promises to reveal the best method for avoiding and fixing glare or reflections on eyewear, utilizing advanced techniques such as dodging and burning to even out the brightness and achieve a transparent glass effect.
Furthermore, the tutorial delves into the use of blending modes to eliminate any color cast and ensure the acc