Victorian London emerges from fog-shrouded streets in classic Sherlock Holmes films, where every shadow tells a story and atmosphere becomes a character itself. The interplay of light, mist, and aged textures creates that unmistakable cinematic mood that draws viewers into another world.
This video demonstrates how texture layers transform ordinary images into atmospheric scenes with depth and character, using color grading techniques and strategic masking to achieve that classic film noir aesthetic.
Watch the Video
Video by SandraD Imagery. Any links or downloads mentioned by the creator are available only on YouTube
Practical Tips for Atmospheric Image Enhancement
- Use the Color Lookup adjustment layer with cinematic presets like "foggy night" as your starting point for mood
- Apply texture layers in Overlay blend mode at 50-60% opacity to maintain natural integration
- Mask out texture effects from light sources and windows to preserve realistic lighting
- Balance cool atmospheric tones with subtle warm color filters to prevent overly cold images
- Brush fog effects selectively rather than applying them uniformly across the entire image
More Tutorials about Atmospheric Effects
Explore additional techniques for creating mood and atmosphere in your images.
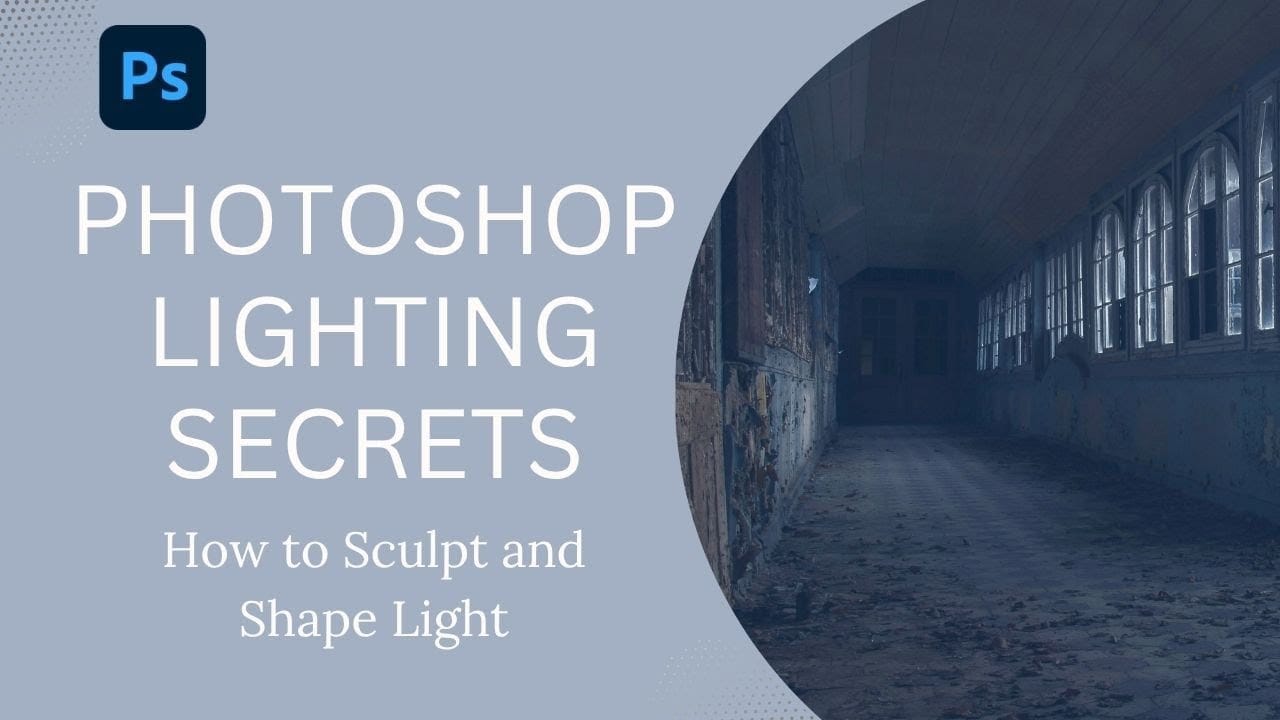
How to Sculpt Light and Add Atmosphere in Photoshop
Light transforms a flat image into something with depth, mood, and visual interest. The ability to enhance existing light sources or create entirely new ones opens up creative possibilities that go far beyond what the camera originally captured.
This tutorial demonstrates how to sculpt light using adjustment layers, selection tools, and atmospheric brushes to create convincing light effects that work naturally with your image's existing lighting conditions.
Watch the Video
Understanding Lig
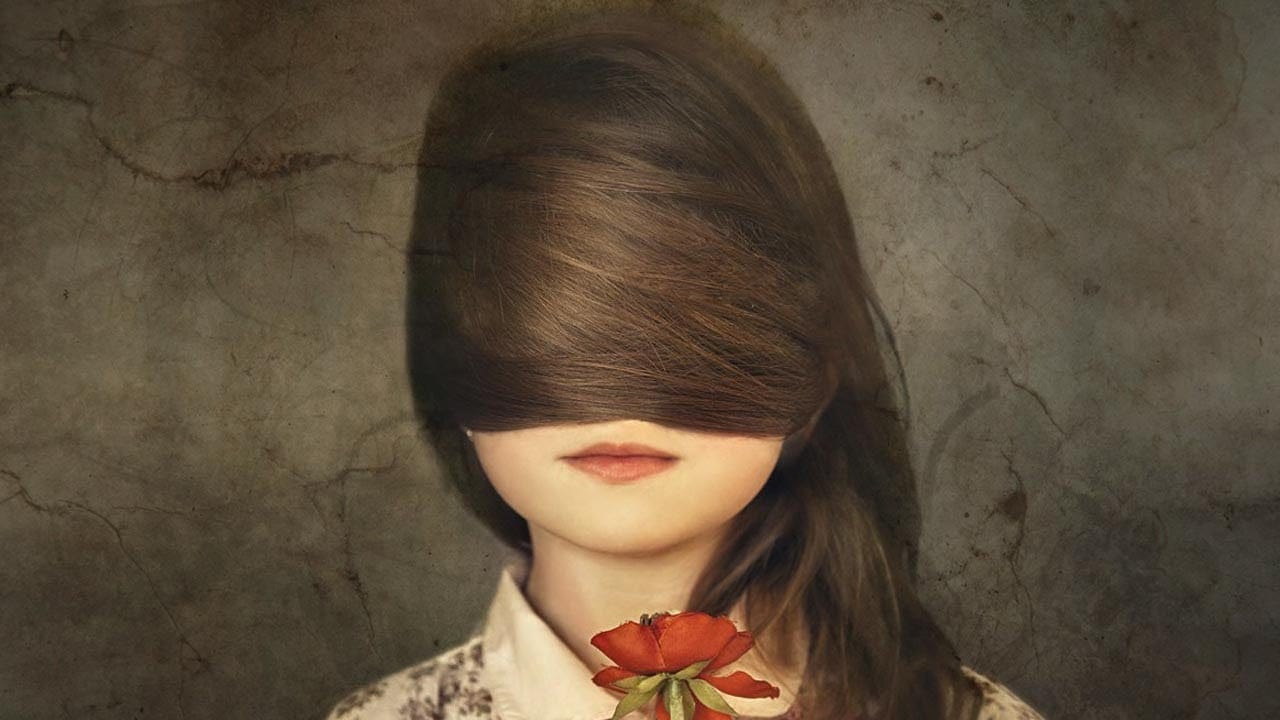
Add a texture to a photo in Photoshop
In this tutorial, you'll discover a straightforward method for incorporating textures into your images. The approach involves combining multiple textures to achieve the desired effect.
The tutorial is presented by Aaron Nace from Phlearn, a renowned expert in the field of photo editing and enhancement. By following along, you'll gain the skills to transform your images and add unique, textured elements that can elevate your visual storytelling.
The step-by-step instructions provided in the tut
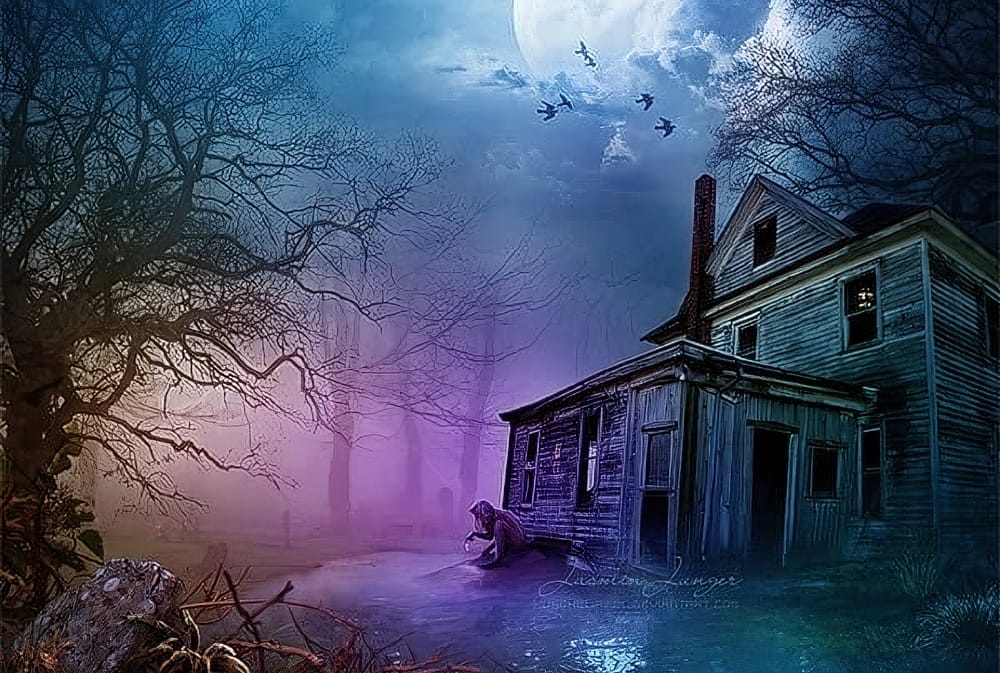
Create Creepy Lighting and Mysterious Atmosphere Effects in Photoshop
This tutorial offers a clear guide on creating eerie lighting and mysterious atmospheric effects in Photoshop. You will learn how to enhance your photos by manipulating different lighting techniques.
The author explains the process step by step, starting with how to select the right colors and apply various effects to a chosen stock image. Each technique is thoroughly detailed, making it easy for you to follow along.
The end results are impressive, showcasing how these methods can transform an
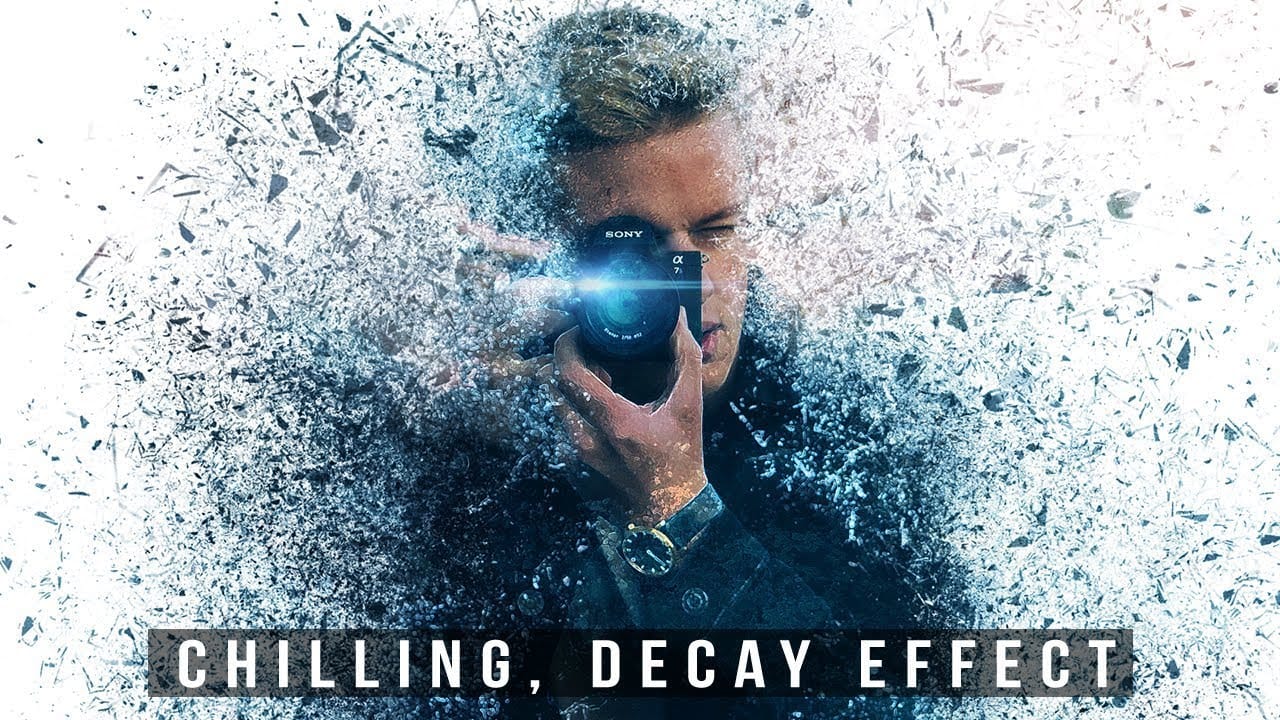
Create a chilling dispersion photo effect in Photoshop
This Photoshop tutorial provides a step-by-step guide on how to create a captivating decay effect using Photoshop brushes. The step by step guide covers the use of various tools, including filters, masks, smart objects, the liquify tool, and textures.
This type of dispersal effect allows for a high level of customization, enabling users to control the intensity of the decay and select the textures that will make the effect truly stand out. By following the author's instructions, readers can lea