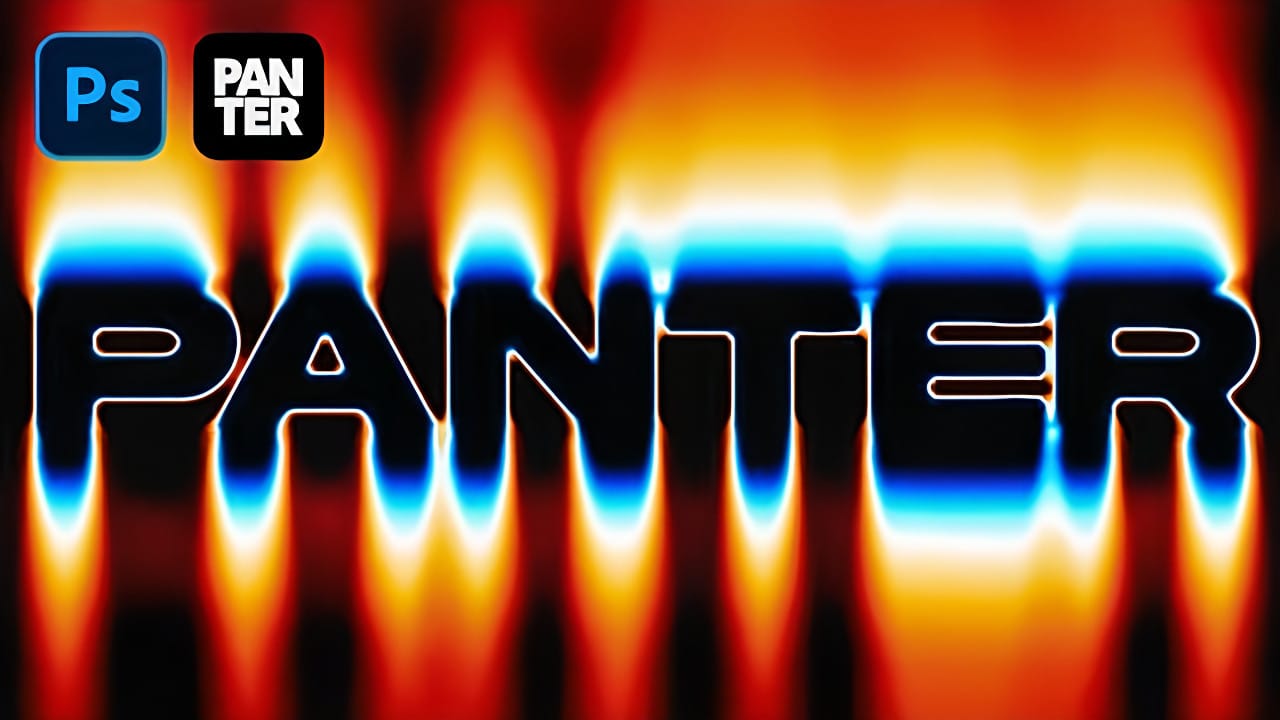
Create X-Ray Neon Motion Blur Text Effect in Photoshop

Create X-Ray Neon Motion Blur Text Effect in Photoshop

Neon signs have an unmistakable electric presence that transforms any space into something vibrant and alive. The ghostly glow of neon tubes creates an otherworldly atmosphere that blends retro nostalgia with futuristic energy.

This tutorial demonstrates how to recreate that captivating neon aesthetic in Photoshop, complete with motion blur effects that simulate the ethereal trails of light. The result is text that appears to pulse with electric energy while maintaining a translucent, X-ray quality.

Watch the Tutorial

Video by P A N T E R. Any links or downloads mentioned by the creator are available only on YouTube

Understanding Neon Light Physics in Digital Design

Real neon signs work by exciting gas particles inside glass tubes, creating that characteristic electric glow. Digital neon effects replicate this phenomenon through careful manipulation of opacity, blur effects, and color gradients.

The X-ray quality comes from reducing fill opacity while maintaining strong stroke visibility. Motion blur simulates the persistence of vision effect that occurs when bright lights move through space, leaving ghostly trails behind them.

Key concepts that make this effect work:

  • Zero fill opacity creates the transparent, ghost-like appearance
  • Stroke positioning defines the neon tube outline without internal fill
  • Motion blur direction determines the energy flow and movement feel
  • Gaussian blur layering adds authentic light diffusion
  • Gradient mapping transforms monochrome effects into electric color spectrums

Practical Tips for Motion Blur Text Effects

  • Use Akira Expanded or similar bold fonts with wide letter spacing (75+ units) for better neon tube simulation
  • Set motion blur angle to 90 degrees with 810+ pixel distance for dramatic trailing effects
  • Duplicate motion blur layers multiple times to intensify the ghosting effect gradually
  • Apply different blur amounts: motion blur for directional trails, Gaussian blur for atmospheric glow
  • Create gradient maps with purple-to-blue-to-green-to-yellow progression for authentic neon color transitions

Explore more creative text effects and neon lighting techniques.
Create Fire Text with Motion Blur and Gradients in Photoshop
Fire text effects bring raw energy and dynamic movement to any design project. The combination of motion blur and colorful gradients creates the illusion of blazing flames trailing behind text, perfect for logos, posters, and dramatic typography. This technique transforms static lettering into something that appears to be racing across the screen, leaving a fiery wake behind it. Watch the Tutorial The Science Behind Motion Blur Effects Motion blur occurs naturally when objects move faster
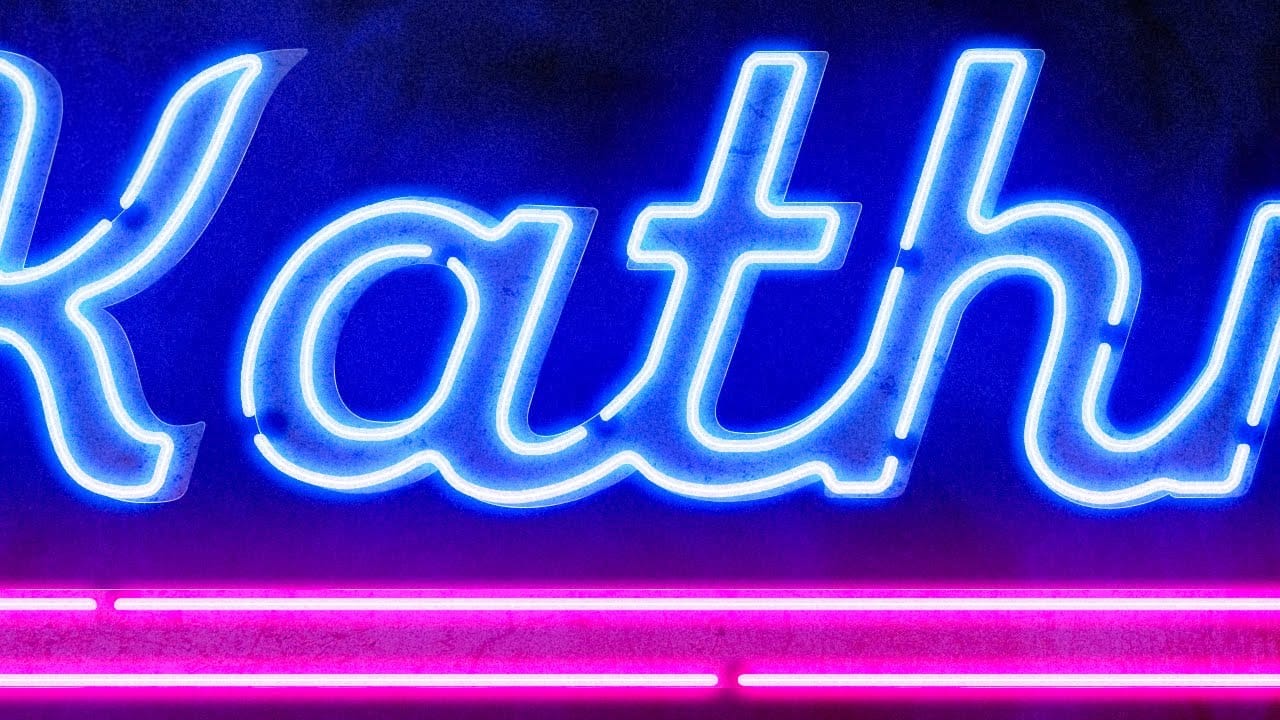
Create a Realistic Neon Light Text Effect in Photoshop
In this tutorial, TextureLabs demonstrates how to create a realistic neon sign text effect using Adobe Photoshop. You'll learn to combine glowing neon colors with a convincing metal base to produce a striking and authentic sign. The tutorial covers various techniques, including layer styles and blending modes, to achieve the luminous neon effect. Additionally, free texture links and more resources are provided to enhance your design. Whether you're a beginner or an advanced user, this tutorial
Futuristic Neon Text Effect in Photoshop
In this tutorial, Brandon Bias from Ch-Ch-Check It shows you how to create a stunning futuristic, grungy neon text effect on metallic letters using Adobe Photoshop. This effect combines multiple blend modes, textures, and layer styles to achieve a unique and eye-catching design. The tutorial begins with creating a new document and adding a grungy background, then moves on to customizing text with specific fonts and character settings. Through detailed steps, you'll learn how to apply various ef
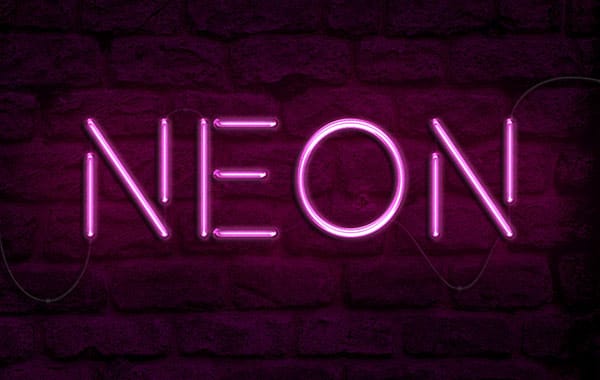
How to create a bright realistic neon text effect in Photoshop
Love neon signs? Ever wanted to create your own? With the magic software, we can easily experiment with and create a neon light text effect, no electricity necessary! In fact, whether you're a software expert or a complete beginner, doing so can be a breeze. In this video, we'll check out a couple of different ways to create neon light text effects—from using convenient Smart Objects, to creating text effects from scratch in Adobe Photoshop, to even quick and easy ways to experiment with text e

Get tutorials & freebies delivered to you.

Subscribe to the Photoshop Roadmap newsletter, a weekly roundup of new tutorials, insights and quality downloads, trusted by 6500+ readers.

You might also like

Painting Digital Art Backgrounds: Techniques and Workflow

A well-crafted background can anchor an entire digital painting, providing atmosphere, depth, and visual context for the subject. This video demonstrates practical approaches to building backgrounds from scratch using digital tools, covering brush selection, color layering, and compositional thinking. Watch the Video Practical Tips Keep these core principles in...

How to Use the Light Adjustment Layer in Photoshop

Photoshop's new Light adjustment layer brings Camera Raw controls — exposure, contrast, highlights, shadows, whites, and blacks — directly into the layers panel as a fully non-destructive, maskable layer. This means you can stack multiple light adjustments, target specific subjects, and combine them with Blend If and other adjustment...

How to Use Object Selection, Remove Background, and the Selection Brush in Photoshop

Selections determine the quality and flexibility of almost every edit you make in Photoshop. Three modern tools — the Object Selection tool, Remove Background with Harmonize, and the Selection Brush — handle the most common selection tasks with far less manual effort, while keeping your original image intact through non-destructive layers....

How to Paint a Digital Background and Composite Wildlife Into It

Building a painted digital background from scratch gives you full control over color, mood, and composition before a single wildlife photo is placed. This walkthrough covers the complete process: blocking in shadows on a black canvas, layering foliage with textured brushes, positioning bird subjects on hand-painted stones, and using...

How to Sharpen Skin Texture Using Frequency Separation in Photoshop

Retouched skin can look great up close but lose all its natural texture the moment you zoom out. Rather than relying on standard sharpening filters, you can recover that texture by duplicating the high-frequency layer inside a frequency separation setup — a method that works whether or not you'...

You’ve successfully subscribed to Photoshop Roadmap
Welcome back! You’ve successfully signed in.
Great! You’ve successfully signed up.
Success! Your email is updated.
Your link has expired
Success! Check your email for magic link to sign-in.