Dynamic Text Tool in Photoshop - Auto-Resizing Text Feature

Dynamic Text Tool in Photoshop - Auto-Resizing Text Feature

Text alignment and sizing across multiple layers can quickly turn into a time-consuming puzzle. Manually adjusting each text element, creating guides for alignment, and constantly repositioning elements whenever you make changes disrupts the creative flow.

Photoshop's new Dynamic Text feature bridges the gap between point text and paragraph text, automatically resizing your text to fit any text box while maintaining proper alignment and proportions. This tool eliminates the tedious manual adjustments that come with traditional text workflows.

Learn Dynamic Text in Photoshop

Video by Brendan Williams. Any links or downloads mentioned by the creator are available only on YouTube

Understanding Dynamic Text Capabilities

Traditional Photoshop text workflows force you to choose between point text (individual layers for each text element) or paragraph text (fixed bounding boxes that don't resize content). Dynamic Text eliminates this compromise by combining the best aspects of both approaches.

The feature automatically scales text to fill the entire width and height of its container while maintaining readability and proportions. This creates a responsive text system where manual line breaks give you control over which words dominate the layout.

  • Automatic text scaling based on container dimensions
  • Unified alignment system that keeps everything in one text box
  • Manual line break control for emphasizing specific words
  • Responsive resizing that maintains text hierarchy
  • Character panel compatibility for fine-tuning letter spacing and fonts

Practical Tips for Dynamic Text

  • Access Dynamic Text through the lightning bolt icon in the Type Tool options bar after creating your text
  • Use manual line breaks to force important words onto their own lines for maximum visual impact
  • Adjust line spacing through the Properties panel rather than the Character panel when using Dynamic Text
  • Hold Command/Control while dragging corners to distort the text box instead of proportionally scaling
  • Fine-tune word spacing and tracking using the Character panel settings for better letter and word distribution

Explore more ways to enhance your text editing workflow in Photoshop.
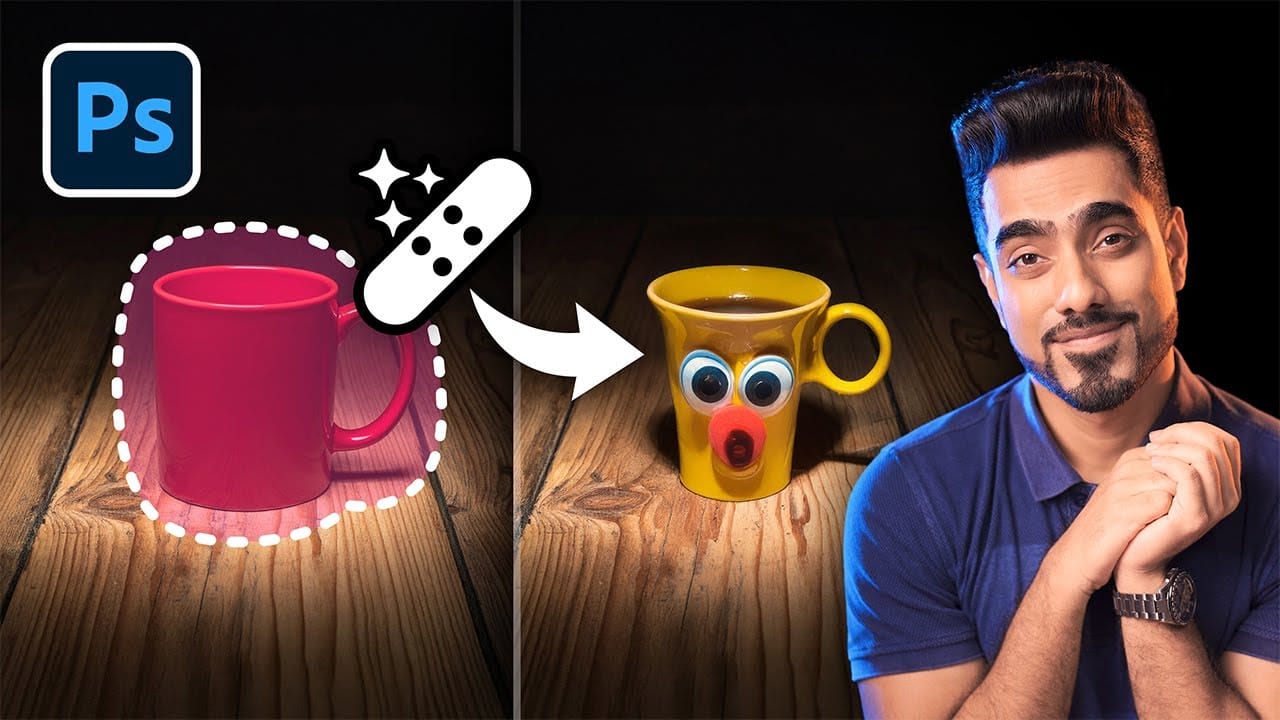
Photoshop's Remove Tool is Broken—What Now?
Object removal is a fundamental task in photo editing, but AI-powered tools can sometimes produce unpredictable results. It can be frustrating when a tool designed to remove an object instead replaces it with another unwanted element, disrupting your workflow and requiring extra steps to correct. This tutorial demonstrates how recent updates to the Remove Tool in Photoshop Beta solve these common issues. You will learn how to access the improved tool, use a new selection-based workflow for more
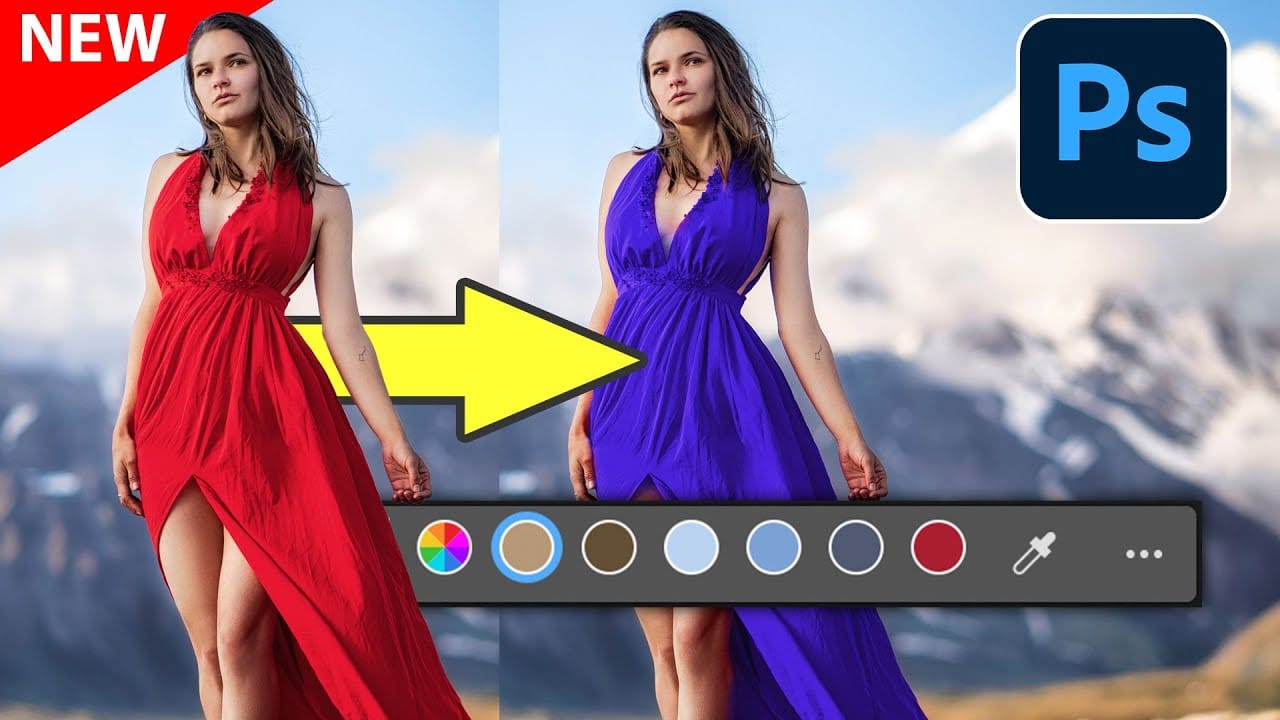
New Photoshop Feature for Changing Colors
Working on the color palette of an image is a fundamental task in photo editing, enabling designers and photographers to evoke different moods, correct imbalances, or simply reimagine visual elements. While Photoshop has long offered robust tools for color manipulation, achieving precise and natural-looking changes often required a multi-step workflow and a deep understanding of complex adjustments. This video introduces a groundbreaking new feature in Photoshop's beta version, designed to stre
One click instantly fixes color in Photoshop
In this tutorial by Colin Smith from Photoshop Cafe, you'll learn how to instantly fix the color of your photos in a single click using Photoshop and Lightroom. Colin introduces a powerful tool that can correct color issues effortlessly, making your images look more natural and vibrant. This quick tutorial focuses on achieving perfect color balance with minimal effort. Whether you're a beginner or a seasoned Photoshop user, Colin's method is straightforward and effective, allowing you to enhanc
Did you know Photoshop has new Quick Actions?
Discover how to speed up your workflow with Photoshop's new Quick Actions, presented by Colin Smith from Photoshop Cafe. This tutorial reveals the ease and efficiency of using Quick Actions to perform common tasks with just one click. Colin walks you through locating these Quick Actions and demonstrates how to use them to blur backgrounds, apply duotones, remove backgrounds, and more. While some features, like the Blur Background action, might not always produce perfect results, Colin shares a

Get tutorials & freebies delivered to you.

Subscribe to the Photoshop Roadmap newsletter, a weekly roundup of new tutorials, insights and quality downloads, trusted by 6500+ readers.

You might also like

Painting Digital Art Backgrounds: Techniques and Workflow

A well-crafted background can anchor an entire digital painting, providing atmosphere, depth, and visual context for the subject. This video demonstrates practical approaches to building backgrounds from scratch using digital tools, covering brush selection, color layering, and compositional thinking. Watch the Video Practical Tips Keep these core principles in...

How to Use the Light Adjustment Layer in Photoshop

Photoshop's new Light adjustment layer brings Camera Raw controls — exposure, contrast, highlights, shadows, whites, and blacks — directly into the layers panel as a fully non-destructive, maskable layer. This means you can stack multiple light adjustments, target specific subjects, and combine them with Blend If and other adjustment...

How to Use Object Selection, Remove Background, and the Selection Brush in Photoshop

Selections determine the quality and flexibility of almost every edit you make in Photoshop. Three modern tools — the Object Selection tool, Remove Background with Harmonize, and the Selection Brush — handle the most common selection tasks with far less manual effort, while keeping your original image intact through non-destructive layers....

How to Paint a Digital Background and Composite Wildlife Into It

Building a painted digital background from scratch gives you full control over color, mood, and composition before a single wildlife photo is placed. This walkthrough covers the complete process: blocking in shadows on a black canvas, layering foliage with textured brushes, positioning bird subjects on hand-painted stones, and using...

How to Sharpen Skin Texture Using Frequency Separation in Photoshop

Retouched skin can look great up close but lose all its natural texture the moment you zoom out. Rather than relying on standard sharpening filters, you can recover that texture by duplicating the high-frequency layer inside a frequency separation setup — a method that works whether or not you'...

You’ve successfully subscribed to Photoshop Roadmap
Welcome back! You’ve successfully signed in.
Great! You’ve successfully signed up.
Success! Your email is updated.
Your link has expired
Success! Check your email for magic link to sign-in.