How to Contract a Selection to Eliminate White Edge Artifacts.

How to Contract a Selection to Eliminate White Edge Artifacts.

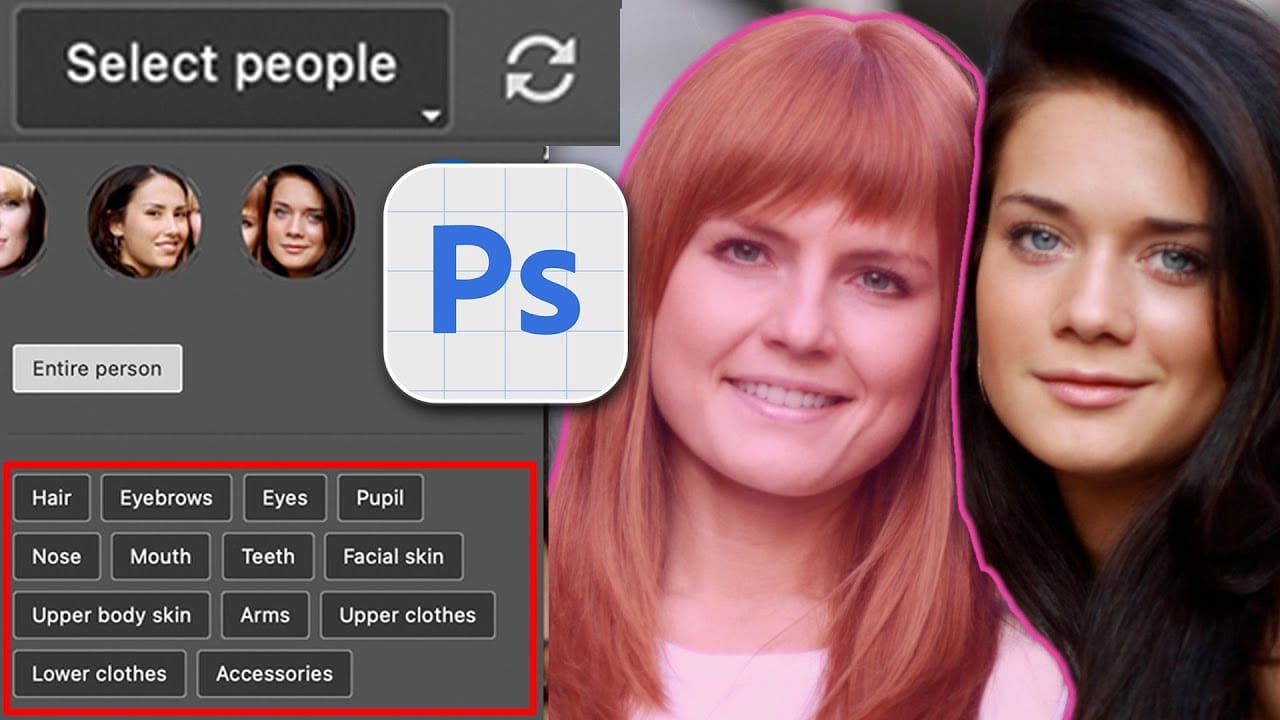
White edge artifacts can ruin otherwise perfect cutouts, appearing as unwanted halos around selected objects after background removal. These artifacts occur when selection edges capture tiny fragments of the original background, creating visible white outlines that become obvious against new backgrounds.

The Contract modifier in Photoshop's Select menu offers a simple solution by shrinking selection edges inward by a specified number of pixels. This technique effectively eliminates edge artifacts while maintaining clean, professional-looking cutouts ready for compositing or saving as transparent PNG files.

Watch the Video

Video by SandraD Imagery. Any links or downloads mentioned by the creator are available only on YouTube

Practical Tips

These techniques will help you achieve cleaner selections without visible edge artifacts:

  • Start with 1-2 pixels for the Contract value - higher values may remove too much of your subject
  • Create a soft light layer filled with neutral gray to preview edge artifacts before applying the contract modifier
  • Use Ctrl+J immediately after contracting your selection to copy the refined selection to a new layer
  • Apply the Contract modifier particularly when working with AI-generated selections or photos with high contrast backgrounds
  • Delete the original background layer after contracting to see the full effect of your edge cleanup

Explore more selection techniques and refinement methods to improve your cutout workflow.

Basic Photoshop techniques you really need to learn
Photoshop hasn’t changed as much as it looks. New features come and go, but the same core techniques keep showing up in real work. If you skip them, everything feels harder than it should. This post focuses on those basics, not as isolated tricks, but as skills you’ll
5 Essential Pen Tool Tips for Better Photoshop Selections
Perfect selections separate amateur work from professional results in Photoshop. When quick selection tools fail on complex subjects with curves and intricate edges, the Pen Tool becomes your most precise option for creating flawless cutouts. These five essential techniques transform the intimidating Pen Tool into a reliable selection method. Master these fundamentals to handle any subject, from smooth curves to sharp corners, with confidence and accuracy. Watch the Tutorial Understanding P
Photoshop Selection Tools: Quick Methods for Better Cutouts
Clean cutouts and precise selections form the foundation of professional composite work in Photoshop. The difference between amateur and polished results often comes down to mastering the right selection techniques for each situation. Sandra demonstrates several quick selection methods that can streamline your workflow and improve your results. These techniques help you choose the most effective approach based on your specific image and project needs. Watch the Tutorial Understanding Select
New Select Body Parts Feature in Photoshop
Achieving precise selections is fundamental to professional photo editing, enabling targeted adjustments and creative transformations. Traditionally, isolating intricate elements like individual body parts or clothing often required meticulous manual masking, a time-consuming and often challenging process, especially with complex subjects. This tutorial introduces Photoshop's advanced "Select People" feature, a significant upgrade to the object selection tool. Viewers will learn how this intell
How to Use Photoshop's Select Subject Tool for One-Click Selections
Complex selections in Photoshop just became effortless. The Select Subject tool uses advanced AI to automatically identify and select main subjects in images, even those with intricate details like bicycle spokes or hair. This tutorial demonstrates how to achieve professional-quality selections with a single click, saving hours of manual masking work. Watch the Video Practical Tips for Using Select Subject * Access Select Subject through the Contextual Task Bar for quickest results - find
Photoshop Object Removal: Remove Tool vs Contextual Remove Button Compared
Photoshop offers two main approaches for removing unwanted objects: the Remove Tool brush and the contextual Remove button that appears after making selections. Each method has distinct advantages depending on your image and workflow needs. This comparison explores both techniques across multiple real-world examples to help you choose the most effective approach for different removal scenarios. Watch the Tutorial Key Techniques for Object Removal * Use the Remove Tool for faster selection
How to use the object selection tool for easy background removal in Photoshop
There are many different ways to cut out images and remove backgrounds in Photoshop, but one of the easiest options is with the object selection tool. This tool allows you to create accurate selections, remove backgrounds, and cut out images with very little effort. It's the perfect tool for both the beginner and advanced photoshop user. In this video, you'll learn everything you need to know about how to use the object selection tool and how you can refine selections in both the rectangle and
How to make difficult selections easy in Photoshop
In this detailed Photoshop tutorial by TutVid, you will be guided through the process of making intricate selections within the software. The focus is on selecting a person and accurately cutting them out using the Select and Mask tool in a two-step approach. This method ensures precise selection edges, making it effective for both clean, straight lines and complex details such as hair. The tutorial aims to equip users with comprehensive knowledge about making refined selections in Photoshop, e
Select People, the most requested new photoshop feature
Achieving precise selections in image editing, especially when dealing with complex subjects like people, has historically been one of Photoshop's most time-consuming tasks. Manual masking of hair, intricate clothing, or multiple individuals often requires significant effort and a keen eye for detail, posing a common challenge for photographers and designers alike. This video introduces a groundbreaking new feature in Photoshop that dramatically simplifies this process. Viewers will discover ho
The Single Best Color Tool in Photoshop
In this tutorial, you will uncover the often-overlooked capabilities of Photoshop's Selective Color Adjustment Layer. This powerful tool allows you to perform both subtle and dramatic color grading, giving your images a polished look similar to fine art. You'll learn techniques to intensify colors, separate various hues for added depth, and achieve better overall color balance in your work. This ensures that your images maintain their vibrancy without the risk of over-saturation. The tutorial
Master Photoshop's Pen Tool in 5 Minutes
The Pen Tool in Photoshop intimidates many designers, yet it remains one of the most powerful selection and shape creation tools in the software. While other selection methods work well for simple shapes, complex objects with curves and precise edges demand the accuracy that only the Pen Tool can deliver. This tutorial breaks down the essential Pen Tool techniques into digestible steps, covering anchor points, control arms, and path creation. By understanding these fundamentals, you'll gain the

Get tutorials & freebies delivered to you.

Subscribe to the Photoshop Roadmap newsletter, a weekly roundup of new tutorials, insights and quality downloads, trusted by 6500+ readers.

You might also like

Create Realistic Rim Light Effects on Portraits in Photoshop

Rim lighting transforms ordinary portraits into dramatic, professional-looking images by adding bright highlights around the edges of your subject. This technique simulates light hitting the outer contours of a person, making them stand out from their background with a natural, glowing effect. The key to convincing rim light lies...

How to Use Photoshop's Layer Cleanup Tool to Organize Messy Projects

Complex editing projects with Generative Fill and Expand often result in dozens of unnamed layers cluttering your workspace. The new Layer Cleanup tool automates the tedious process of renaming layers and removing empty ones, transforming chaotic layer panels into organized, manageable structures. This workflow improvement saves significant time during post-...

How to Use Curves for Composite Color Matching in Photoshop

Curves adjustments are essential for making composite elements look natural and cohesive. Understanding how curves manipulate light values and color channels gives you precise control over matching different elements to their new backgrounds. The key to successful color matching lies in analyzing the color temperature and brightness relationships between your...

How to Fix Color Fringing in Subject Cutouts Using Clipping Masks

Perfect layer masks can still produce disappointing results when color fringing appears around hair and fur edges. This common problem isn't caused by poor masking technique—it's the original background bleeding through at the edges. Clipping masks offer a powerful solution by allowing you to paint...

Create Beautiful Floral Oval Frames for Portraits in Photoshop

Transform ordinary portraits into elegant artwork with decorative floral oval frames that blend seamlessly with your subject. This technique combines traditional framing with digital floral elements, creating a painterly effect that's perfect for fine art prints and creative portraits. The process involves creating an oval cutout, adding custom...

You’ve successfully subscribed to Photoshop Roadmap
Welcome back! You’ve successfully signed in.
Great! You’ve successfully signed up.
Success! Your email is updated.
Your link has expired
Success! Check your email for magic link to sign-in.