How to Create 3D Cylindrical Text Around a Model in Photoshop

How to Create 3D Cylindrical Text Around a Model in Photoshop

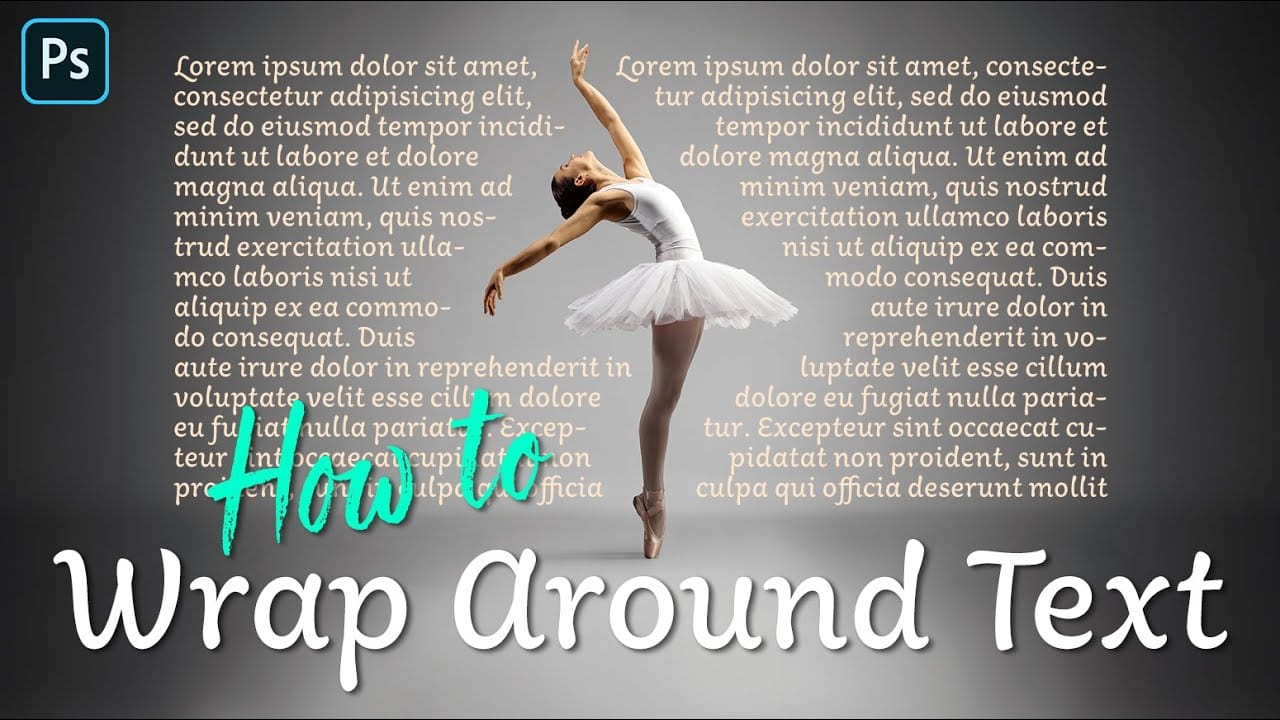
Wrapping text around a three-dimensional cylinder creates dynamic visual effects that make designs pop off the page. This technique transforms flat typography into engaging dimensional elements that appear to curve naturally around objects or models.

The process combines Illustrator's 3D revolve capabilities with Photoshop's masking and layer effects to achieve professional results. You'll learn to create realistic depth and lighting that integrates seamlessly with your subject.

Watch the Tutorial

Video by P A N T E R. Any links or downloads mentioned by the creator are available only on YouTube

Understanding 3D Text Mapping

The cylindrical text effect relies on 3D surface mapping, where flat text gets projected onto a three-dimensional curved surface. This technique mimics how text would naturally appear if printed on a physical cylinder, complete with perspective distortion and shading.

Illustrator's 3D Revolve tool creates this curved surface by rotating a rectangle around a central axis. The Map Art feature then applies your text symbol to specific faces of the resulting cylinder. This approach provides more realistic curvature than manual perspective adjustments in Photoshop alone.

The integration between both programs allows for precise control over the 3D geometry while maintaining Photoshop's superior compositing and lighting capabilities. The workflow ensures your text maintains crisp edges and proper antialiasing throughout the transformation process.

Practical Tips for 3D Cylindrical Text

  • Use bold, sans-serif fonts like Mango Grotesque for better readability on curved surfaces
  • Convert text to outlines in Illustrator before creating symbols to avoid font compatibility issues
  • Enable Invisible Geometry in Map Art to hide the underlying cylinder structure
  • Scale the mapped text to fit the cylinder face completely for seamless wrapping
  • Create separate shadow layers in Photoshop for realistic depth and lighting control

Explore more techniques for creating dimensional text effects in Photoshop.

How to Make a Cartoon 3D Text in Photoshop
In this Photoshop tutorial by Learning Screen, you will learn how to create colorful, funny cartoon-style 3D text. The tutorial guides you through the process of using various Photoshop tools and techniques to achieve a vibrant, playful text effect that stands out. The resulting text is bold and eye-catching, perfect for playful and energetic designs. This tutorial is ideal for projects like posters, children's book covers, or any other creative work that benefits from a fun and dynamic headlin
Easily Create 3D Text in Photoshop
Three-dimensional text adds significant visual impact, giving designs a sense of depth and dimension that can make elements stand out. It's a popular technique for headlines, logos, and graphic elements seeking a dynamic appearance, moving beyond flat designs. This guide explores a straightforward method for creating a compelling 3D text effect in Photoshop, focusing on a technique that leverages layer manipulation and a powerful shortcut to build depth efficiently without complex 3D modeling t
How to Create a Retro 3D Text Design in Photoshop
The allure of retro design continues to captivate, offering a nostalgic aesthetic that can add unique character to modern projects. Creating dynamic 3D text effects is a powerful way to infuse this vintage charm into your digital art, transforming flat typography into eye-catching, dimensional elements. This tutorial provides a comprehensive guide to crafting a compelling retro 3D text design in Photoshop. You will learn essential techniques for building depth, applying intricate layer styles,
How to Wrap Text Around Any Shape in Photoshop
Integrating text seamlessly with complex or irregular shapes can elevate a design from good to exceptional. While standard text boxes are straightforward, the ability to make text flow naturally around the contours of a subject opens up significant creative possibilities, adding dynamism and visual interest to layouts. This tutorial will guide you through the process of wrapping text around any shape in Photoshop, regardless of its irregularity. You will learn practical techniques for selecting

Get tutorials & freebies delivered to you.

Subscribe to the Photoshop Roadmap newsletter, a weekly roundup of new tutorials, insights and quality downloads, trusted by 6500+ readers.

You might also like

Basic Photoshop techniques you really need to learn

Photoshop hasn’t changed as much as it looks. New features come and go, but the same core techniques keep showing up in real work. If you skip them, everything feels harder than it should. This post focuses on those basics, not as isolated tricks, but as skills you’ll...

How to Use Select Subject for Background Removal and Edge Refinement

Background removal becomes effortless when you know how to use the right tools. AI-powered selection can instantly isolate subjects from their backgrounds, but the real skill lies in refining those selections to create professional results. This guide covers the complete workflow from initial selection to edge refinement, plus creative techniques...

How to Wrap Text Around Any Shape in Photoshop

Creating text that flows naturally around irregular shapes transforms static layouts into dynamic, professional designs. This technique works particularly well for posters, magazine layouts, and editorial designs where text needs to integrate seamlessly with complex subjects rather than simply sitting in rigid rectangular boxes. The process combines selection tools, path...

How to Edit Text in Images Using Generative Fill

Changing text within existing images has traditionally required complex masking and reconstruction techniques. Modern AI-powered tools now make it possible to seamlessly replace words and phrases in photographs while maintaining realistic typography, lighting, and perspective that matches the original scene. This technique works particularly well for signs, storefronts, billboards, and...

How to Remove Dust and Sensor Spots Using Photoshop Tools

Dust spots and sensor particles are inevitable challenges in digital photography, appearing as dark specks that distract from otherwise clean images. Camera sensors collect dust over time, creating consistent spots that show up across multiple photos, particularly in bright sky areas or uniform backgrounds. Both Lightroom and Photoshop offer specialized...

Photoshop vs Affinity Photo: Feature Comparison and Professional Analysis

When choosing professional photo editing software, the decision often comes down to comparing features, performance, and value. This detailed comparison examines the core capabilities of both applications across noise reduction, smart selections, object removal, masking, and AI-powered tools. The analysis covers real-world scenarios that professionals encounter daily, from complex background...

You’ve successfully subscribed to Photoshop Roadmap
Welcome back! You’ve successfully signed in.
Great! You’ve successfully signed up.
Success! Your email is updated.
Your link has expired
Success! Check your email for magic link to sign-in.