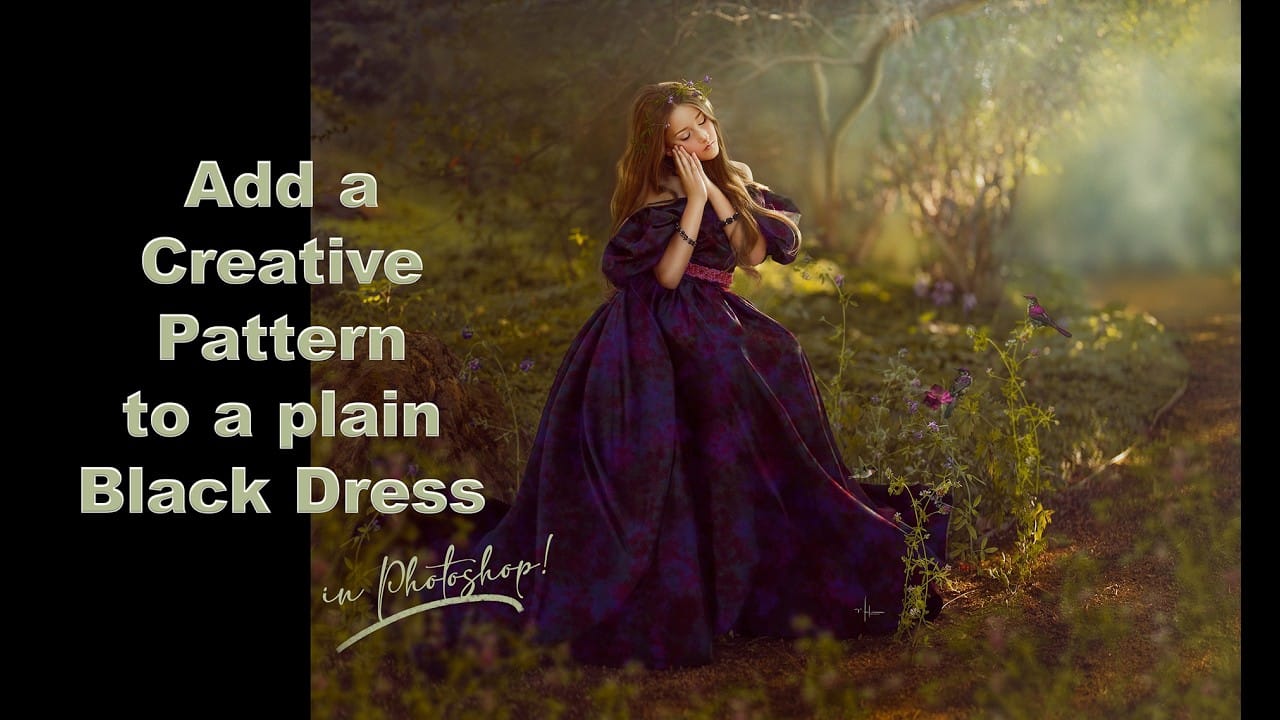
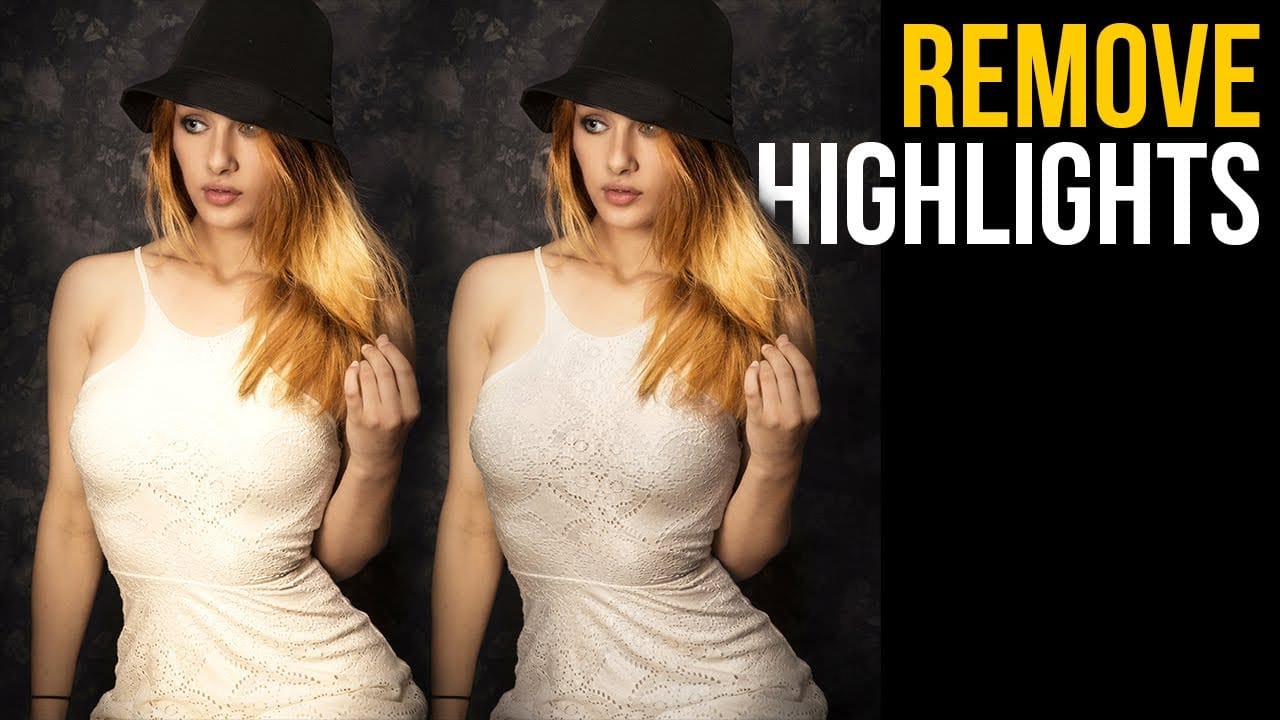
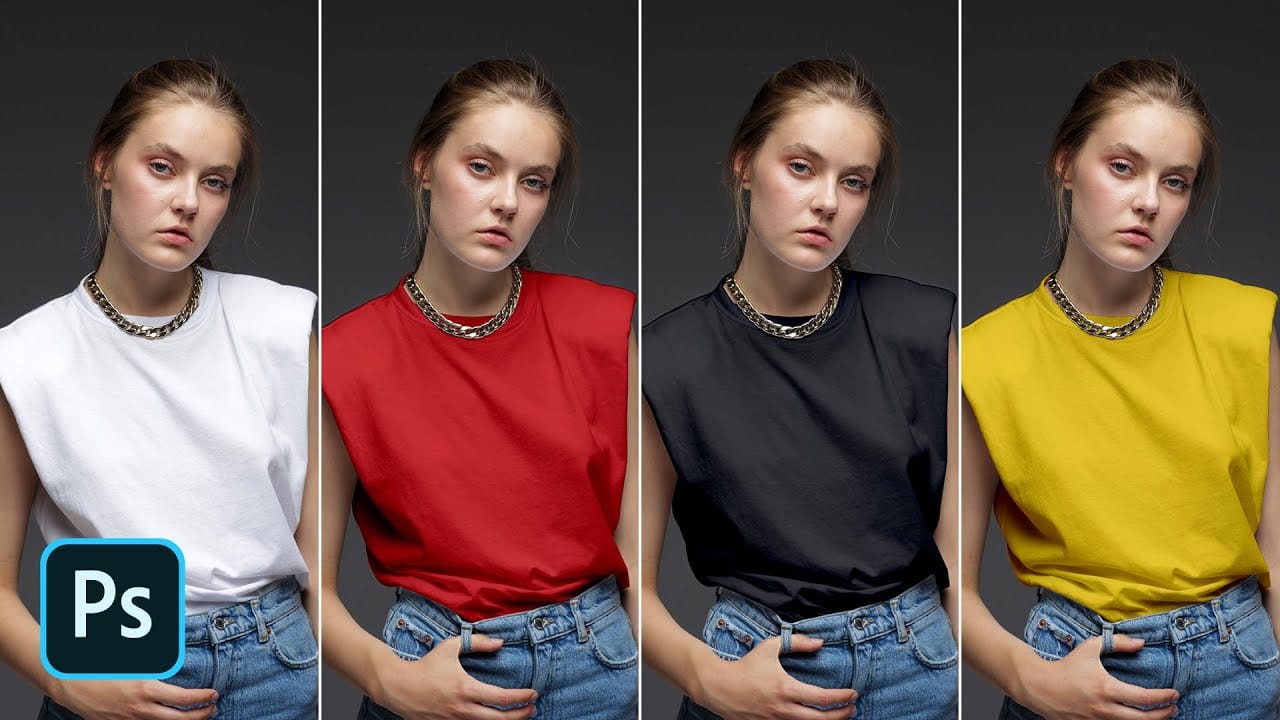
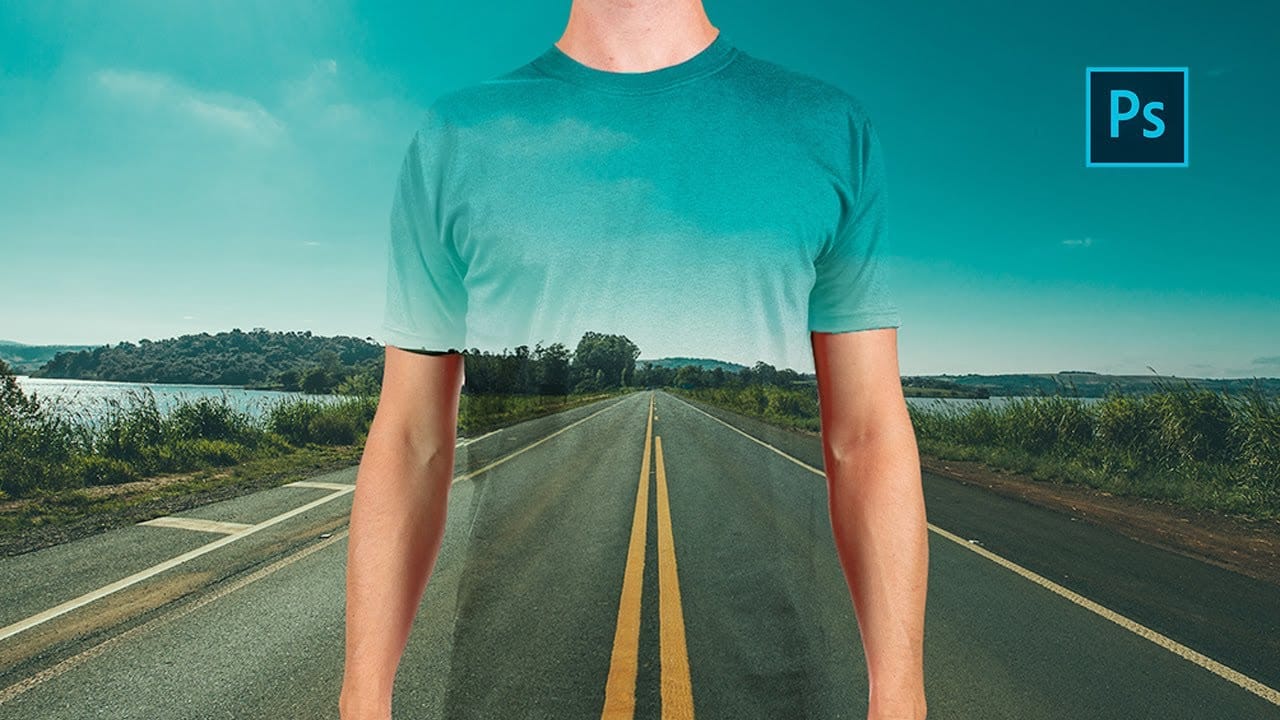
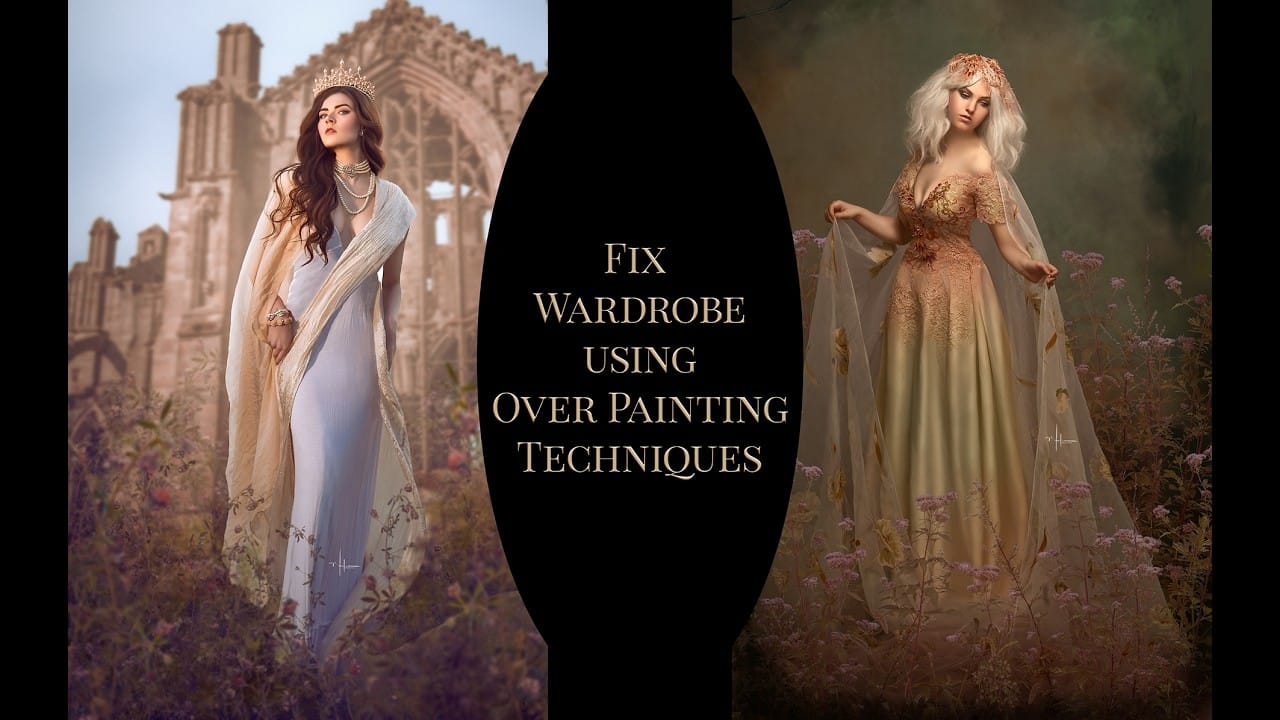
A plain or unflattering dress doesn't have to stay that way after the shoot. By overpainting directly onto the fabric and layering lace overlays on top, you can reshape, extend, and completely restyle clothing in post — without reshooting.
This walkthrough covers the full process: extending the canvas, painting new fabric with sampled tones, building contact shadows, and warping lace overlays to follow the fabric's shape using masks and blend modes.
Watch the Video
Video by Nikki Harrison's Fine Art Academy. Any links or downloads mentioned by the creator are available only on YouTube
Practical Tips
These techniques work best when applied with attention to tonal structure — sampling accurately and maintaining realistic shadows will make both the painted fabric and the lace overlays look convincing.
- Sample colors constantly while overpainting. Pulling tones directly from the existing fabric keeps your painted areas consistent with the original lighting and avoids a flat, uniform look.
- Build a contact shadow where the fabric meets the ground. Using a multiply blend mode with a dark color directly beneath the painted dress adds grounding and makes the extended fabric feel physically present.
- Warp lace overlays to follow the fabric's shape before masking. Fitting the overlay to the general contour of the dress first — before you paint it on with a mask — produces a much more natural result than applying it flat.
- Reduce lace opacity in shadow areas. Where the painted fabric is darker, the overlay should be less visible; pulling back brightness in creases and shadowed folds keeps the lighting believable.
- Use Fill rather than Opacity when working with light-enhancing blend modes like Color Dodge. Reducing Fill preserves the blend mode's shine effect while controlling intensity in a way that Opacity alone does not.
Related Articles and Tutorials
More tutorials on painting, blending, and retouching clothing and fabric in Photoshop.