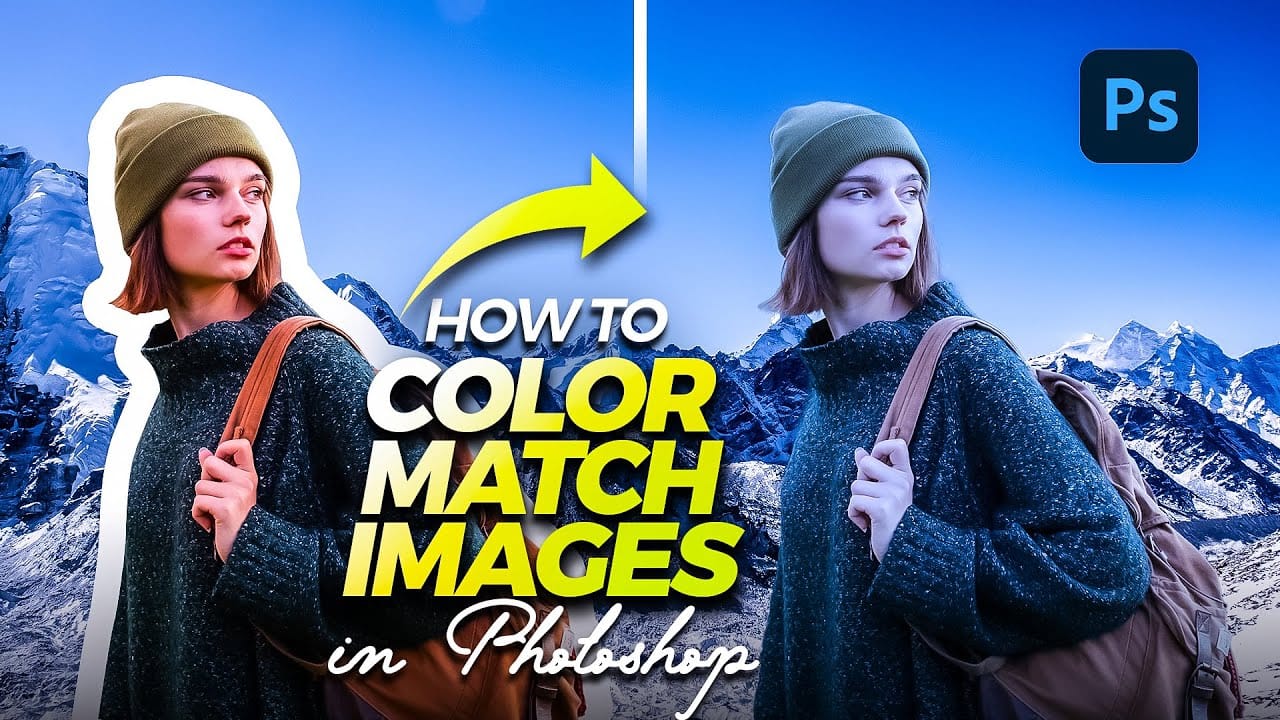
Color average creates a unified color tone by analyzing all the colors in your image and calculating their mathematical average. This technique adds depth and cohesion to photos, composites, and AI-generated images by applying a subtle color wash that ties all elements together.
The method works particularly well for composites where different source images need to feel like they belong in the same scene, or when you want to enhance the existing color palette of any image.
Watch the Video
Video by SandraD Imagery. Any links or downloads mentioned by the creator are available only on YouTube
Practical Tips
Essential techniques for applying color average effectively to your images:
- Apply the average filter by going to Filter > Blur > Average to let Photoshop calculate the dominant color automatically
- Experiment with different blend modes like Overlay, Soft Light, Color Burn, or Multiply to achieve varying color effects
- Reduce opacity when the color effect appears too strong, allowing for subtle color enhancement rather than dramatic changes
- Use layer masks with a black brush to selectively remove the color average from specific areas like faces or important details
- Apply this technique at the end of your workflow to unify all elements and create a cohesive final color palette
Related Articles and Tutorials
Explore more advanced color techniques to enhance your image editing workflow:
Color Correction Using Lab Mode in Photoshop
Most color adjustments in RGB mode quickly look unnatural because the red, green, and blue channels control both color and brightness simultaneously. LAB color mode separates lightness from color information, letting you make dramatic color changes while preserving the original tonal range and depth of your image.
This approach gives you far more flexibility when pushing colors to creative extremes without the flat, oversaturated look that often results from aggressive RGB adjustments.
Watch
Create a bright and beautiful color grade in Photoshop
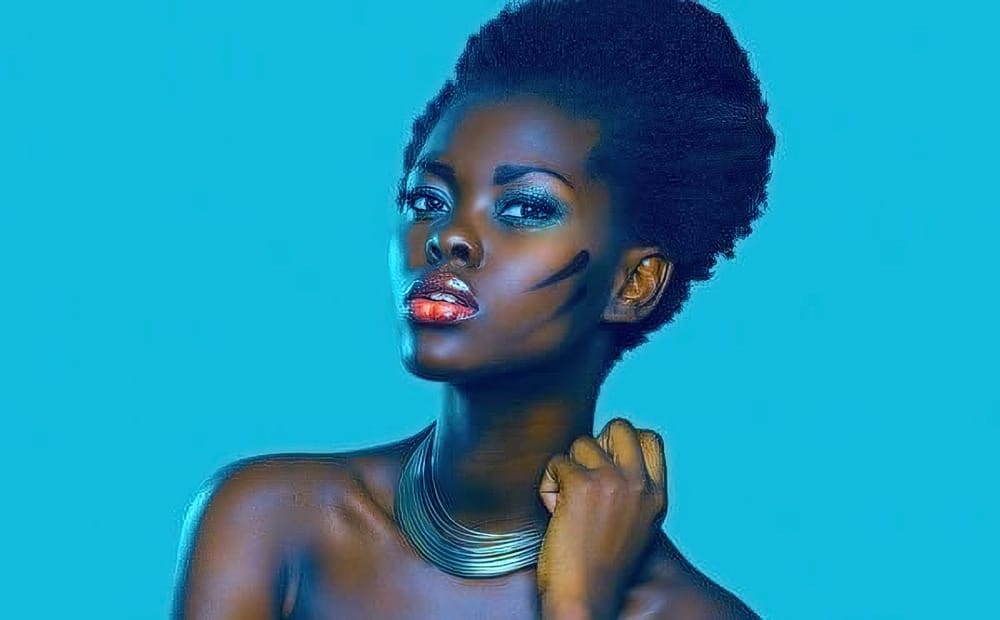
In this tutorial, Aaron Nace from Phlearn demonstrates how to enhance your photos with a bright and vibrant color grade using the Camera RAW filter in Photoshop. This technique is particularly effective for model photography and landscape shots, offering a way to elevate the visual appeal of your images with a polished, professional finish.
Aaron guides you through the process of applying and adjusting color grades, showing how the Camera RAW filter can be used to fine-tune colors and achieve a
How to Match Color in Photoshop for Beginners
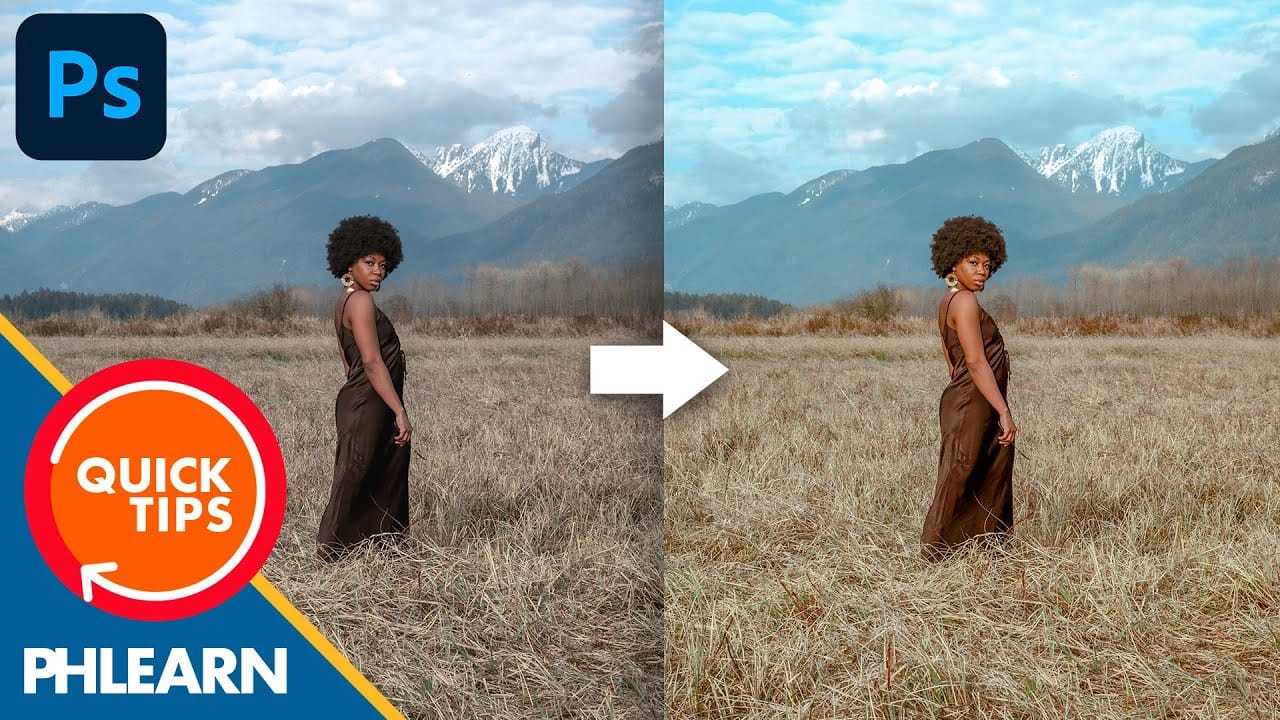
Compositing images often requires precise color matching. When combining elements from different sources, slight variations in tone can disrupt the visual harmony, making the final image appear unnatural. Achieving a cohesive look is crucial for professional results.
This tutorial offers a straightforward method to blend disparate image elements seamlessly. The video demonstrates how to use Photoshop's built-in tools, specifically the Curves adjustment layer and Camera Raw, to unify the color p
The Single Best Color Tool in Photoshop
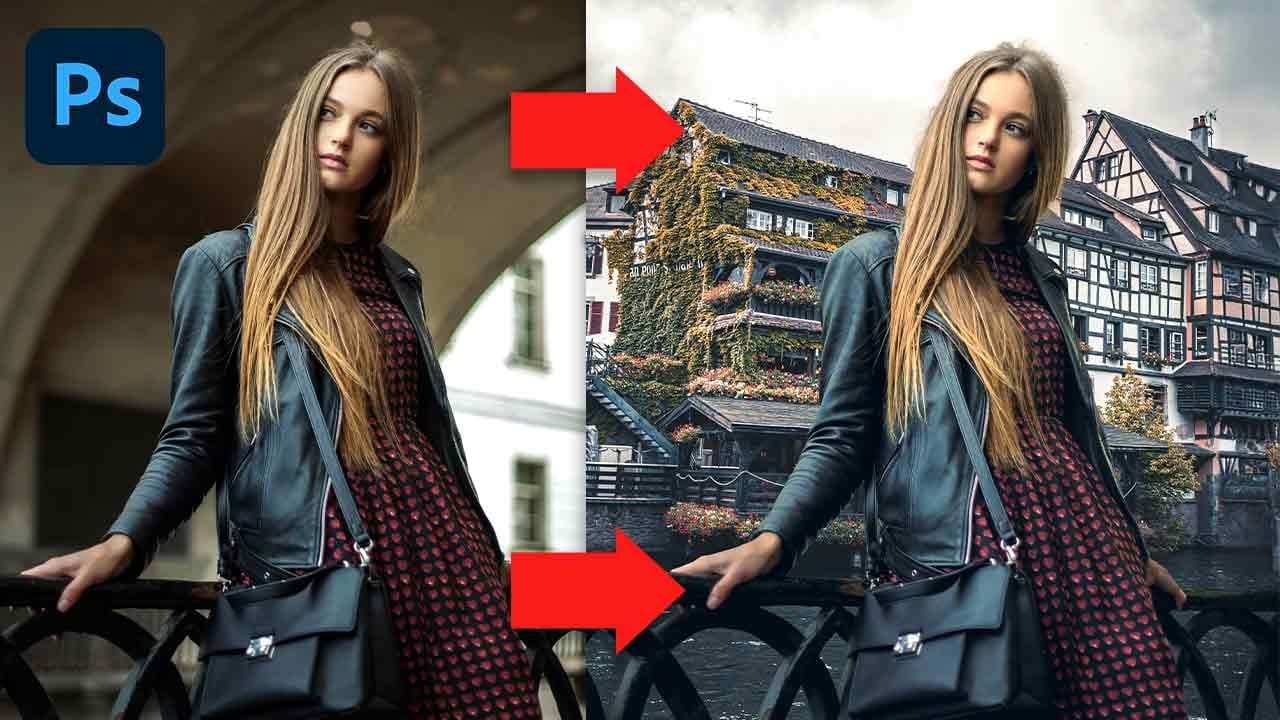
In this tutorial, you will uncover the often-overlooked capabilities of Photoshop's Selective Color Adjustment Layer.
This powerful tool allows you to perform both subtle and dramatic color grading, giving your images a polished look similar to fine art. You'll learn techniques to intensify colors, separate various hues for added depth, and achieve better overall color balance in your work. This ensures that your images maintain their vibrancy without the risk of over-saturation.
The tutorial

How to Change Black and White to Any Color in Photoshop
Standard color adjustment tools fail when you try to change pure black or white elements in your photos. These neutral tones lack the hue and saturation data that typical color replacement methods require.
This technique uses Hue/Saturation adjustment layers with strategic lightness modifications to transform both black and white areas into any color you need.
Watch the Tutorial
Essential Tips for Changing Black and White Colors
* Use the Object Selection tool with rectangle mode for fast
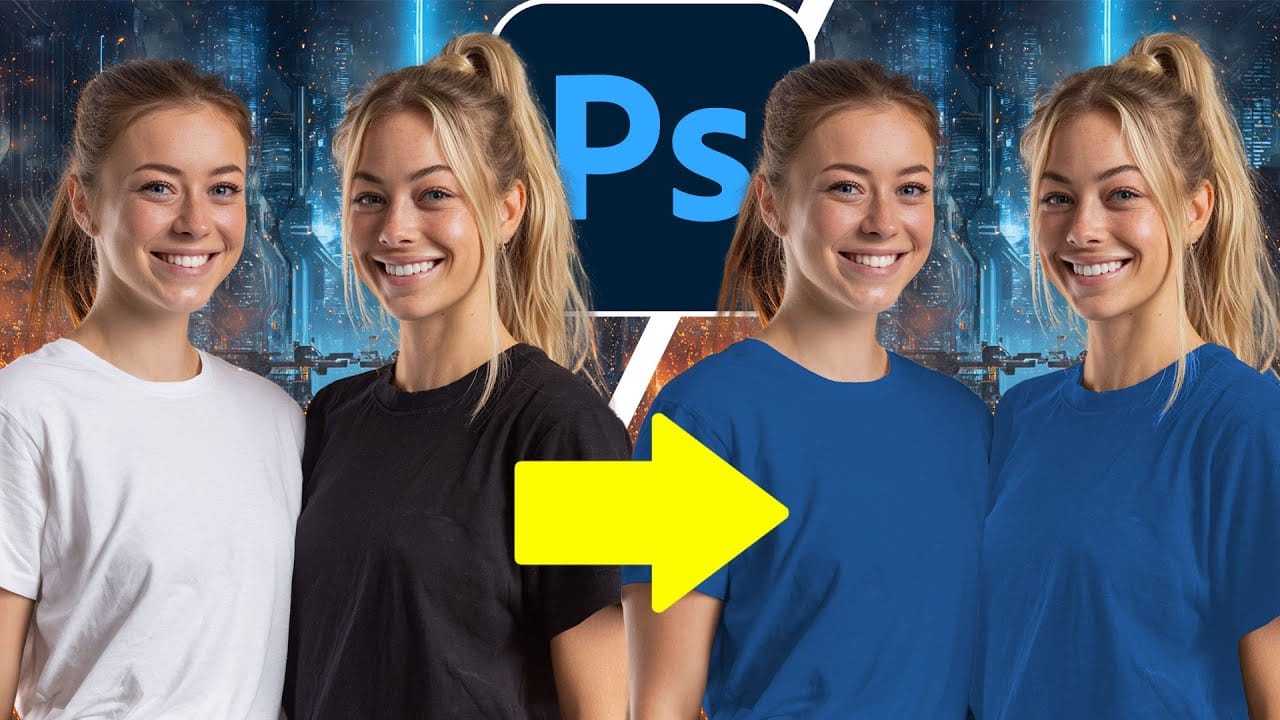
How to Change Black into Any Color in Photoshop
In this tutorial, Aaron Nace demonstrates how to transform black elements in your images into any color using Photoshop. This technique involves utilizing Levels and Hue/Saturation Adjustment Layers to achieve the desired color changes.
Aaron guides you through the process of adjusting these settings to effectively modify black areas in your photos. This method is particularly useful for fashion and product photo retouching, allowing you to customize colors for creative or branding purposes.
T
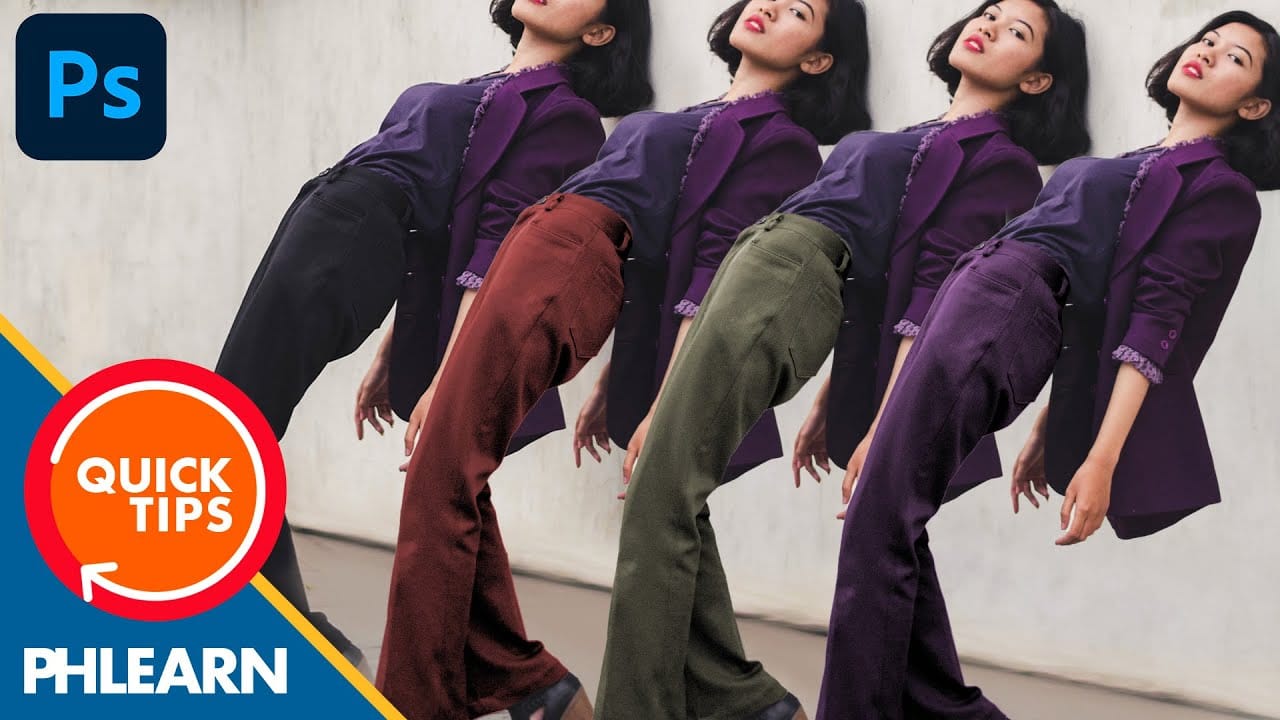
New Photoshop Feature for Changing Colors
Working on the color palette of an image is a fundamental task in photo editing, enabling designers and photographers to evoke different moods, correct imbalances, or simply reimagine visual elements. While Photoshop has long offered robust tools for color manipulation, achieving precise and natural-looking changes often required a multi-step workflow and a deep understanding of complex adjustments.
This video introduces a groundbreaking new feature in Photoshop's beta version, designed to stre
Six easy ways to select colors in Photoshop
In this episode of "3, 2, 1… Photoshop!", longtime Adobe evangelist Julieanne Kost shares essential tips and tricks for selecting colors in Photoshop. Julieanne introduces six easy methods to choose colors effectively, whether you're working on a detailed project or just need a quick color pick.
You'll learn how to use the eyedropper tool for precise color selection, manipulate foreground and background colors, and utilize the heads-up-display (HUD) color picker for a more interactive experienc
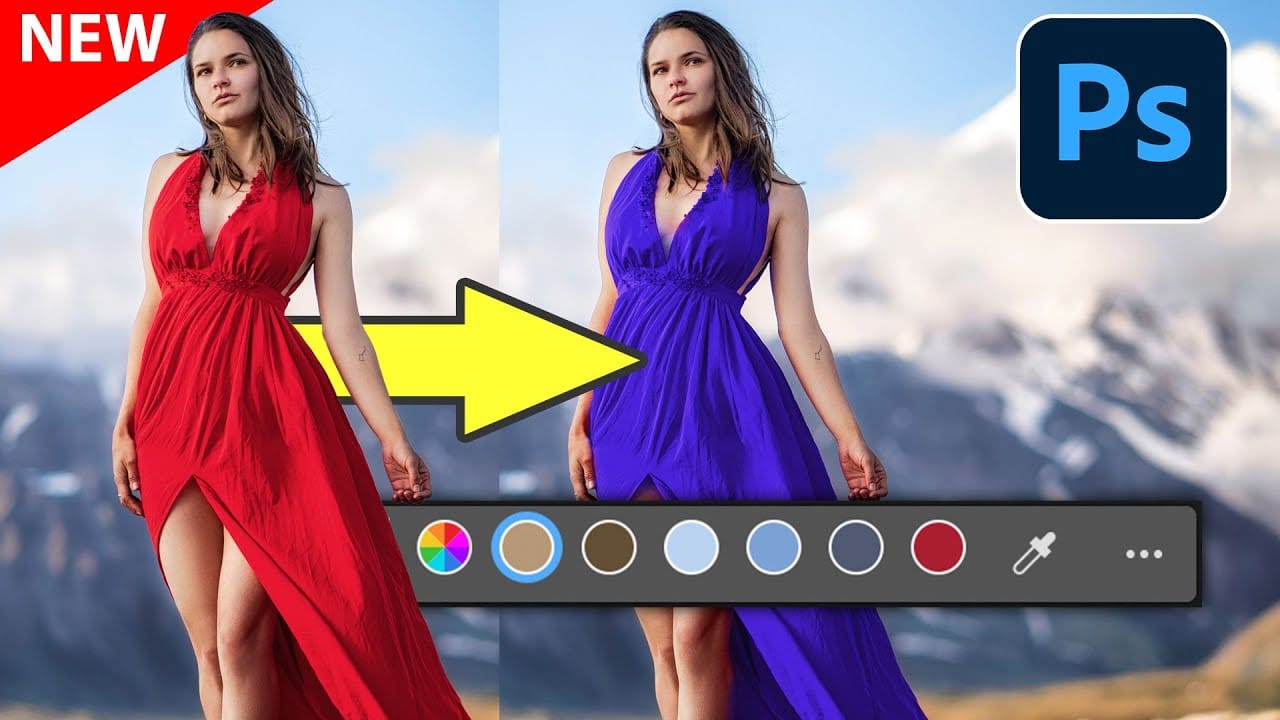
The easiest way to change any color in Photoshop
Changing the color of specific elements within an image can often be a frustrating challenge for designers and photographers. Achieving a precise color shift without affecting surrounding areas, or dealing with complex selections, often leads to a time-consuming and imperfect process.
This guide introduces a highly efficient method utilizing Photoshop's latest updates, specifically the "Adjust Colors" feature found in the contextual taskbar. This technique simplifies accurate color manipulation
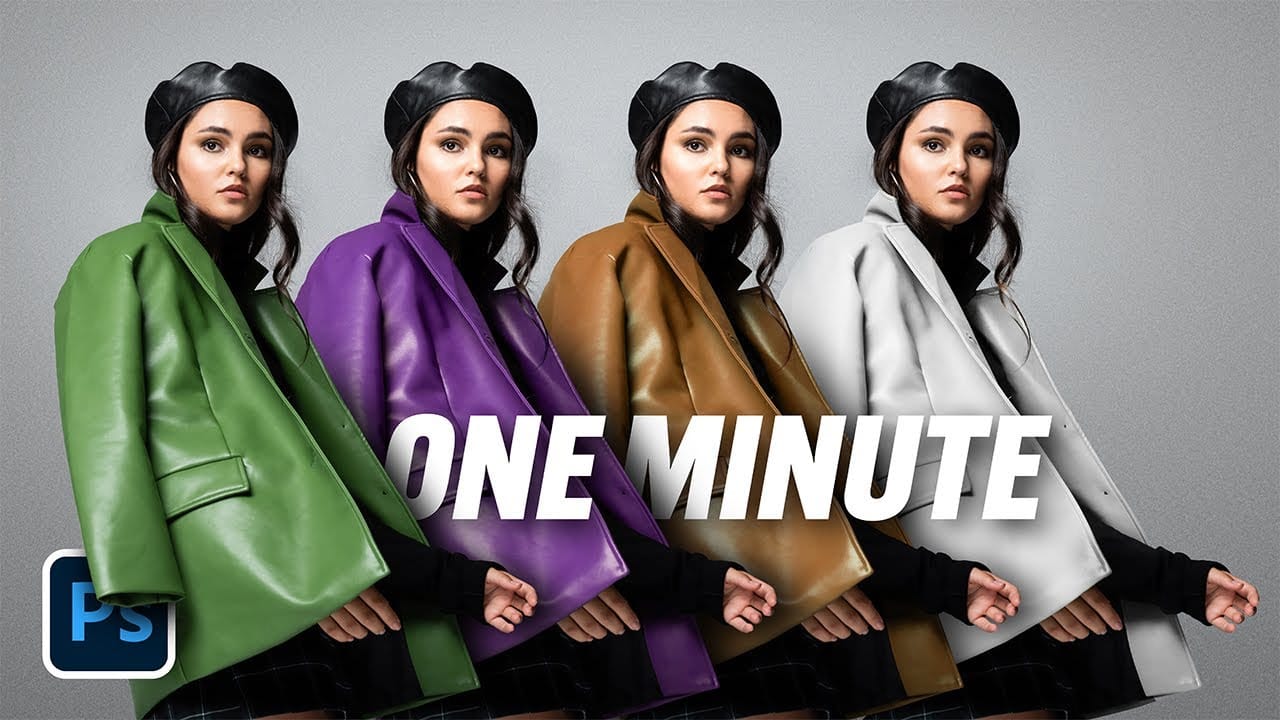
Quick and Easy Method for Color Matching Images in Photoshop
Achieving visual harmony in composite images is a cornerstone of professional photo editing. When combining elements from different sources, discrepancies in color and lighting can immediately break the illusion of a unified scene, making the final image appear unnatural or poorly constructed.
This tutorial demonstrates a straightforward yet powerful method within Photoshop to perfectly align the color profiles of disparate images. Viewers will learn how to leverage Photoshop's built-in tools t