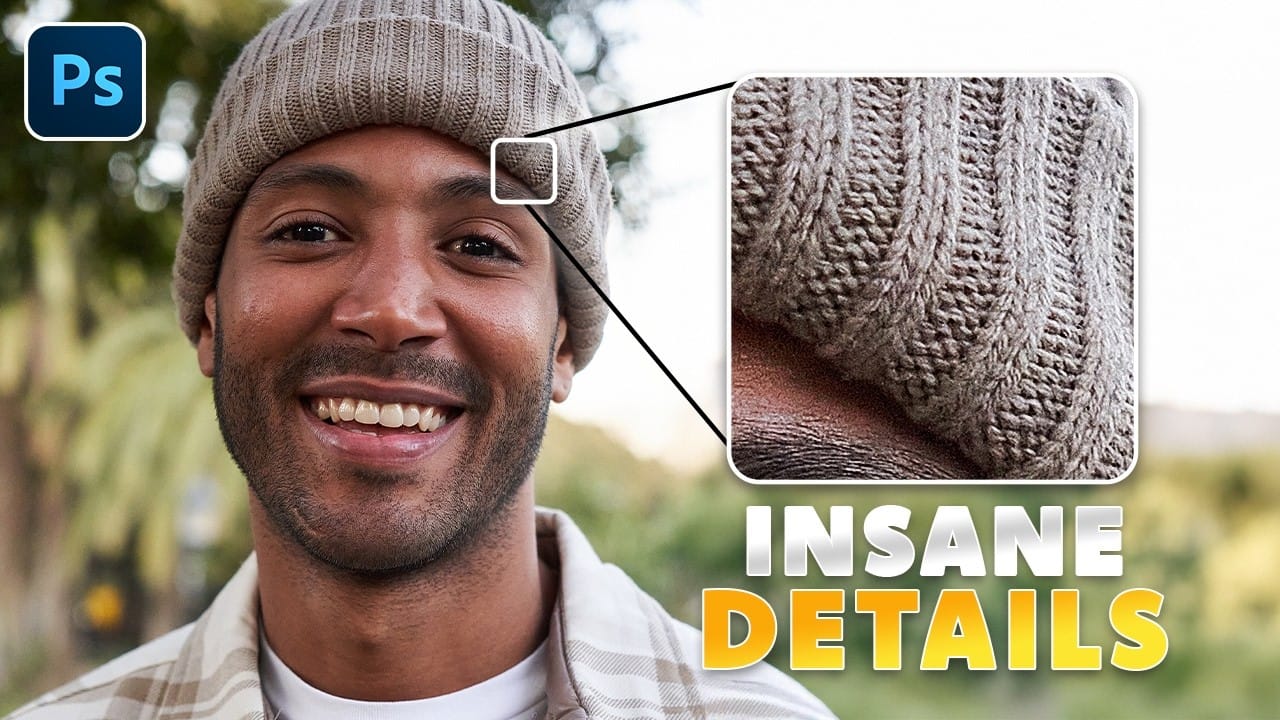
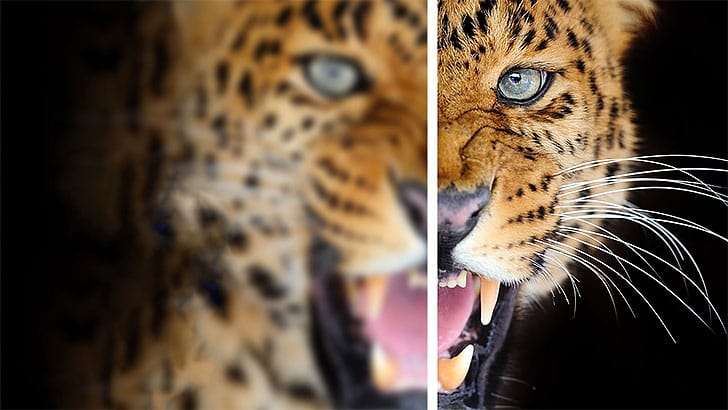
Photoshop's new AI Sharpen filter promises one-click sharpening powered by advanced algorithms. This tool uses technology from Topaz Labs to enhance image details without manual adjustments, but it comes with a significant cost in credits.
Understanding when to use this automated approach versus traditional methods like the High Pass filter can save you both time and credits while achieving the sharpening results you need.
Watch the Video
Video by Brendan Williams. Any links or downloads mentioned by the creator are available only on YouTube
Practical Tips
Here are essential tips for making the most of both AI and traditional sharpening methods:
- Always duplicate your image layer before applying any sharpening to maintain non-destructive editing
- Calculate your image's megapixels by multiplying width × height ÷ 1,000,000 to understand credit costs
- Use the High Pass filter method at 70% opacity as a cost-effective alternative that produces similar results
- Avoid using AI Sharpen on heavily denoised or very blurry images where results are minimal
- Control sharpening intensity by reducing layer opacity or adding layer masks to exclude specific areas
Related Articles and Tutorials
Explore more techniques for achieving sharp, professional results in your photo editing workflow.
Why Pro Photographers Are Switching to Topaz Photo AI — And You Should Too.
Fix challenging on location photos with Topaz Photo AI. AI-powered noise reduction, sharpening & upscaling for professional results. Free trial
The only Photohop Sharpening Tool You Need
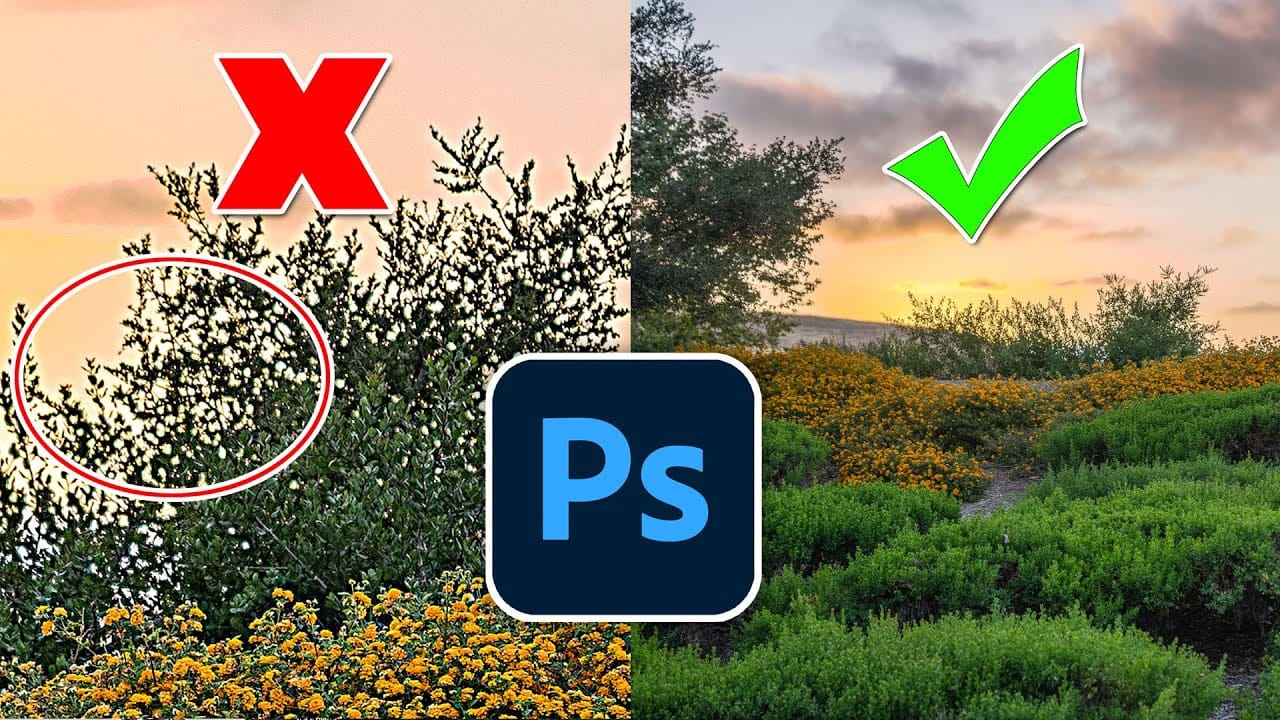
Achieving sharp, detailed images is a common goal for photographers and designers, yet many find the process frustrating. Traditional sharpening tools can often lead to over-processed results, introducing halos, noise, or an unnatural appearance. The challenge lies in enhancing clarity without sacrificing image quality or introducing unwanted artifacts.
This tutorial reveals a powerful and often overlooked technique for precise image sharpening in Photoshop. By mastering the application of the
How to Use Photoshop 2026's New AI Upscale, Sharpen, and Denoise Filters
Photoshop 2026 introduces three powerful AI filters that transform low-quality images into crisp, professional results. These tools tackle common photo problems: pixelated enlargements, soft details, and grain from low-light conditions.
Each filter uses advanced AI models to enhance different aspects of your images, with options ranging from standard to premium quality depending on your Creative Cloud plan.
Watch the Tutorial
Key Tips for AI Image Enhancement
* Choose Topaz Gigapixel for

Hidden trick to perfectly sharpen photos in Photoshop
In this detailed tutorial, Colin Smith from Photoshop Cafe uncovers a sophisticated technique for achieving impeccable sharpening results in Photoshop. He dives deep into three essential sharpening methods: Smart Sharpen, High Pass, and Unsharp Mask, each of which offers distinct advantages depending on your editing needs.
Colin's approach goes beyond basic sharpening techniques, incorporating a clever twist that enhances the effectiveness of these tools. He demonstrates how to leverage Smart S
How to Sharpen Images in Photoshop
In this tutorial by kelvin Pimont from Kelvin Designs, you will learn a few ways to sharpen your images and photos in Photoshop. From Unsharp Mask, to High Pass filter, to sharpen tool and using Camera Raw. Many ways to sharpen images in Photoshop!
There's a bunch of different ways to sharpen an image using different tools and different filters. The biggest challenge is to know when and why should you use some over others or sometimes mix them.
In this tutorial, Kelvin goes over a few differen
Topaz Labs Bloom: Creative Upscaling Made Simple and Effective
Topaz Labs recently introduced Bloom, a web app that enlarges AI-generated images by up to 8×, opening new creative possibilities for digital artists.

Learn how to sharpen images properly in Photoshop
The article provides a step-by-step guide on how to properly sharpen images in Photoshop. It explains a non-destructive method that allows users to beautifully enhance their images with just a few simple steps.
The tutorial walks the reader through the process of sharpening an image in Photoshop. It outlines the key techniques and settings to use in order to achieve the desired level of sharpness without damaging the original file. The article emphasizes the importance of using a non-destructiv
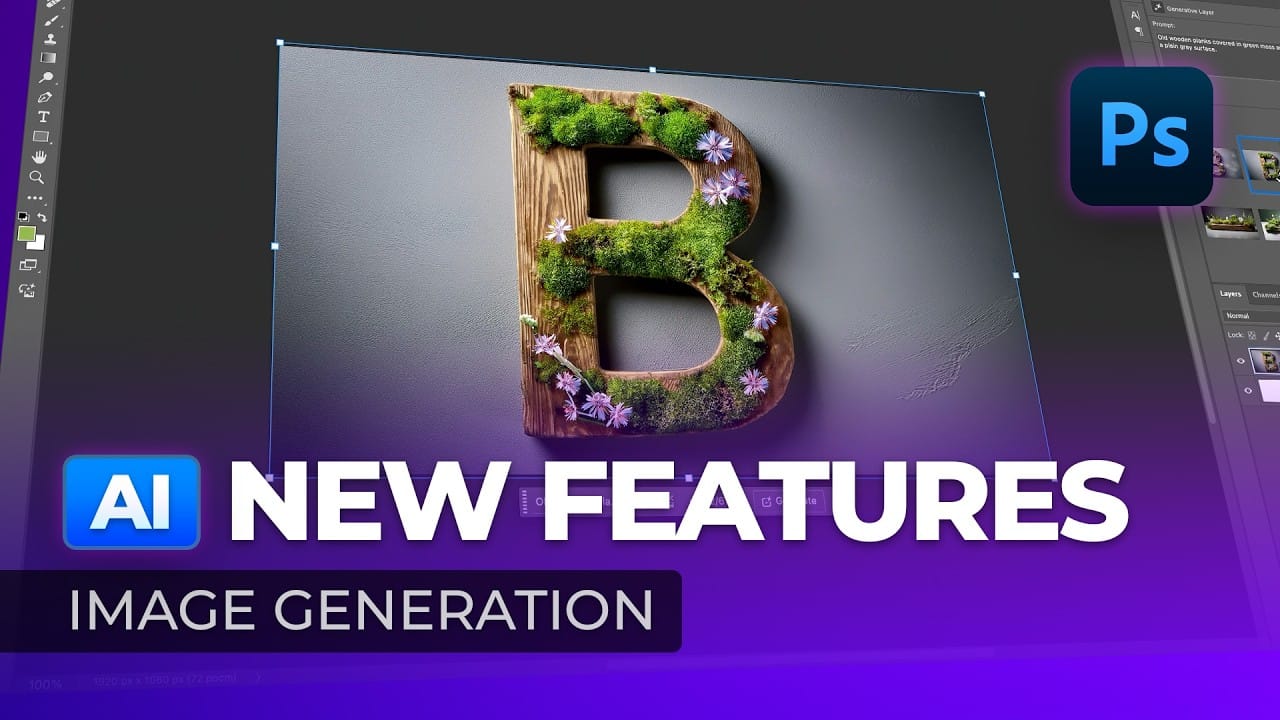
New Photoshop AI Features – Smarter, Faster, and More Efficient Tools!
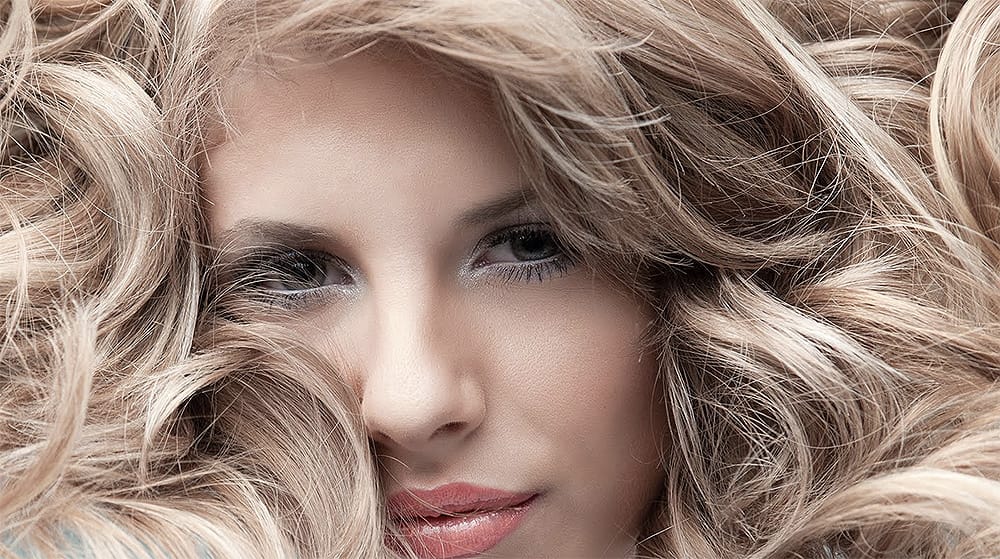
Editing detailed selections, adjusting colors, and removing backgrounds in Photoshop can be tedious, especially when working with complex edges like hair or challenging objects. Manual work often stalls creative flow and makes it tough to achieve clean, professional results on tight deadlines.
This article introduces essential, time-saving features in the latest Photoshop update—including advanced AI-powered selection, color, and removal tools. Learn how these updates streamline everyday editin