Photoshop 2025: New Adjustment Brush Tool Explained

Photoshop 2025: New Adjustment Brush Tool Explained

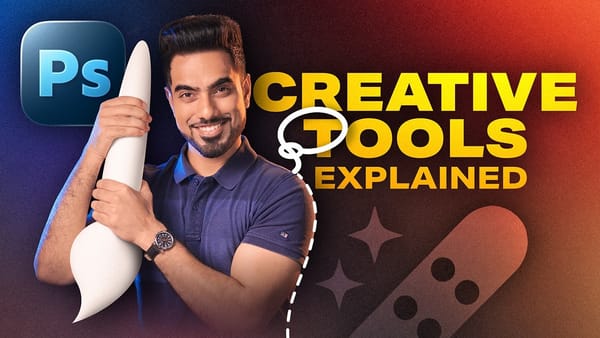
This tutorial by Aaron Nace introduces the new Adjustment Brush Tool in Photoshop 2025. This tool lets you make specific adjustments to the color and light in areas of your image. The tool creates a separate adjustment layer, meaning you can edit your image without changing the original information. You can find the Adjustment Brush Tool in the Tools panel and select properties like Hue, Saturation, Brightness, Contrast, and Exposure to adjust.

The tutorial explains that to start, you open your image and select the Adjustment Brush Tool. Then, you paint on the areas you want to change, adjusting the opacity and flow settings for desired intensity and gradual transitions. The "Apply to Object" feature allows for precise adjustments to individual objects. To further modify, you can use black or white brushes on the layer mask to hide or reveal adjustments.

You can also create smooth transitions using gradients with the Adjustment Brush. There are different gradient presets to choose from, including black to white, linear, and radial gradients. You can adjust the gradient's angle, shape, and colors using the Gradient Editor or Options bar. For more vibrant color changes, enable the "Colorize" option and apply a specific color to your chosen areas.

Get tutorials & freebies delivered to you.

Subscribe to the Photoshop Roadmap newsletter, a weekly roundup of new tutorials, insights and quality downloads, trusted by 6500+ readers.

You might also like

How to Expand Photos Beyond Their Edges Using AI Generative Expand in Photoshop

Sometimes your best photos need more breathing room or a different aspect ratio. Generative Expand in Photoshop lets you extend your canvas beyond the original image boundaries, using AI to intelligently fill in missing areas with content that matches your scene. This technique works for changing portrait photos to landscape...

How to Create Digital Scrapbook Carousels in Photoshop

Digital scrapbook pages capture memories beautifully, but a single page limits your storytelling. Creating a carousel format lets you design multiple connected panels that work together as one cohesive piece while giving viewers more content to explore. This technique uses frames, custom shapes, and smart export settings to build templates...

How to Use Auto Align Layers in Photoshop for Perfect Layer Alignment

When working with multiple layers that need perfect alignment, manual positioning often falls short. Slight camera movement, different crops, or rotated images can make precise alignment seem impossible through visual adjustment alone. Auto Align Layers automatically handles rotation, scaling, and positioning to create perfect layer alignment, even when images have...

How to Use Nano Banana Pro in Adobe Firefly for Advanced AI Image Generation

Adobe Firefly now includes Gemini 3 with Nano Banana Pro, offering sharper 2K image generation with improved text clarity and precision blending. This advanced AI model works seamlessly within Firefly's generative workspace, enabling powerful workflows like multi-image composition and virtual try-on effects. The integration provides access to sophisticated...

Create Colorful Retro Text Compositions in Photoshop

Retro design trends continue to captivate audiences with their bold colors and geometric shapes. This tutorial demonstrates how to build a complete vintage-inspired composition using text, geometric elements, and vibrant color schemes that capture the essence of classic graphic design. You'll learn to combine typography with custom shapes,...

You’ve successfully subscribed to Photoshop Roadmap
Welcome back! You’ve successfully signed in.
Great! You’ve successfully signed up.
Success! Your email is updated.
Your link has expired
Success! Check your email for magic link to sign-in.