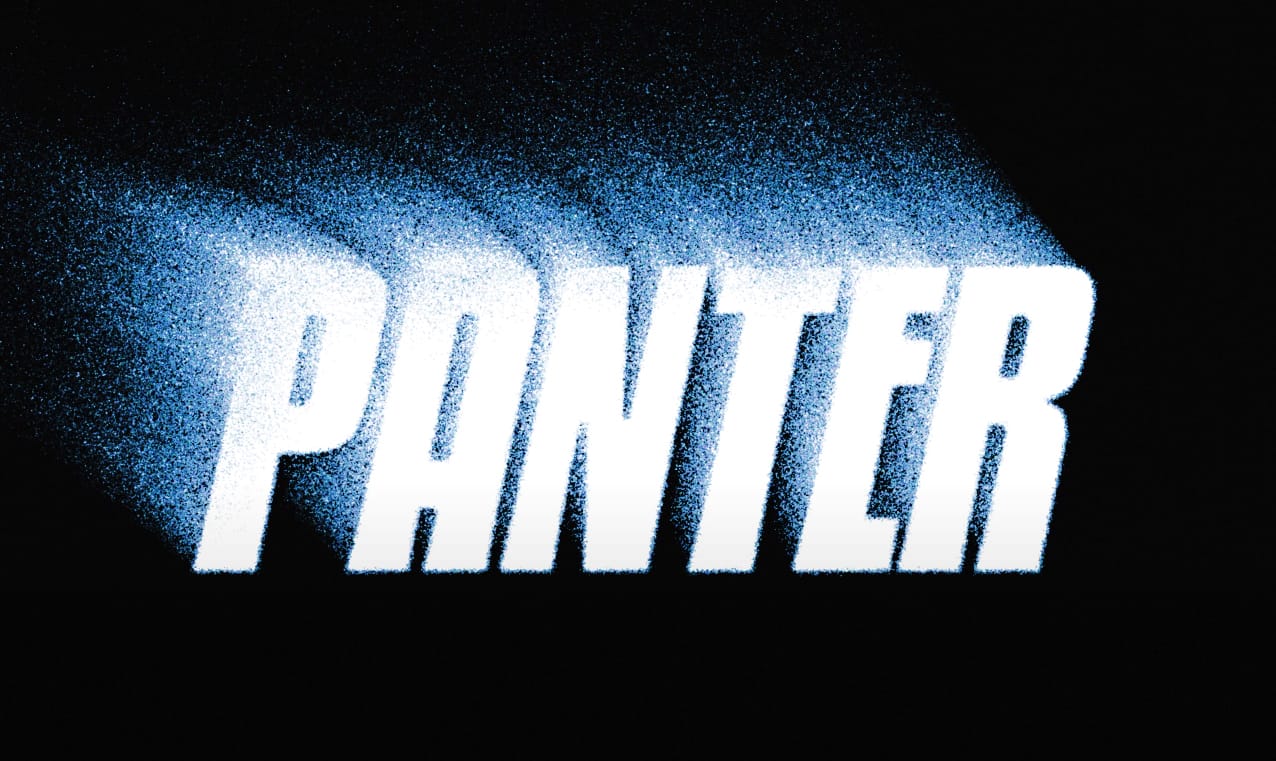
Smoke-like text effects create the illusion of letters dissolving into ethereal trails, perfect for mystical designs, horror themes, and abstract typography. The wavy motion blur technique transforms static text into dynamic visual elements that appear to drift and flow across the canvas.
This effect combines Photoshop's Path Blur filter with gradient mapping to create convincing smoke trails that bend and curve naturally from your text.
Watch the Tutorial
Video by P A N T E R. Any links or downloads mentioned by the creator are available only on YouTube
Practical Tips for Motion Blur Text
- Use bold, thick fonts for better visibility through the blur effect
- Create 3-4 duplicate layers with decreasing blur speeds (40, 20, 15, 10) for realistic depth
- Uncheck "Centered Blur" to make the effect flow outward from the text
- Drag path control points to create natural curves in the smoke trail
- Apply gradient maps with multiple color stops for enhanced atmospheric effects
Related Articles and Tutorials
Explore more creative text effects and motion blur techniques:
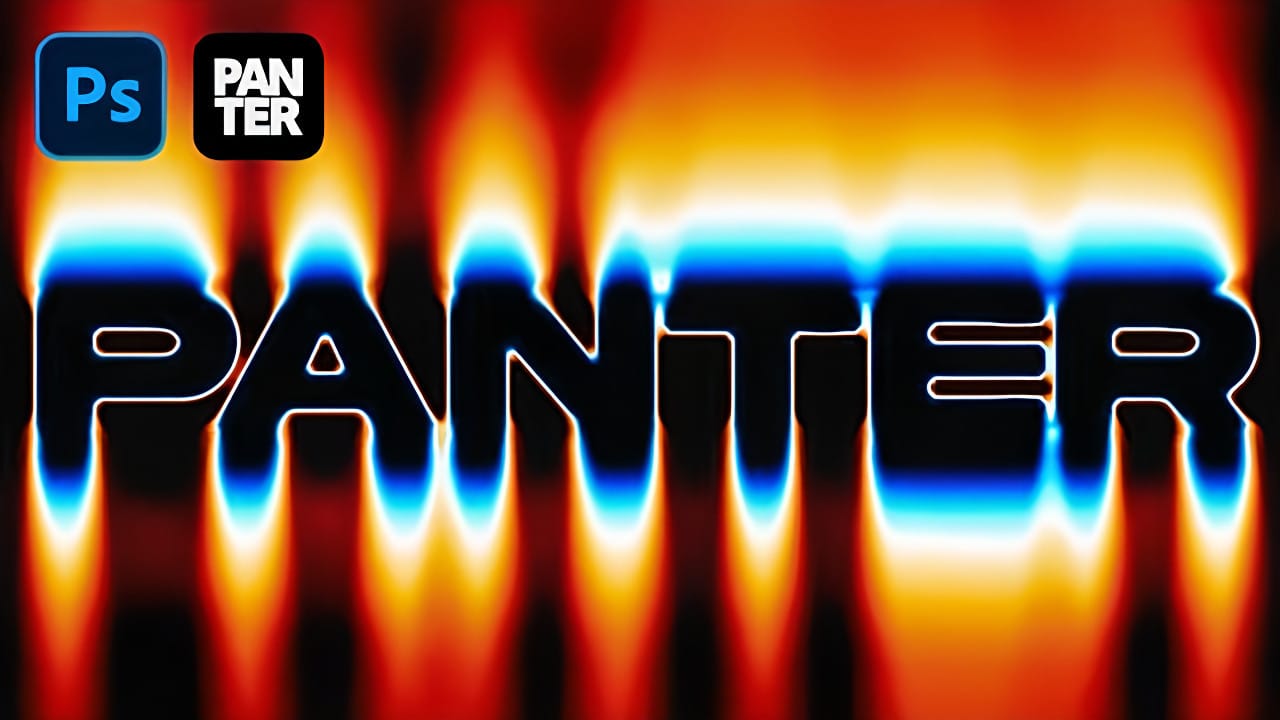
Create Fire Text with Motion Blur and Gradients in Photoshop
Fire text effects bring raw energy and dynamic movement to any design project. The combination of motion blur and colorful gradients creates the illusion of blazing flames trailing behind text, perfect for logos, posters, and dramatic typography.
This technique transforms static lettering into something that appears to be racing across the screen, leaving a fiery wake behind it.
Watch the Tutorial
The Science Behind Motion Blur Effects
Motion blur occurs naturally when objects move faster
How to Make Grungy Ghost Text Effects in Photoshop
Ghost text effects combine ethereal transparency with gritty texture to create typography that feels both haunting and visually striking. This design technique has become increasingly popular in horror-themed projects, album covers, and creative branding where designers want to convey mystery or edginess.
This tutorial demonstrates how to build a convincing grungy ghost text effect using Photoshop's blur gallery, blend modes, and texture techniques. You'll learn to create translucent, distorted
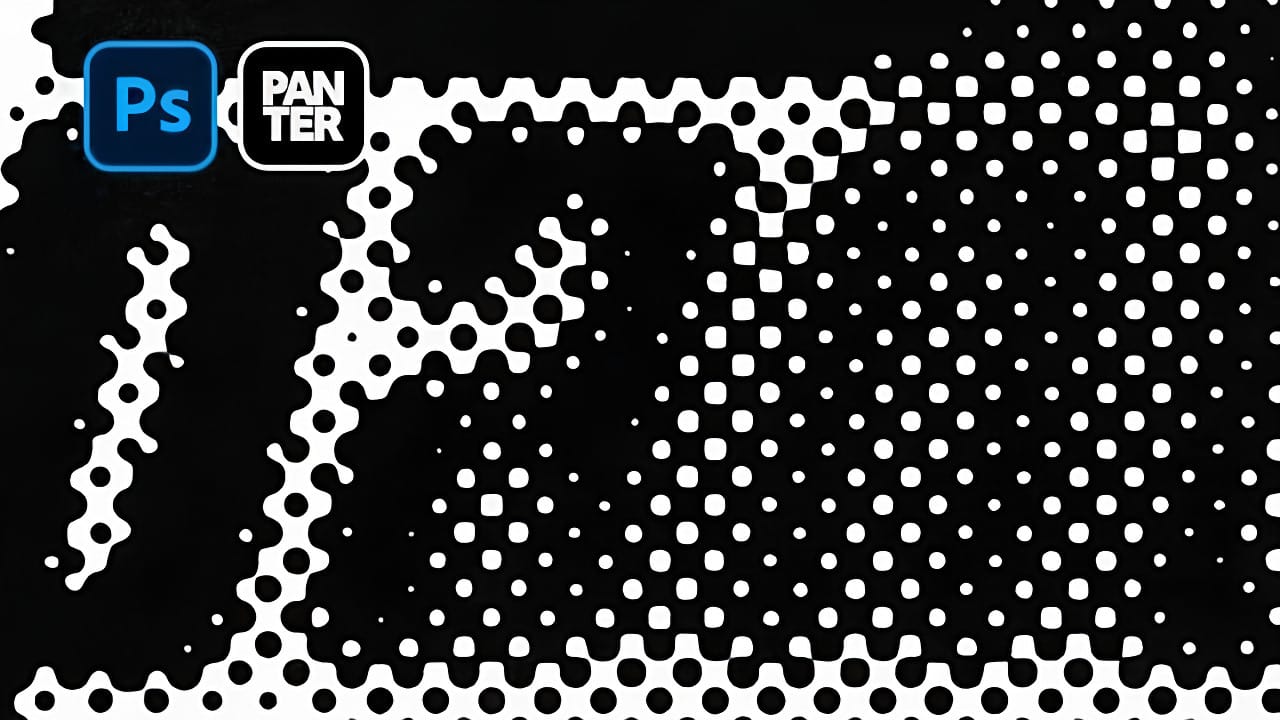
How to Create a Blurry Halftone Text Effect in Photoshop
Comic book aesthetics and vintage print textures bring a distinctive visual punch to modern digital typography. The halftone effect—those characteristic dot patterns from traditional printing—creates instant nostalgia and graphic impact when combined with strategic blur techniques.
This technique transforms simple text into dynamic graphic elements that capture the essence of classic print media while maintaining the flexibility of digital design.
Watch the Tutorial
Understanding the Halfto
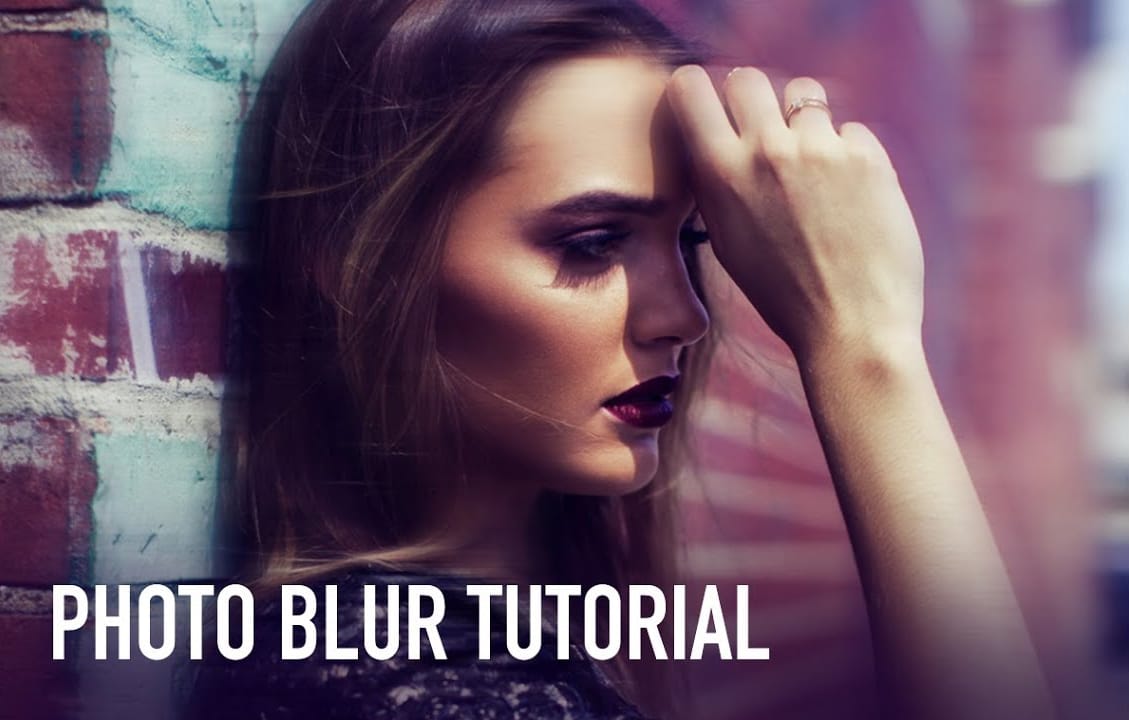
Beautiful Photo Blur Effect in Photoshop
Applying a beautiful blur effect to your photos in Photoshop has never been easier. Jessica Kobeissi's tutorial guides you through the process, showing you how to achieve a stunning, professional-looking result.
With just a few simple steps, you can transform your images and add a touch of elegance. The blur effect creates a soft, dreamy look that draws the viewer's attention to the focal point of your photograph. Whether you're looking to enhance a portrait or add a creative flair to a landsca