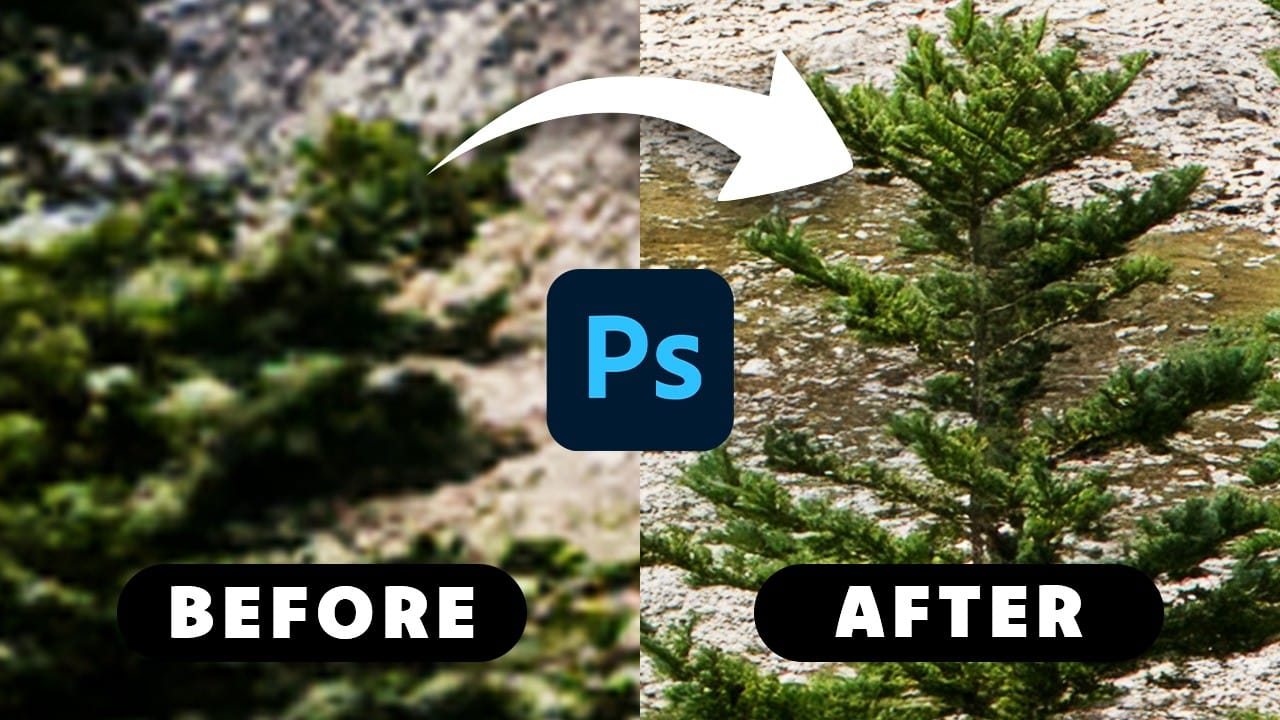
Generative Fill has a resolution ceiling that becomes obvious the moment you zoom in — AI-extended areas look noticeably softer than the original image. The fix is to fill large transparent areas in smaller pixel-sized sections, one box at a time, so each generation operates at maximum quality.
This tutorial covers how to automate that process using a free plugin feature, which model to use for the best results, and how to run the entire workflow without spending any generative credits.
Watch the Video
Video by PiXimperfect. Any links or downloads mentioned by the creator are available only on YouTube
Practical Tips
Here are the key techniques covered in the video for getting sharper, credit-efficient generative fill results.
- Use the High-Res GenFill feature in the plugin to fill transparent areas in segments of up to 2,000×2,000 pixels — smaller boxes take longer but produce higher quality output.
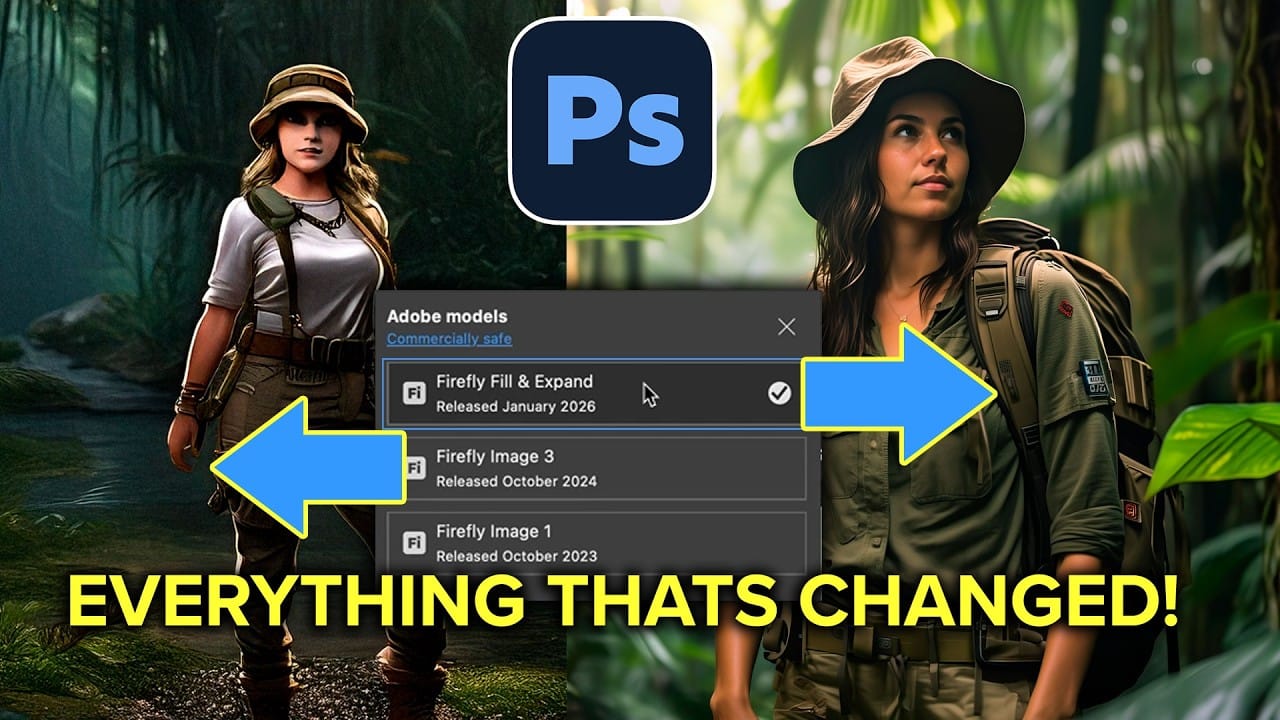
- Choose the Firefly Fill and Expand model for the best resolution when using standard credit-based generation.
- Switch to the Pix Hack model to use the Remove tool's generative AI instead — it does not consume credits and produces acceptable quality for most distances.
- If Adobe interrupts the process with a slow-down warning, reopen the plugin and click the fill button again to resume without losing progress.
- To create seamless patterns, use Filter > Other > Offset to expose edge seams, then fill only those areas with a lasso selection before checking the result in Pattern Preview.
Related Articles and Tutorials
Explore more tutorials on getting better results from AI-powered fill and generative editing tools.