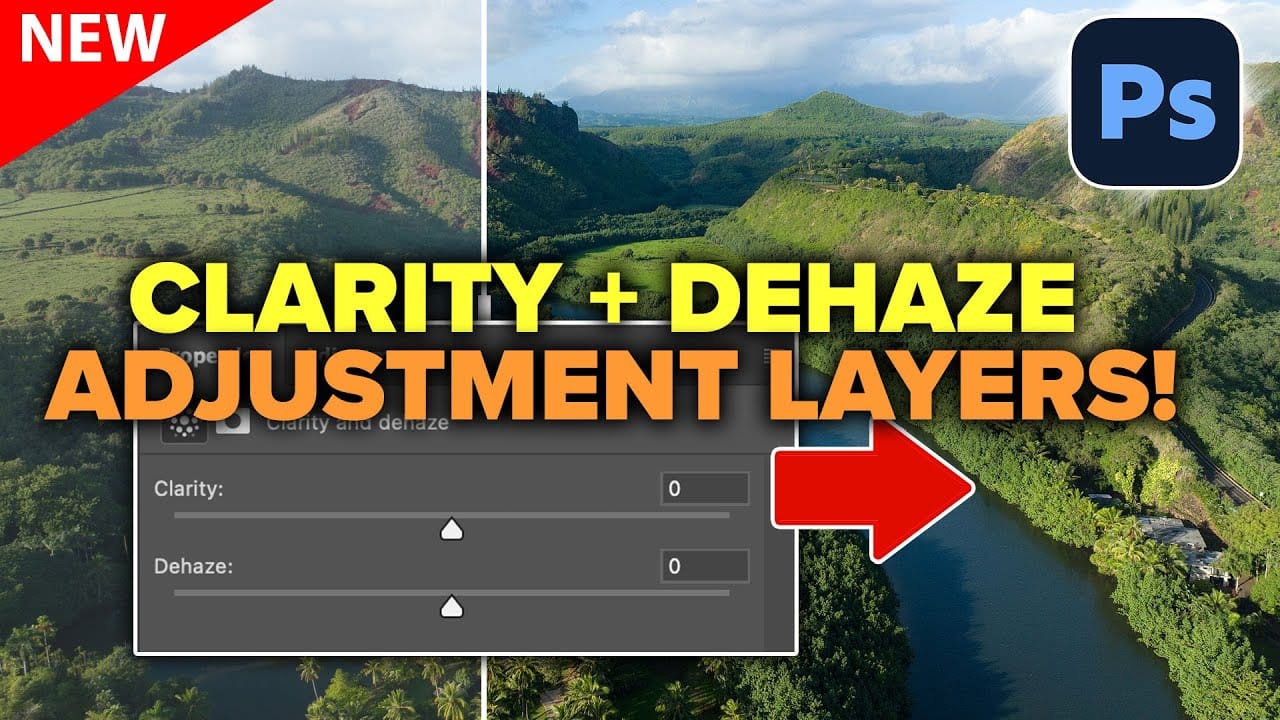
Two of the most popular adjustments from Camera Raw—Clarity and Dehaze—are now available as adjustment layers in Photoshop beta. These tools work on different image frequencies to enhance contrast and cut through atmospheric haze, giving you precise control over midtone contrast and low-frequency areas.
Understanding how these adjustments affect different parts of your image helps you combine them effectively for maximum impact while maintaining natural-looking results.
Watch the Video
Video by photoshopCAFE. Any links or downloads mentioned by the creator are available only on YouTube
Practical Tips
Master these frequency-based adjustments with these essential techniques:
- Use Clarity to enhance midtone contrast in textures and clothing details, but mask it away from skin tones to avoid unflattering results
- Apply Dehaze to cut through atmospheric haze in landscapes and dramatically enhance cloud definition in skies
- Combine both adjustments with Unsharp Mask to target high, mid, and low frequencies for complete image enhancement
- Convert your layer to a smart object before applying filters to maintain non-destructive editing flexibility
- Reduce vibrance after using Dehaze to counteract the automatic saturation boost and restore natural colors
Related Articles and Tutorials
Explore more advanced adjustment techniques and new editing features:


