How to Wrap Text Around Any Shape in Photoshop

How to Wrap Text Around Any Shape in Photoshop

Creating text that flows naturally around irregular shapes transforms static layouts into dynamic, professional designs. This technique works particularly well for posters, magazine layouts, and editorial designs where text needs to integrate seamlessly with complex subjects rather than simply sitting in rigid rectangular boxes.

The process combines selection tools, path creation, and text formatting to achieve precise control over how your typography interacts with any shape or subject in your composition.

Watch the Video

Video by Photoshop Arthouse. Any links or downloads mentioned by the creator are available only on YouTube

Practical Tips

Master text wrapping with these essential techniques for professional results:

  • Use the Select Subject feature first, then expand the selection by 15-25 pixels to control the distance between your text and the subject's edges
  • Hold the space bar while dragging your rectangular selection to reposition it precisely before releasing the mouse button
  • Convert your selection to a work path with 0.5 pixel tolerance to maintain smooth curves around complex shapes
  • Adjust leading and tracking in the Character panel to optimize text density and readability within the confined path area
  • Use different paragraph alignments for each side of your subject to ensure text flows naturally with the shape's contours

Explore more advanced text integration and typography techniques for creative design projects:

100+ Brilliant Photoshop Text Effects: The Ultimate 2025 Roundup
You won’t admit this: You spend hours making text look like liquid gold. Not for clients. Not for your portfolio. Just because. Here’s the thing: Text effects are your guilty pleasure. You tell yourself you’re “practicing.” You say you’re “building skills.” But really? You just love watching letters transform into
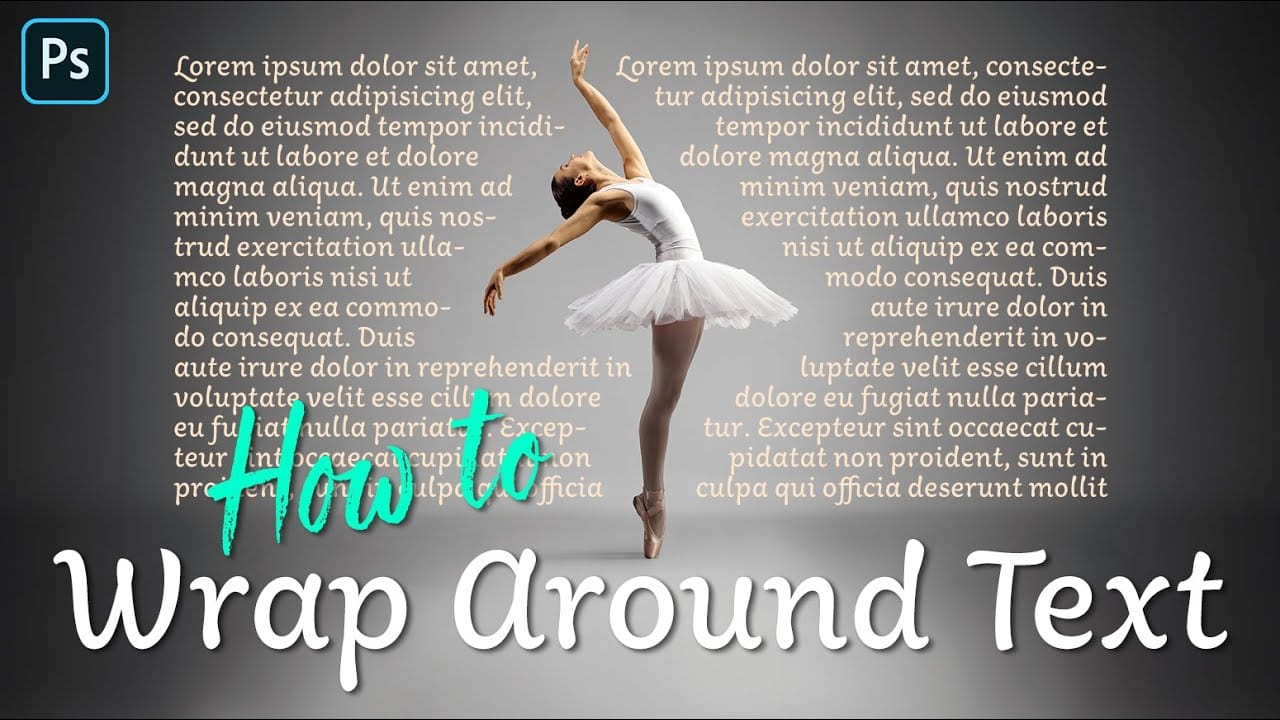
How to Wrap Text Around Any Shape in Photoshop
Integrating text seamlessly with complex or irregular shapes can elevate a design from good to exceptional. While standard text boxes are straightforward, the ability to make text flow naturally around the contours of a subject opens up significant creative possibilities, adding dynamism and visual interest to layouts. This tutorial will guide you through the process of wrapping text around any shape in Photoshop, regardless of its irregularity. You will learn practical techniques for selecting
Add A Transparent Text Area To An Image With Photoshop
In this tutorial, you will discover how to add cutout text on a transparent text area to an image using Photoshop. This technique is particularly useful for images that are too busy, making regular text hard to read. You will start by selecting your image to work with, ensuring it has the right elements for your design. Then, you will create a text box and adjust its transparency. This allows the text to stand out without overwhelming the image. The tutorial guides you step by step, making it
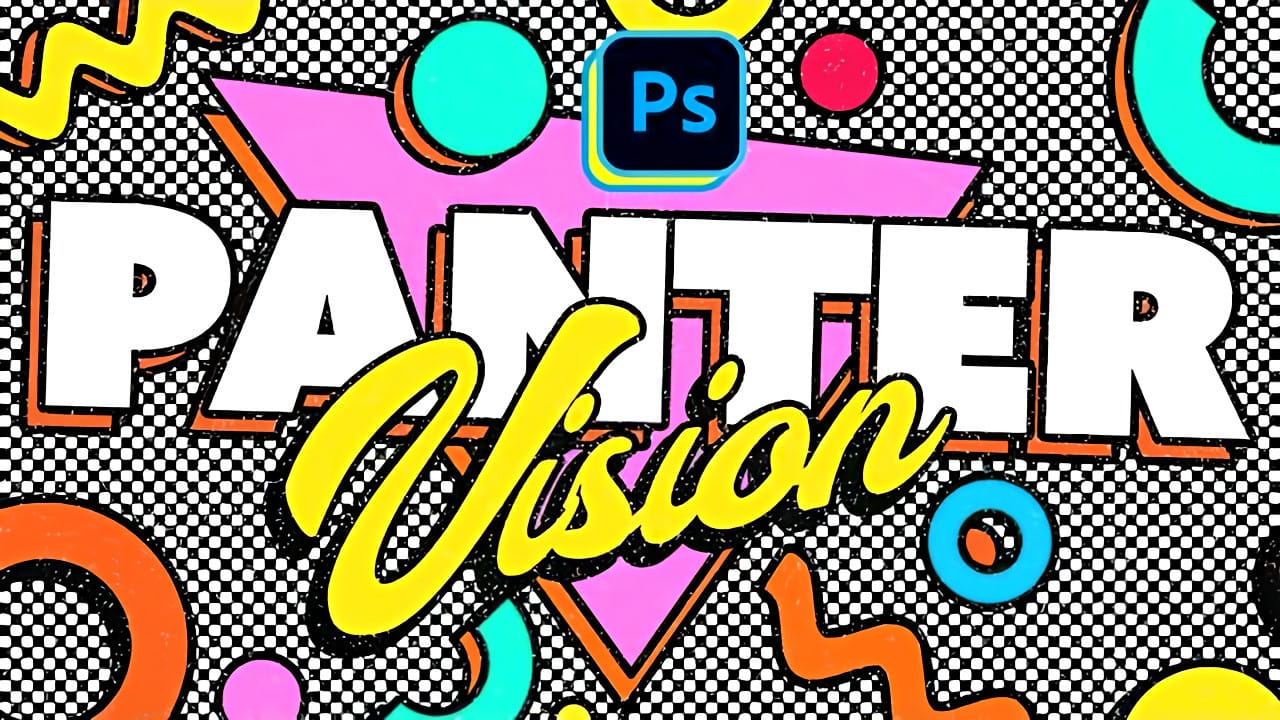
Create Colorful Retro Text Compositions in Photoshop
Retro design trends continue to captivate audiences with their bold colors and geometric shapes. This tutorial demonstrates how to build a complete vintage-inspired composition using text, geometric elements, and vibrant color schemes that capture the essence of classic graphic design. You'll learn to combine typography with custom shapes, apply decorative strokes, and create layered drop shadows that give your design depth and visual interest. Watch the Video Practical Tips Here are key t
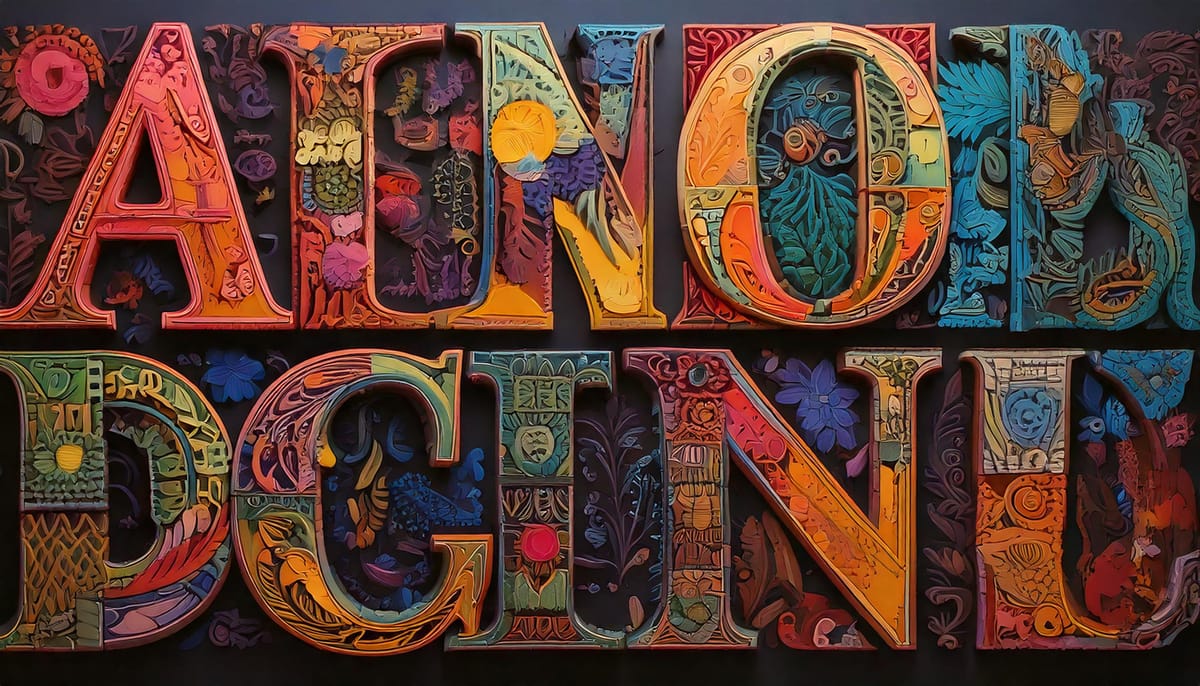
The Beauty of Letters: Exploring Typography Through AI Innovation
Letters transcend mere symbols; they represent a fusion of form and function. Their shapes—whether curved, angular, bold, or delicate—carry a visual language that resonates with viewers. While familiar, they also hold potential for innovation. Through the lens of artistry, traditional forms can transform into something extraordinary. This is
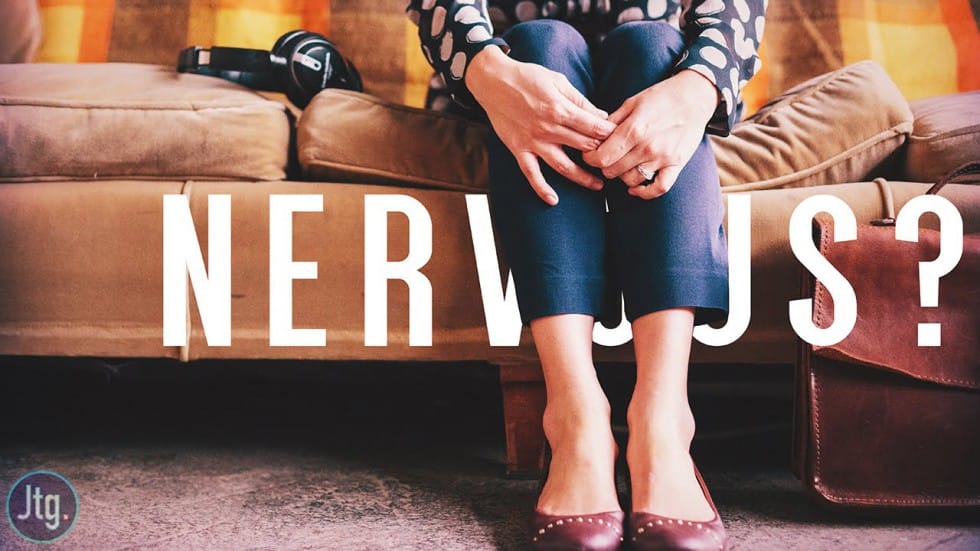
How to Place Text Behind an Object in a Photo
Design magic happens when text blends seamlessly with images. Creating depth by placing text behind objects transforms ordinary graphics into compelling visual stories that capture attention and imagination. Watch the Video Practical Tips for Placing Text Behind Objects Master the art of text placement with these essential techniques: * Duplicate your original photo layer to create a sandwich effect for text positioning * Use selection tools like the polygonal lasso or pen tool to create
Create a Floral Typography Text Effect in Photoshop
Learn to create stunning floral typography in Photoshop. This tutorial teaches you to blend vibrant flowers with custom text, achieving a captivating visual that seamlessly integrates botanical elements with your design. Master techniques for realistic depth, perfect for unique posters, art, or personal projects. Watch the Full Tutorial Practical Tips for Crafting Floral Text Effects * Convert masked images to Smart Objects early in the process to maintain editability of layer masks and tr
Photoshop Introduces Dynamic Text Feature
Designers frequently encounter the challenge of fitting text creatively into layouts without compromising readability or aesthetics. Traditional text handling in design software often means manually adjusting font sizes, leading, or tracking every time a text box is resized, which can be a time-consuming and frustrating process, especially for complex designs or when experimenting with different layouts. This tutorial introduces Photoshop's groundbreaking Dynamic Text feature, available in the
Create a Striking Text Portrait Poster in Photoshop
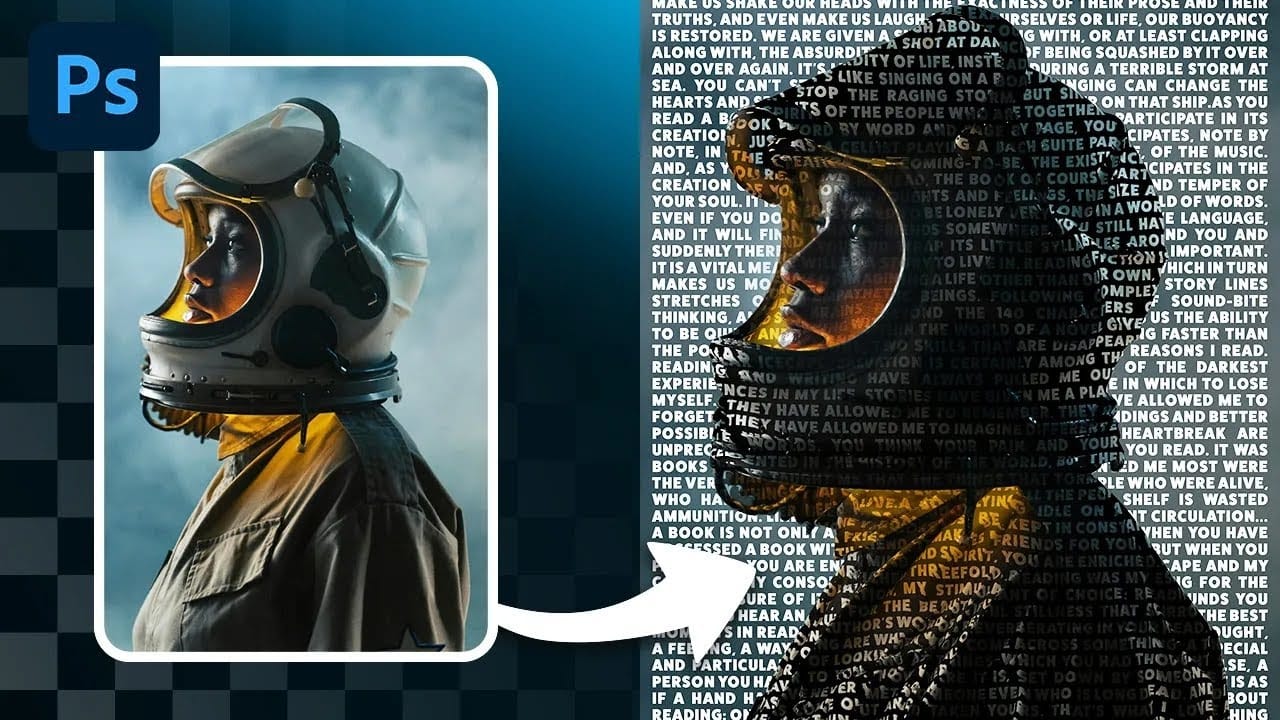
Transforming an ordinary portrait into a captivating text-based artwork presents a unique creative challenge in Photoshop. Often, the frustration lies in making text appear to organically wrap around a subject's contours rather than just sitting flat over the image. Achieving this seamless integration, especially when dealing with complex shapes, can feel like navigating an intricate technical puzzle. This tutorial offers a clear pathway to mastering text portrait effects using advanced masking
Dynamic Text Tool in Photoshop - Auto-Resizing Text Feature
Text alignment and sizing across multiple layers can quickly turn into a time-consuming puzzle. Manually adjusting each text element, creating guides for alignment, and constantly repositioning elements whenever you make changes disrupts the creative flow. Photoshop's new Dynamic Text feature bridges the gap between point text and paragraph text, automatically resizing your text to fit any text box while maintaining proper alignment and proportions. This tool eliminates the tedious manual adjus

Get tutorials & freebies delivered to you.

Subscribe to the Photoshop Roadmap newsletter, a weekly roundup of new tutorials, insights and quality downloads, trusted by 6500+ readers.

You might also like

How Photoshop's Enhance Edge Feature Removes Hair Masking Halos

Hair masking has long been one of the most tedious tasks in photo compositing — especially when switching between dark and light backgrounds reveals unwanted halos along the edges. Photoshop's new Enhance Edge feature, available in beta 27.11, offers an AI-powered approach to this problem by generating...

How to Use Quick Compare and Dynamic Layers in Photoshop Beta

Photoshop Beta's latest update introduces two tools worth knowing: a Quick Compare toggle for instant before/after previews, and a Dynamic Layer feature that lets you control AI-generated effects with a simple slider. Together, they streamline how you review edits and apply prompt-based changes like adding...

Retouching Pet Portraits in Photoshop: Cleaning Fur, Eyes, and Fine Details

Pet photos rarely arrive perfectly clean — staining around the eyes, discolored fur near the mouth, and stray hairs are common problems that need fixing before any serious portrait work begins. This workflow covers how to remove those distractions manually using overpaint and fur brushes, then finish with eye enhancement techniques...

Before and After View Plus Dynamic Layers in Photoshop Beta

Photoshop Beta currently includes two features that work quite differently from each other. The first adds a straightforward before-and-after comparison tool directly into the editing workspace — something that sounds simple but solves a real problem when a file already has multiple layers. The second, Dynamic Layers, uses AI...

How to Blend Multiple Exposures for Car Light Trails in Photoshop

Stacking multiple exposures of a night scene lets you capture far more light trail detail than any single shot can deliver. This technique uses the Lighten blending mode to combine a bright base image with several car light trail frames, keeping only the brightest pixels from each layer for a...

You’ve successfully subscribed to Photoshop Roadmap
Welcome back! You’ve successfully signed in.
Great! You’ve successfully signed up.
Success! Your email is updated.
Your link has expired
Success! Check your email for magic link to sign-in.