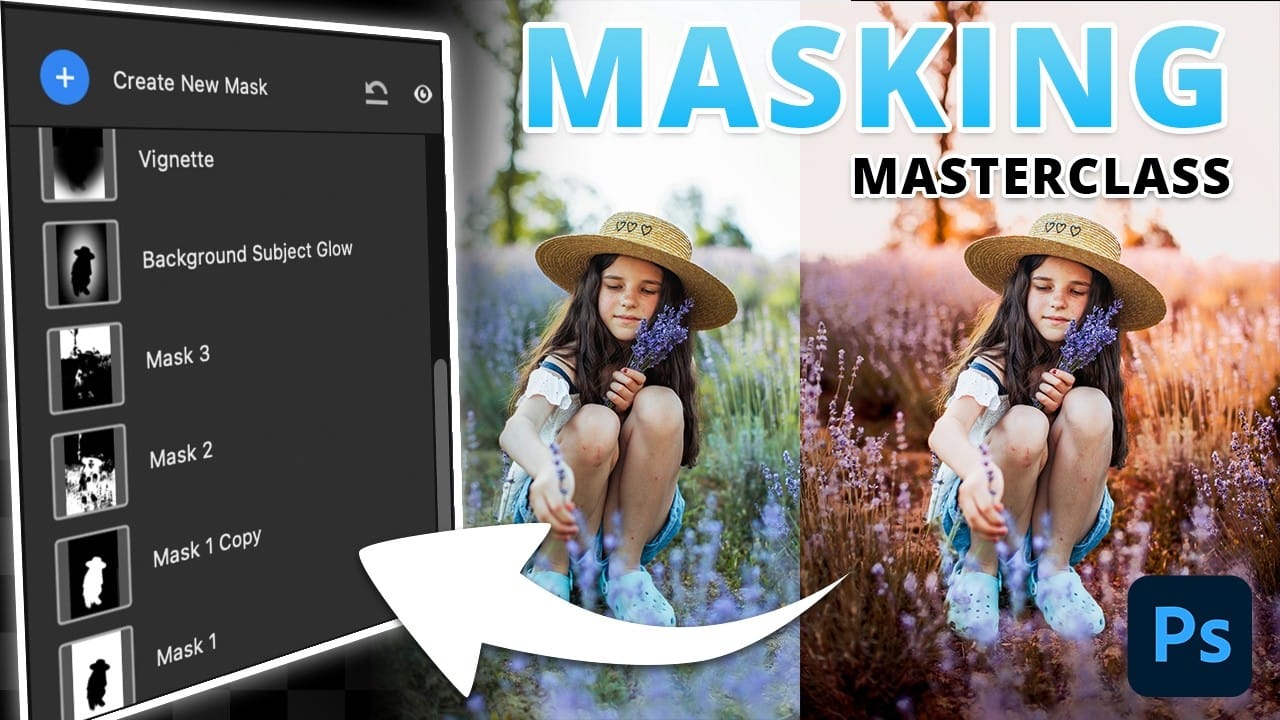
Working with multiple layers in Photoshop traditionally required complex workarounds to apply Camera Raw adjustments. The old process involved merging layers, converting to smart objects, and losing the flexibility that makes adjustment layers so powerful.
Three new adjustment layers bring Camera Raw's most useful tools directly into your layers panel. These additions eliminate the need for destructive editing while maintaining all the masking and blending capabilities you expect from adjustment layers.
Watch the Video
Video by PiXimperfect. Any links or downloads mentioned by the creator are available only on YouTube
Practical Tips
Essential techniques for using the new Camera Raw adjustment layers effectively:
- Use the Color and Vibrance adjustment layer's eyedropper tool to quickly correct white balance by clicking on neutral areas
- Apply multiple Color and Vibrance layers with different settings and use masks to target specific areas like faces and bodies separately
- Control where adjustments appear using blend-if sliders - hold Alt and drag to create smooth transitions between affected and unaffected areas
- Access Clarity and Dehaze layers in the beta version for dramatic contrast and atmosphere effects
- Position the Grain adjustment layer at the top of your layer stack and use opacity or density controls to fine-tune the effect
Related Articles and Tutorials
Explore more advanced editing techniques and Camera Raw workflows:


