Understanding Color Theory for Digital Image Editing

Understanding Color Theory for Digital Image Editing

Color theory forms the foundation of every successful digital editing project. From the visible spectrum to RGB channels, understanding how colors interact determines whether your adjustments look natural or artificial.

This comprehensive breakdown covers essential color models, temperature and tint relationships, and the practical connections between traditional color theory and modern editing tools. The knowledge applies directly to compositing, color matching, and creative grading work.

Watch the Video

Video by Nucly • Photoshop and Creative Design Training. Any links or downloads mentioned by the creator are available only on YouTube

The Science Behind Digital Color

The visible spectrum represents only a tiny fraction of electromagnetic waves, yet it contains all the colors human eyes can perceive. This limited range forms the basis for every digital color model used in editing software.

Different color models serve specific purposes in the editing workflow. RGB excels at bright, saturated colors for screen display, while CMYK handles darker tones for print reproduction. The LAB color space separates brightness from color information, allowing precise adjustments without affecting contrast.

  • RGB and CMY colors form opposite triangles on the color wheel
  • Temperature adjustments shift the blue-yellow axis of the LAB model
  • Tint controls affect the green-magenta balance in images
  • HSB breaks color into intuitive components: hue, saturation, and brightness
  • The 3D color cylinder visualizes all possible color relationships

Practical Tips for Color Control

  • Remember that RGB opposites are CMY — red/cyan, green/magenta, blue/yellow pairs control each other
  • Use the LAB model axes to understand temperature (blue-yellow) and tint (green-magenta) adjustments
  • Master the RGB color model first, as most Photoshop adjustment tools rely on this foundation
  • Think in three dimensions when adjusting colors — hue, saturation, and brightness work together
  • Apply the traditional color harmony wheel (red, blue, yellow) for aesthetic color relationships in creative work

More Tutorials About Color Theory and Editing

Explore additional techniques for advanced color work and practical applications.

3 must-try techniques to enhance colors in Photoshop
Many photographers and designers seek to infuse their images with vibrant, true-to-life colors that truly stand out. Achieving this level of color enhancement often requires more than basic adjustments; it demands a nuanced approach that breathes life into every detail. This tutorial uncovers three powerful, yet often overlooked, Photoshop techniques to elevate your color grading. Discover how to apply subtle, realistic color changes, sculpt specific color moods, and selectively refine tones wi
How to Match Color in Photoshop for Beginners
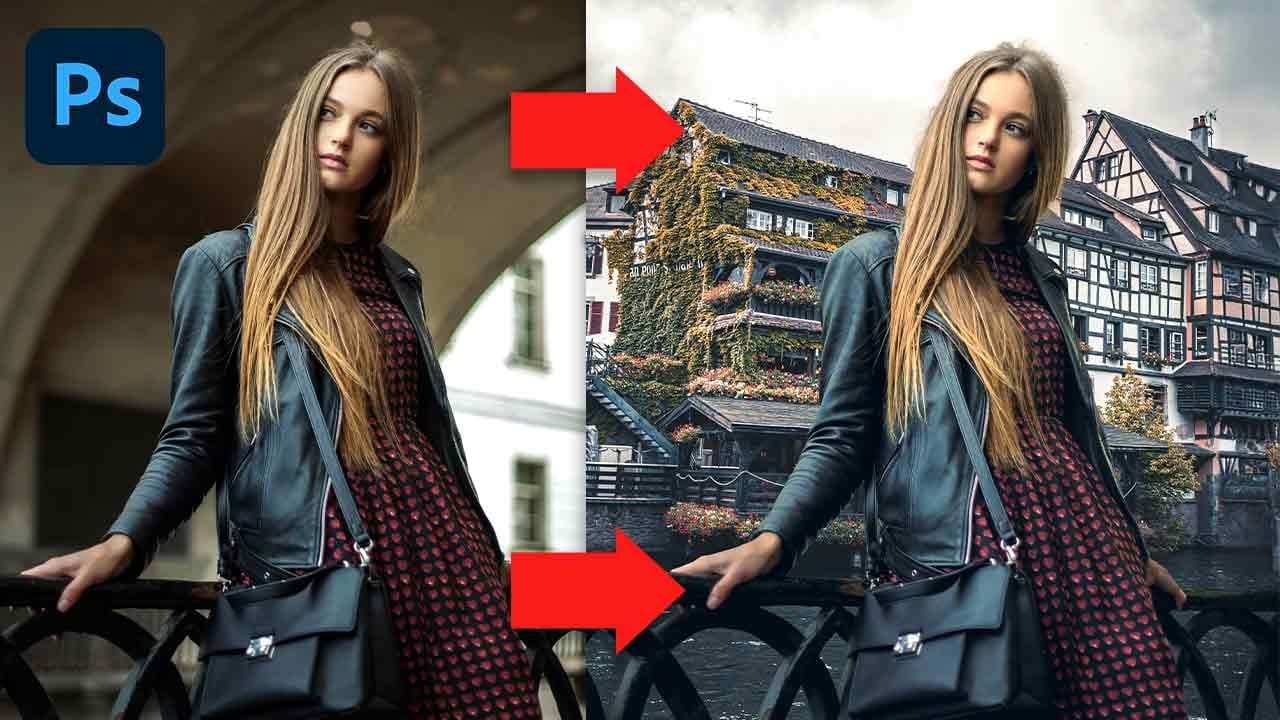
Compositing images often requires precise color matching. When combining elements from different sources, slight variations in tone can disrupt the visual harmony, making the final image appear unnatural. Achieving a cohesive look is crucial for professional results. This tutorial offers a straightforward method to blend disparate image elements seamlessly. The video demonstrates how to use Photoshop's built-in tools, specifically the Curves adjustment layer and Camera Raw, to unify the color p
How to Create Dramatic Colors in Photoshop: A 5-Step Color Grading Process
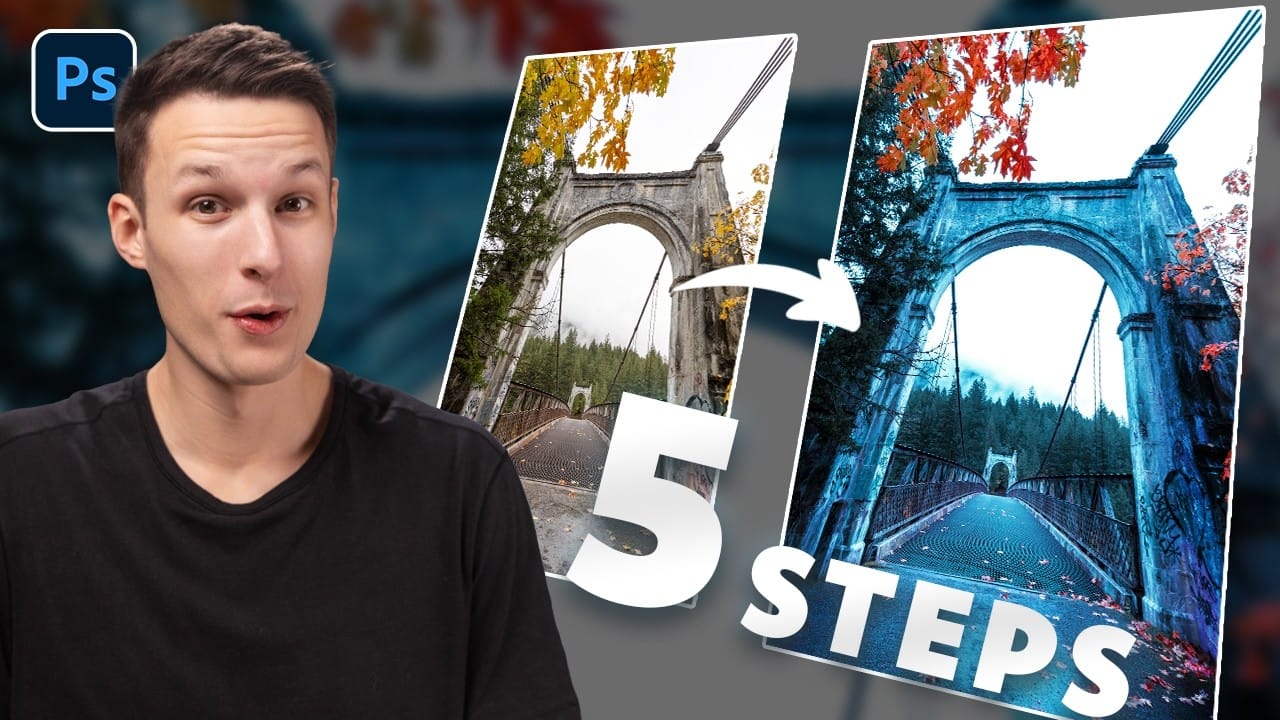
Photography often captures moments in natural tones, but sometimes an image calls for something bolder. Dramatic color grading transforms ordinary photos into striking visual statements that grab attention and evoke emotion. This comprehensive approach combines Camera Raw adjustments with Photoshop's powerful color tools to create rich, cinematic looks. The process works especially well for outdoor scenes where you can push blues, oranges, and complementary colors to their limits. Watch the T
Complete Guide to Photoshop's Hue/Saturation Tool: Mastering Color Adjustments
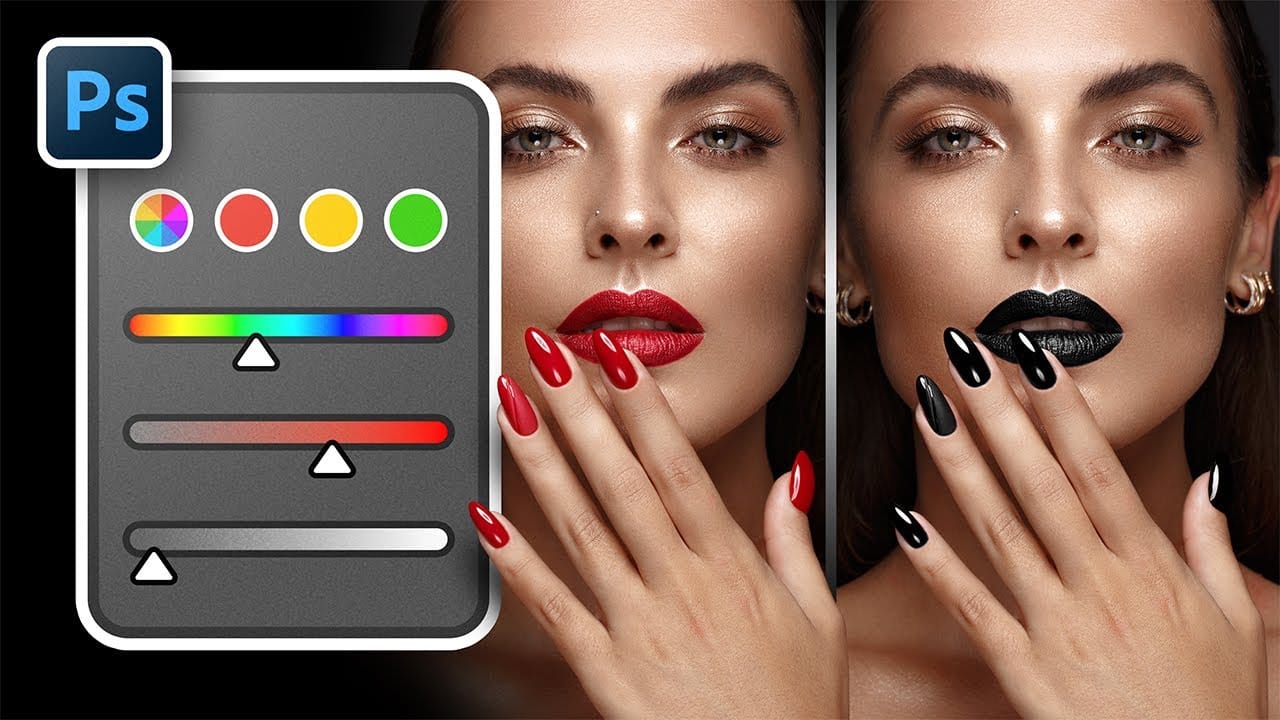
Color correction and creative color grading often come down to mastering a single, powerful tool in Photoshop: the Hue/Saturation adjustment. While newer features like Camera Raw filters and advanced color wheels grab attention, the fundamentals of hue, saturation, and lightness remain the backbone of professional color work. Understanding these core principles unlocks precise control over every pixel in your images. This comprehensive tutorial covers everything from basic concepts to advanced

Get tutorials & freebies delivered to you.

Subscribe to the Photoshop Roadmap newsletter, a weekly roundup of new tutorials, insights and quality downloads, trusted by 6500+ readers.

You might also like

How to Use Floral Appliqué PNGs to Create Fine Art Portraits in Photoshop

High-resolution floral appliqué PNGs on transparent layers open up a straightforward path to fine art portrait compositing. By combining them with subject cutouts, blend modes, clipped adjustment layers, and foliage brushes, a standard photograph can take on the depth and texture of a painted piece. Watch the Video Practical...

Simulate the 2000s Digicam Look in Photoshop and Camera Raw

Early 2000s point-and-shoot cameras produced a distinctive look: punchy contrast, cool color casts from on-camera flash, deep shadows, and a soft glow around bright areas. This walkthrough covers how to replicate that aesthetic non-destructively using Camera Raw, radial gradient masking, and a blurred highlight layer. Watch...

How to Combine Two Photos in Photoshop Using AI Tools

Placing a subject from one photo into a completely different background used to require a long chain of manual steps. Photoshop's AI-powered tools now handle background removal, color matching, and shadow generation in just a few clicks, making the entire process accessible even to beginners. Watch the...

How to Remove Skin Blemishes and Fix Skin Tones in Camera Raw

Two recent additions to Camera Raw make skin retouching significantly faster: an automatic blemish removal tool with separate controls for moles and freckles, and a vectorscope-based skin tone indicator for correcting off-color skin. Both features work non-destructively inside a smart object workflow, so no pixel data is...

Portrait Retouching in Photoshop: Smooth Skin While Keeping Natural Texture

Smooth skin and natural texture are not opposites — achieving both at once is the mark of a professional retouch. This workflow covers blemish removal, flyaway hair cleanup, dark under-eye correction, and eye brightening, all while keeping the skin looking like skin. Watch the Video Practical Tips These key points...

You’ve successfully subscribed to Photoshop Roadmap
Welcome back! You’ve successfully signed in.
Great! You’ve successfully signed up.
Success! Your email is updated.
Your link has expired
Success! Check your email for magic link to sign-in.