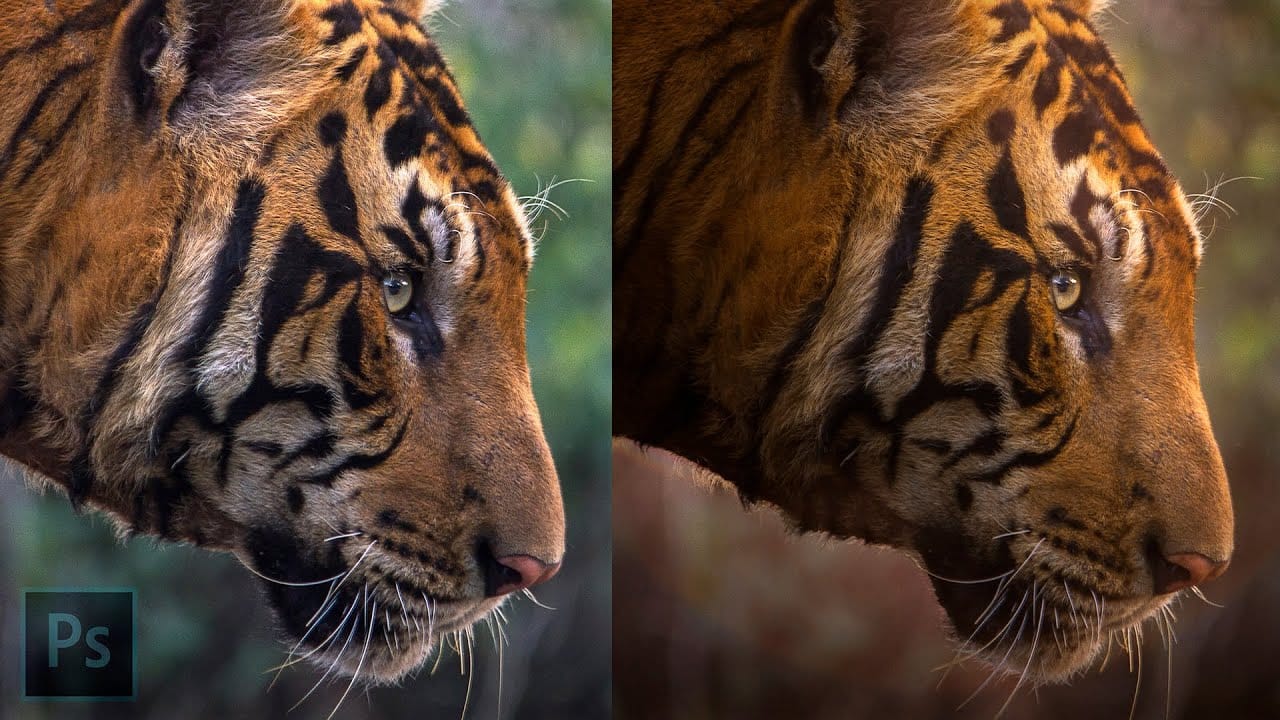
Photoshop's Light adjustment layer brings Camera Raw's core tonal controls — exposure, contrast, highlights, shadows, whites, and blacks — directly into the layers panel as a fully non-destructive, maskable layer. This makes it possible to apply precise tonal corrections to specific areas of an image without ever opening Camera Raw or flattening your file.
Watch the Video
Video by Photoshop Training Channel. Any links or downloads mentioned by the creator are available only on YouTube
Practical Tips
Key techniques covered in this tutorial for working with the Light adjustment layer effectively:
- Stack multiple Light adjustment layers to target different tonal ranges independently — for example, one for highlights and a separate one for shadows.
- Use the built-in mask to limit adjustments to a specific subject or region without affecting the rest of the image.
- Combine the Light layer with Blend If to restrict corrections based on luminosity values, keeping edits looking natural.
- Adjust whites and blacks to set the tonal range before fine-tuning highlights and shadows for more controlled results.
- Treat the Light adjustment layer as a direct replacement for routing images through Camera Raw when only tonal corrections are needed.
Related Articles and Tutorials
Expand your understanding of tonal editing and adjustment layer techniques with these related tutorials.
How to Use the Light Adjustment Layer in Photoshop
Photoshop's new Light adjustment layer brings Camera Raw controls — exposure, contrast, highlights, shadows, whites, and blacks — directly into the layers panel as a fully non-destructive, maskable layer. This means you can stack multiple light adjustments, target specific subjects, and combine them with Blend If and other adjustment layers without ever flattening your file.
Watch the Video
Practical Tips
Key techniques covered in this tutorial for working with the Light adjustment layer ef
Photoshop 2026: 5 New Features Worth Adding to Your Workflow
Photoshop 2026 arrives with a set of updates that genuinely change how certain editing tasks get done. The Light adjustment layer alone could replace a step many photographers have been routing through Camera Raw for years — and that's just the start.
Watch the Video
Practical Tips
Here are the key takeaways from the video, covering each of the five features and how to get the most out of them.
* Use the new Light adjustment layer to recover highlights and shadows directly on the canvas —

How to Sculpt Light and Add Atmosphere in Photoshop
Light transforms a flat image into something with depth, mood, and visual interest. The ability to enhance existing light sources or create entirely new ones opens up creative possibilities that go far beyond what the camera originally captured.
This tutorial demonstrates how to sculpt light using adjustment layers, selection tools, and atmospheric brushes to create convincing light effects that work naturally with your image's existing lighting conditions.
Watch the Video
Understanding Lig
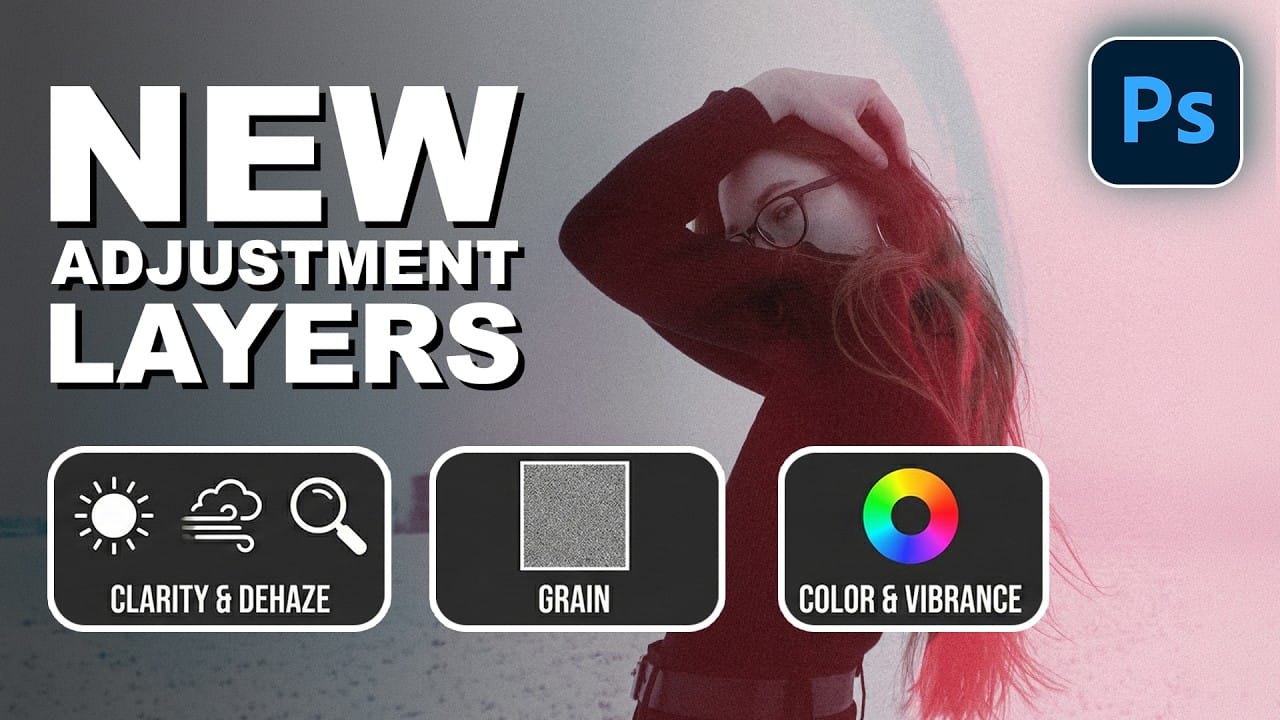
How to Use the New Color, Clarity, Dehaze, and Grain Adjustment Layers in Photoshop
Three powerful new adjustment layers bring Camera Raw's most popular tools directly into your layers panel. Color and Vibrance, Clarity and Dehaze, and Grain adjustments now work as standard adjustment layers with full masking capabilities and non-destructive editing.
These tools eliminate the need for smart objects when applying these specific adjustments, creating cleaner workflows while maintaining the precision control photographers expect from professional editing software.
Watch the Vid
Master Photoshop Adjustment Layers for Non-Destructive Editing
Fine-tuning images without destroying original pixel data transforms ordinary photos into compelling visuals. Adjustment layers provide the flexibility to experiment with colors, contrast, and tones while maintaining complete control over every edit.
This comprehensive guide demonstrates how to harness Photoshop's most powerful adjustment layers for landscape photography, from basic contrast enhancements to sophisticated color grading techniques.
Watch the Tutorial
Understanding Non-Destruc
How to Use Adjustment Layers in Photoshop: Whole Image, Selected Area, and Clipping Mask
Adjustment layers let you change colors, contrast, tone, and more without touching a single original pixel. Stack them, tweak them, or discard them entirely — the photo underneath stays intact. This tutorial covers three distinct ways to apply them: across the full image, within a specific selection, and clipped to a single layer.
Watch the Video
Practical Tips
These techniques work across different photo types and editing goals — keep them in mind as you build your own workflow.
* Add ad
How to Use New Camera Raw Adjustment Layers in Photoshop Beta
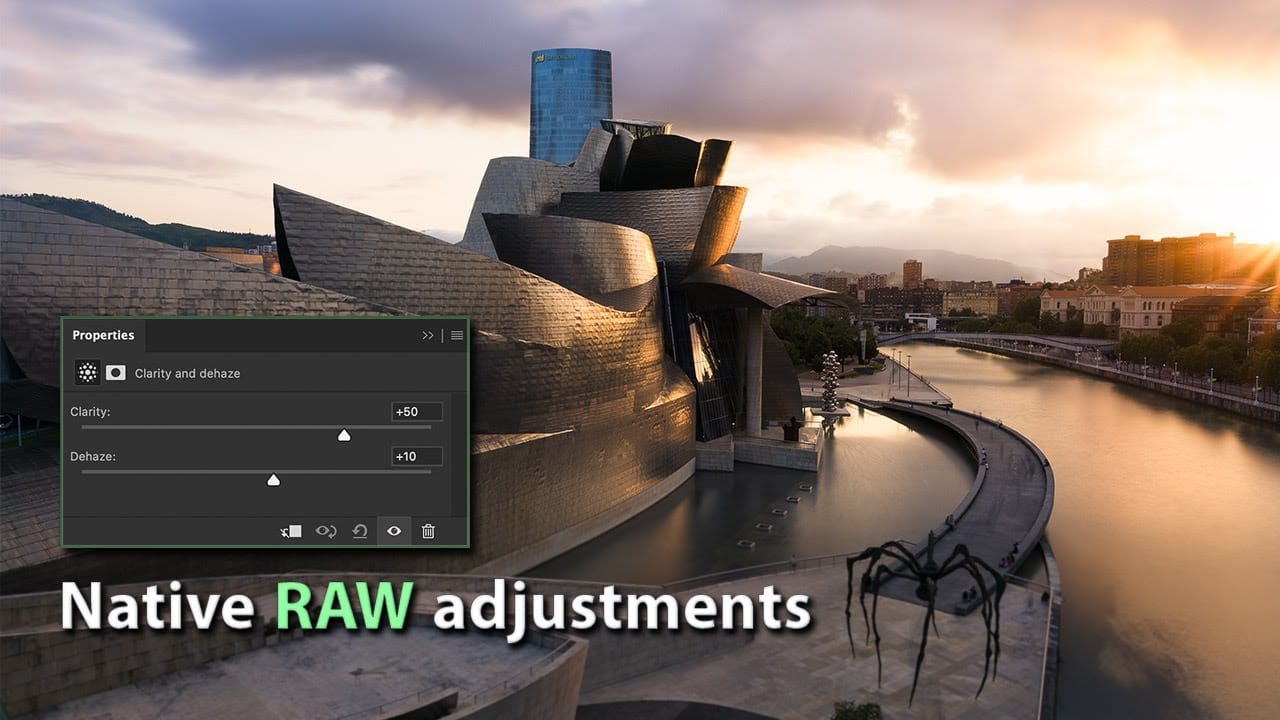
Three new adjustment layers in Photoshop beta bring Camera Raw's most popular tools directly into your layers panel. Color and Vibrance, Clarity and Dehaze, and Grain adjustments now work as standard adjustment layers, eliminating the need for smart objects while maintaining all the precision masking and blending capabilities you expect.
This breakthrough allows photographers to apply global-quality Camera Raw adjustments with local control, creating more efficient workflows without file bloat
Lighting Effects to Create Drama in Photoshop
In this tutorial, John Whitehead demonstrates how to add dramatic lighting effects in Photoshop to transform flat lighting into something much more dynamic. You'll learn how to use various tools such as lighting effects filters, lens flare, smart objects, and LUTs to completely alter the mood and appearance of your image.
If you want to follow along with the tutorial, you can download the provided image and apply the same techniques. This guide is perfect for photographers and digital artists l