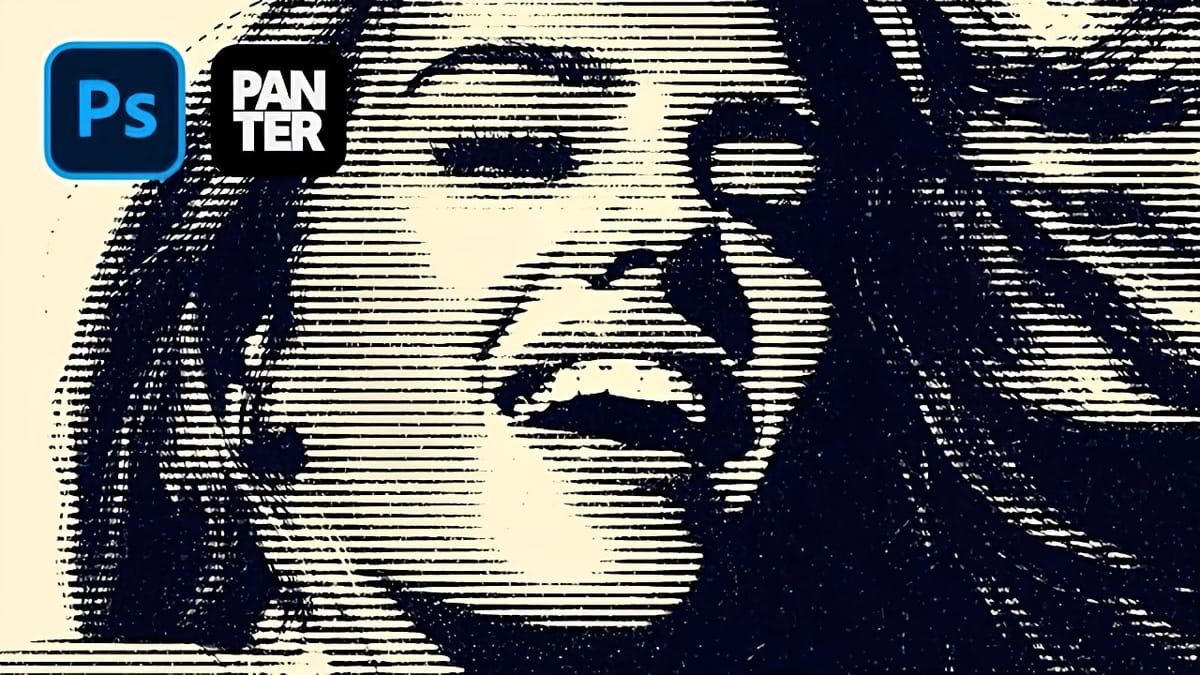
Underground grunge aesthetics bring raw, rebellious energy to portrait photography through distressed textures and gritty visual noise. The weathered, industrial look captures the essence of street culture and alternative art movements.
This technique transforms clean portraits into compelling grunge artwork using Photoshop's noise filters, blur effects, and blend modes to achieve that authentic underground feel.
Watch the Video Tutorial
Video by P A N T E R. Any links or downloads mentioned by the creator are available only on YouTube
Essential Tips for Grunge Photo Effects
These key techniques will help you achieve professional-looking grunge effects:
- Convert your portrait layer to a smart object before applying filters to maintain editing flexibility and image quality
- Apply noise at 45% without monochrome, then add slight Gaussian blur (0.8px) to soften harsh digital artifacts
- Use the Torn Edges filter from the Sketch gallery with high smoothness (14) and contrast (21) for authentic texture
- Create a separate noise layer with monochrome settings and set blend mode to Screen for layered grunge depth
- Reduce lightness by -25 in Hue/Saturation adjustment to enhance the underground aesthetic
Related Tutorials About Grunge Effects
Explore more creative ways to add grungy textures and distressed effects to your designs.
Create a Colorful Xerox Photocopy Effect in Photoshop
The distinctive look of vintage photocopying machines creates a unique aesthetic that blends sharp contrasts with colorful accents. This retro effect transforms ordinary photographs into stylized artwork reminiscent of 1980s design and underground art movements. This tutorial demonstrates how to recreate that classic xerox appearance using Photoshop’s adjustment layers, filters,
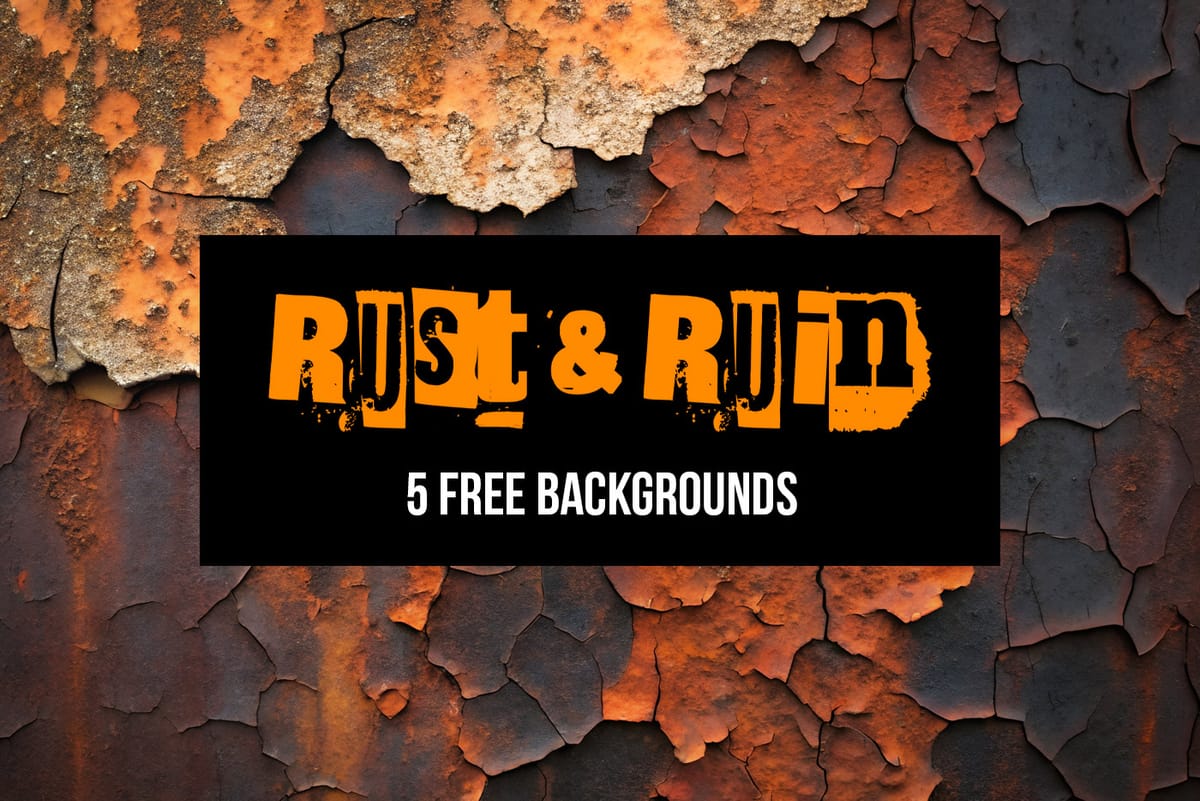
Rust & Ruin: 5 Bold Grunge and Distressed Textures
Introducing Rust and Ruin, a set of 5 free high-resolution distressed backgrounds designed to add gritty texture, character, and atmosphere to your creative projects. These rugged, AI-generated visuals capture the raw beauty of rust, decay, stains, and weathered surfaces. Each image is provided in JPG format at 4096 × 3073 px,
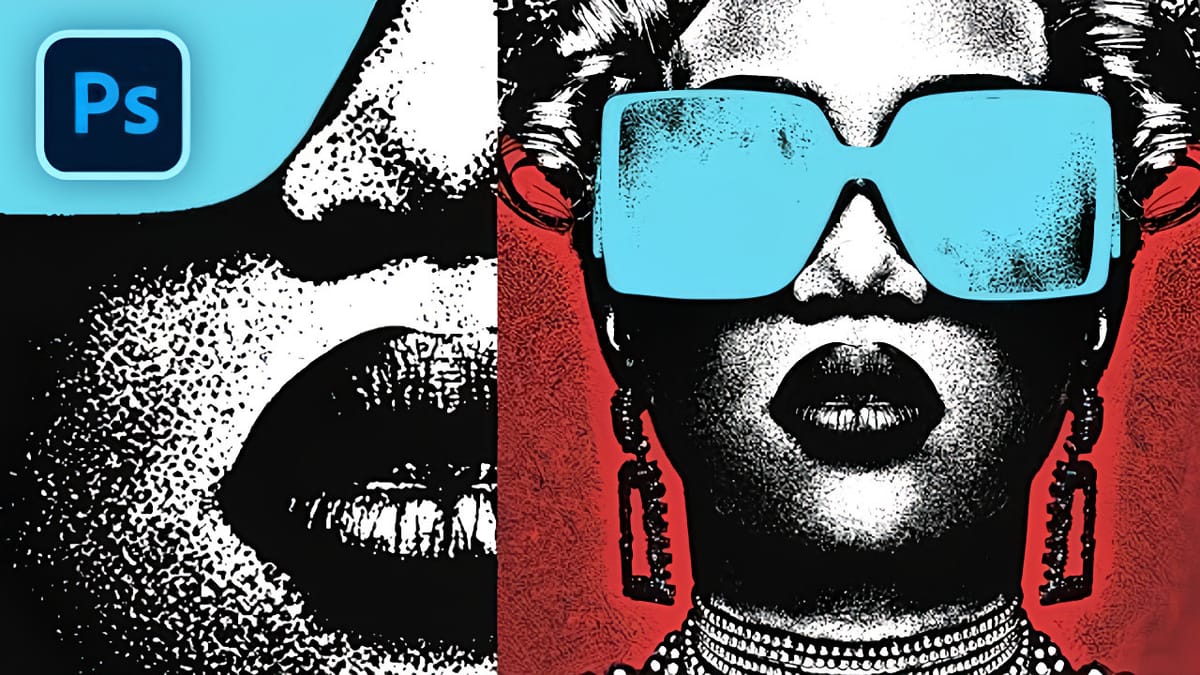
How to Create a Triple Colored Threshold Effect in Photoshop
Bold graphic effects can transform ordinary portraits into striking artistic statements. The triple threshold technique combines three distinct colors with high contrast elements to create a poster-like aesthetic reminiscent of pop art and modern design trends. This effect works by layering multiple threshold adjustments with different colors and blend modes.
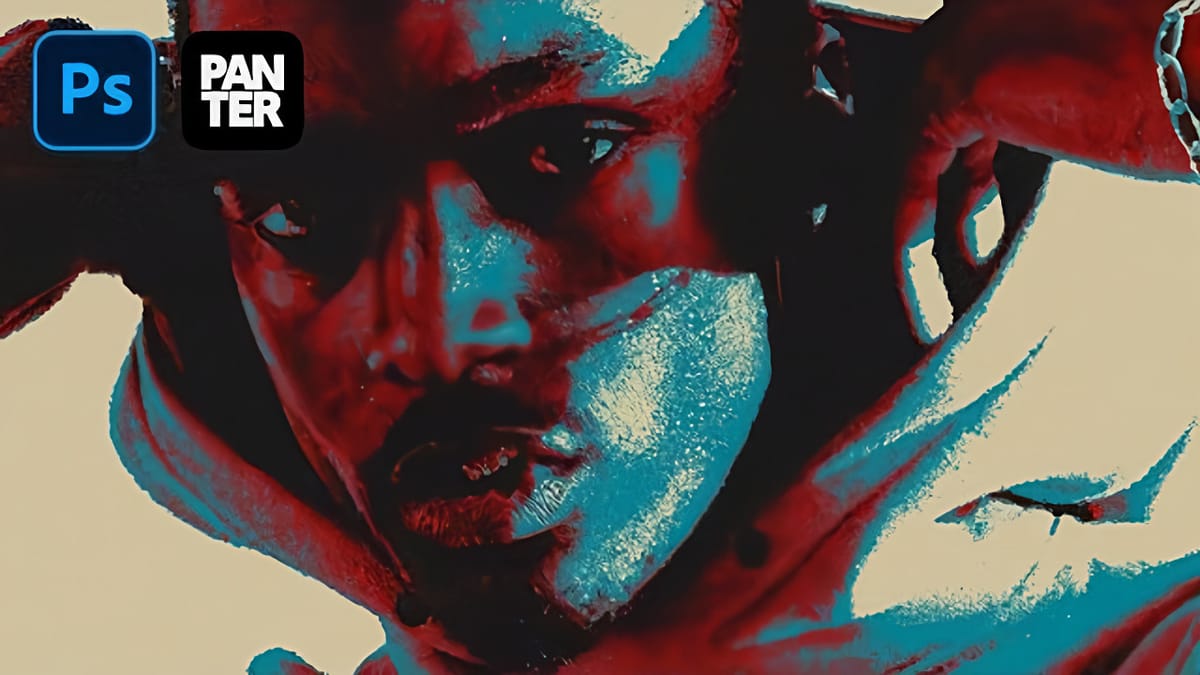
How to Create a VHS Glitch Effect in Photoshop
VHS glitch effects capture the nostalgic charm of analog video distortion, transforming clean digital images into retro masterpieces. These effects recreate the visual artifacts of old videotapes — horizontal scan lines, color channel separation, and pixelated interference that defined an entire era of visual media. This tutorial demonstrates how to build
Create Grungy Halftone Line Effects in Photoshop
Grungy halftone effects bring vintage print aesthetics and urban edge to digital designs. This technique combines traditional halftone patterns with noise textures to create compelling visual depth. The method uses smart objects and blend modes to build a flexible, non-destructive workflow that works across different projects. Watch the Tutorial Practical