How to Create Grungy 3D Extruded Text in Photoshop

How to Create Grungy 3D Extruded Text in Photoshop

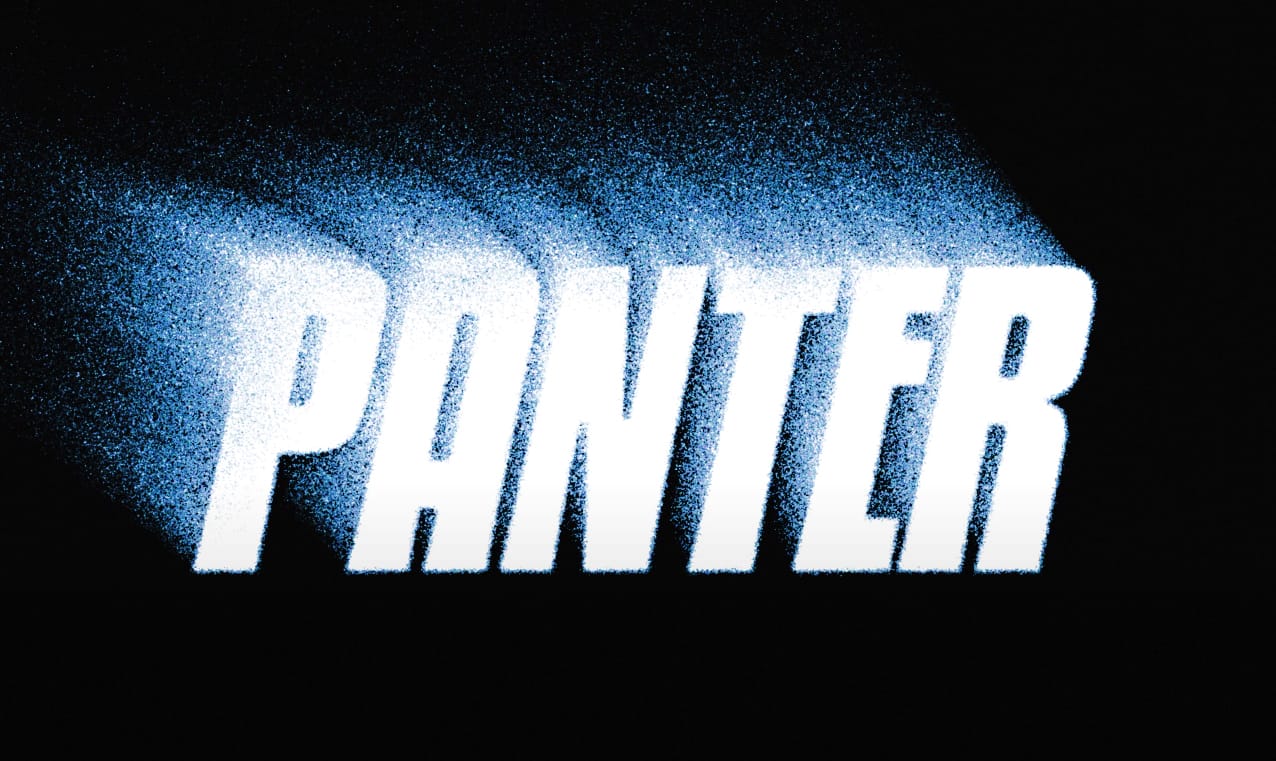
Grungy 3D text combines dimensional depth with weathered, distressed textures to create typography that feels both bold and authentically worn. This aesthetic works perfectly for vintage band posters, urban street art designs, and retro gaming graphics where clean digital text feels too polished.

This tutorial demonstrates how to build convincing 3D extrusion using manual layer duplication, then add realistic grunge textures through noise filters and distortion effects.

Watch the Tutorial

Video by P A N T E R. Any links or downloads mentioned by the creator are available only on YouTube

Building Depth Through Layer Duplication

The manual extrusion technique creates more control over the 3D effect compared to Photoshop's built-in 3D tools. Alt + Arrow key duplication allows precise depth adjustment while maintaining layer flexibility for styling individual faces of the text.

The gradient overlay approach with custom color stops creates realistic lighting across the extruded surface. Different stroke treatments for the front face versus the extruded sides help separate the dimensional planes visually.

  • Layer duplication creates controllable 3D depth
  • Gradient overlays simulate dimensional lighting
  • Separate stroke styles distinguish text faces
  • Smart object conversion preserves editability
  • Filter combinations build authentic texture

Practical Tips for 3D Grunge Text

  • Use 60+ duplicate layers for convincing extrusion depth without overwhelming file size
  • Apply threshold adjustments to noise layers for sharper, more defined grain patterns
  • Set gradient angles to 90 degrees for proper top-to-bottom lighting simulation
  • Convert to smart objects before applying filter gallery effects to maintain non-destructive editing
  • Combine graphic pen and torn edges filters for authentic weathered texture without overdoing distortion

More Tutorials About 3D Text Effects

Explore additional techniques for creating dimensional typography in Photoshop.
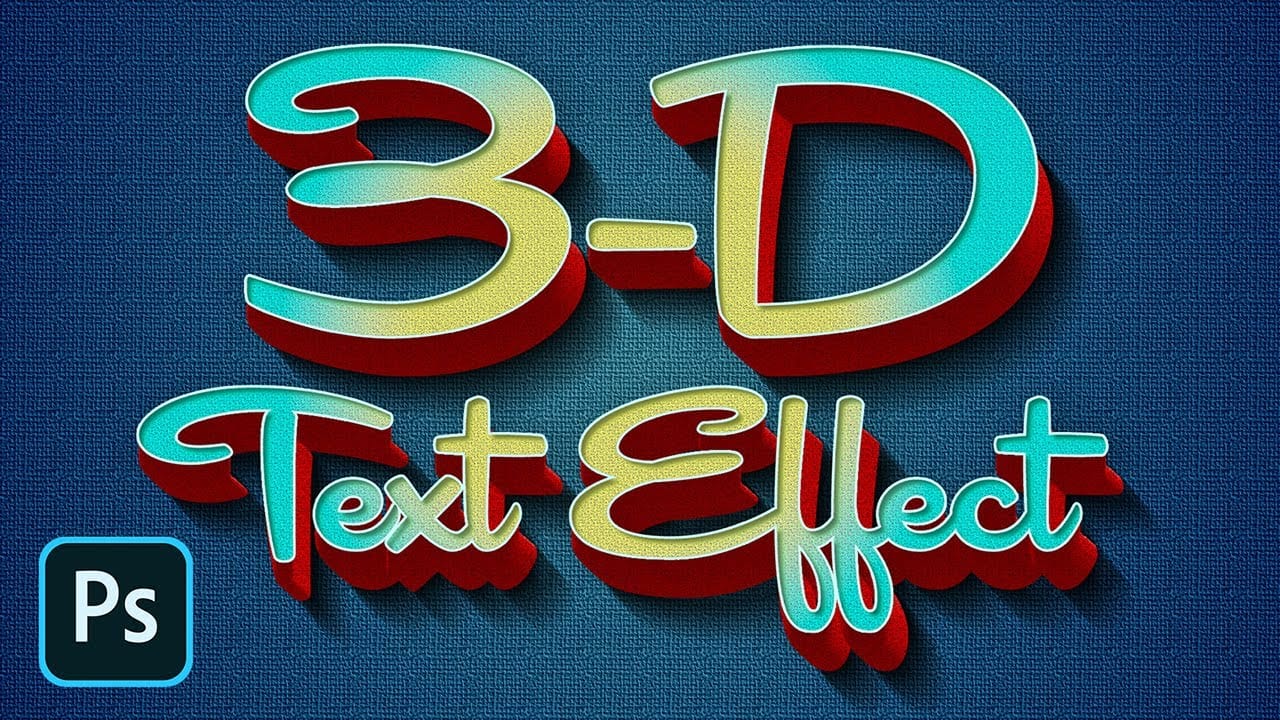
How to Create a Retro 3D Text Design in Photoshop
The allure of retro design continues to captivate, offering a nostalgic aesthetic that can add unique character to modern projects. Creating dynamic 3D text effects is a powerful way to infuse this vintage charm into your digital art, transforming flat typography into eye-catching, dimensional elements. This tutorial provides a comprehensive guide to crafting a compelling retro 3D text design in Photoshop. You will learn essential techniques for building depth, applying intricate layer styles,
How to Create a 3D Retro Text Effect in Adobe Photoshop
In this Adobe Photoshop tutorial by Spoon Graphics, you'll learn how to create a great-looking retro text effect. Using a mix of layer styles and clever Photoshop techniques, this tutorial guides you through the process step-by-step. The best part is that it utilizes Smart Objects, allowing you to non-destructively create the effect, meaning the original type element can still be updated to change the wording. This approach ensures flexibility and ease of editing while achieving a stylish retr
How to Create a Grungy Screen Print Text Effect in Photoshop
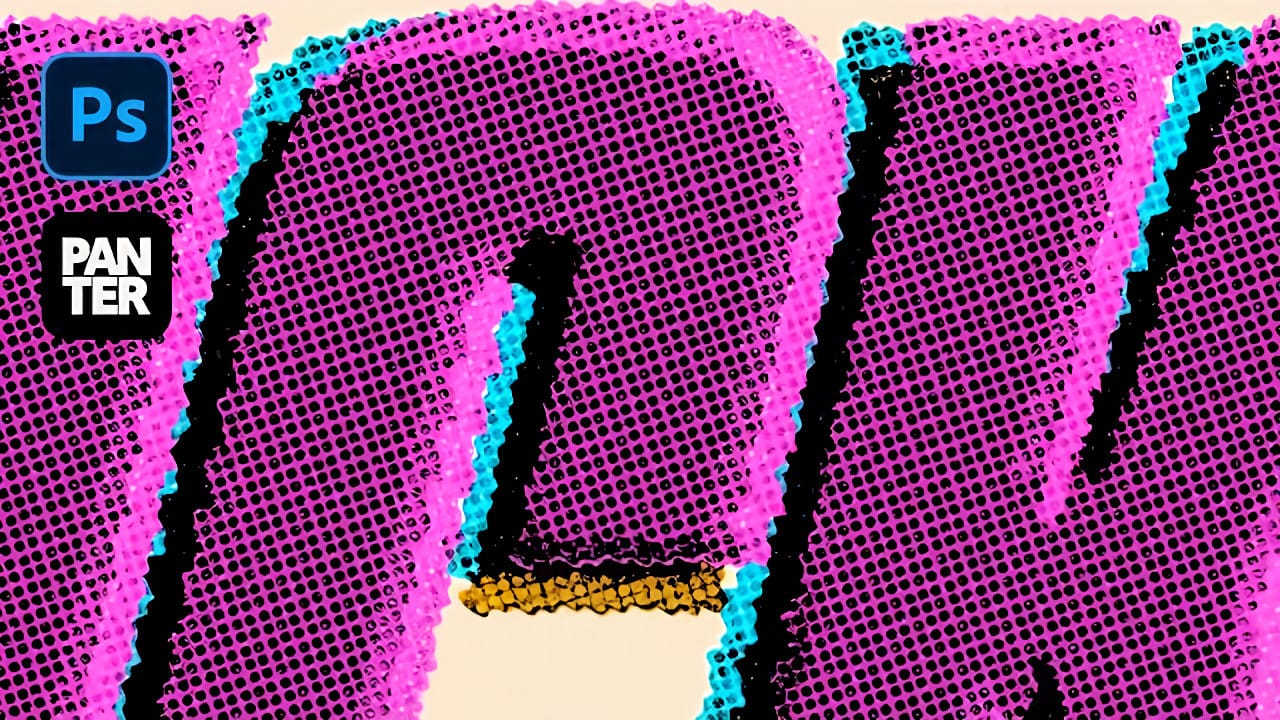
Screen printing creates distinctive textures that digital typography often lacks—rough edges, halftone dots, and color bleeding that gives text authentic character. These imperfections make designs feel handcrafted and rebellious, perfect for band merchandise, vintage posters, and streetwear graphics. This tutorial demonstrates how to recreate that gritty screen print aesthetic using Photoshop's blur, distortion, and halftone effects. You'll transform clean digital text into something that look
How to Make Grungy Ghost Text Effects in Photoshop
Ghost text effects combine ethereal transparency with gritty texture to create typography that feels both haunting and visually striking. This design technique has become increasingly popular in horror-themed projects, album covers, and creative branding where designers want to convey mystery or edginess. This tutorial demonstrates how to build a convincing grungy ghost text effect using Photoshop's blur gallery, blend modes, and texture techniques. You'll learn to create translucent, distorted

Get tutorials & freebies delivered to you.

Subscribe to the Photoshop Roadmap newsletter, a weekly roundup of new tutorials, insights and quality downloads, trusted by 6500+ readers.

You might also like

Painting Digital Art Backgrounds: Techniques and Workflow

A well-crafted background can anchor an entire digital painting, providing atmosphere, depth, and visual context for the subject. This video demonstrates practical approaches to building backgrounds from scratch using digital tools, covering brush selection, color layering, and compositional thinking. Watch the Video Practical Tips Keep these core principles in...

How to Use the Light Adjustment Layer in Photoshop

Photoshop's new Light adjustment layer brings Camera Raw controls — exposure, contrast, highlights, shadows, whites, and blacks — directly into the layers panel as a fully non-destructive, maskable layer. This means you can stack multiple light adjustments, target specific subjects, and combine them with Blend If and other adjustment...

How to Use Object Selection, Remove Background, and the Selection Brush in Photoshop

Selections determine the quality and flexibility of almost every edit you make in Photoshop. Three modern tools — the Object Selection tool, Remove Background with Harmonize, and the Selection Brush — handle the most common selection tasks with far less manual effort, while keeping your original image intact through non-destructive layers....

How to Paint a Digital Background and Composite Wildlife Into It

Building a painted digital background from scratch gives you full control over color, mood, and composition before a single wildlife photo is placed. This walkthrough covers the complete process: blocking in shadows on a black canvas, layering foliage with textured brushes, positioning bird subjects on hand-painted stones, and using...

How to Sharpen Skin Texture Using Frequency Separation in Photoshop

Retouched skin can look great up close but lose all its natural texture the moment you zoom out. Rather than relying on standard sharpening filters, you can recover that texture by duplicating the high-frequency layer inside a frequency separation setup — a method that works whether or not you'...

You’ve successfully subscribed to Photoshop Roadmap
Welcome back! You’ve successfully signed in.
Great! You’ve successfully signed up.
Success! Your email is updated.
Your link has expired
Success! Check your email for magic link to sign-in.