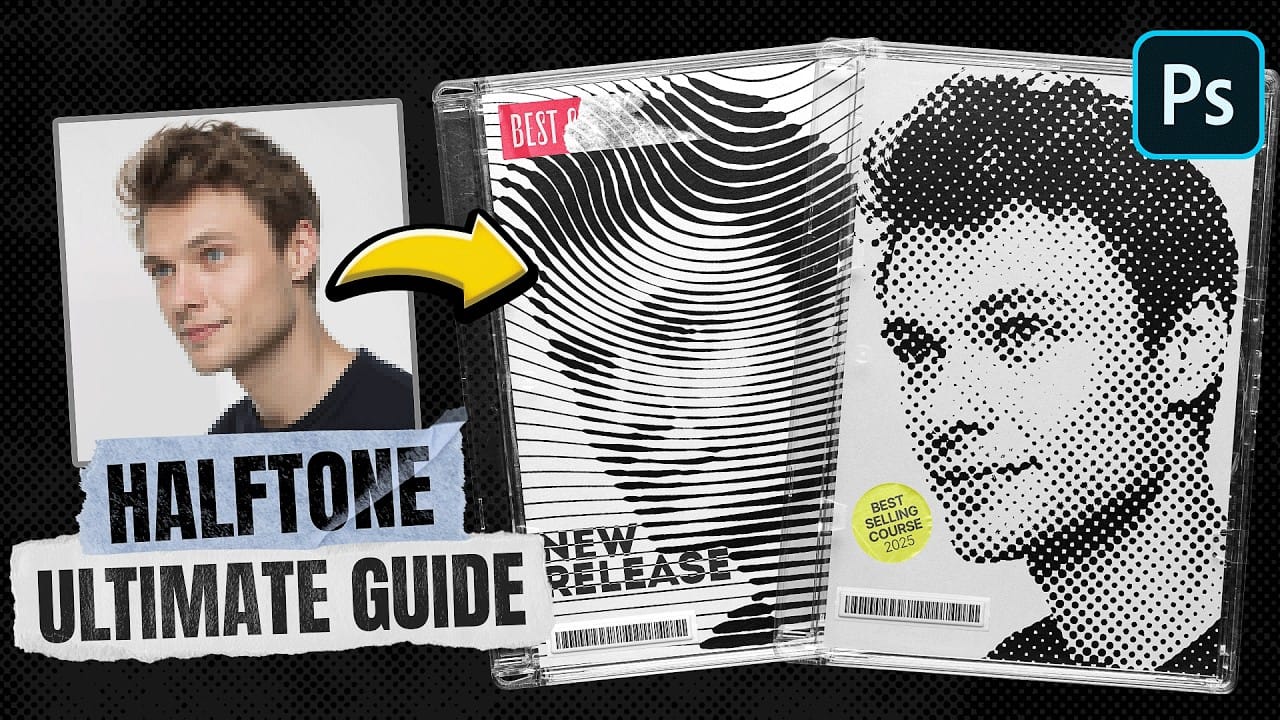
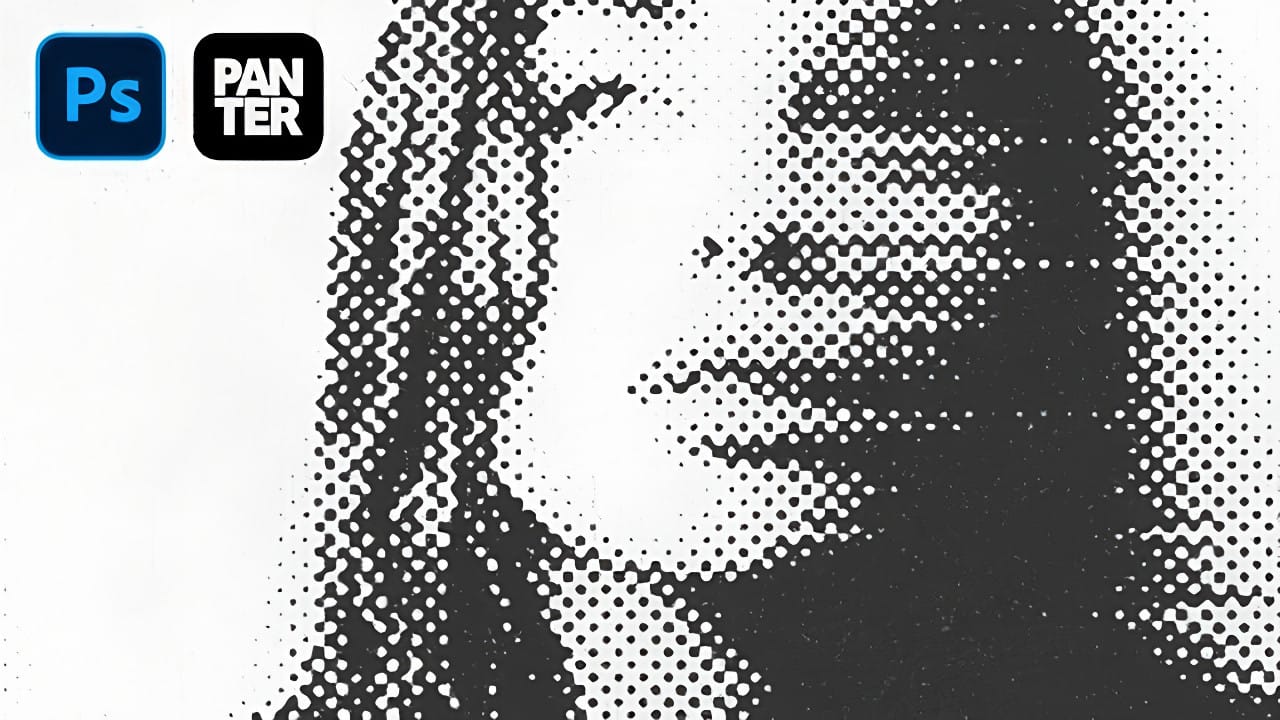
Traditional halftone effects in print media created depth through visible dot patterns that gave images character and texture. While Photoshop's built-in Filter Gallery offers a quick halftone option, it produces blurry results that lack the crisp definition of professional halftone work.
This technique uses the Color Halftone filter combined with smart objects and noise textures to create sharp, adjustable halftone effects. The method allows for complete control over dot size and contrast while maintaining the flexibility to modify settings without starting over.
Video by Brendan Williams. Any links or downloads mentioned by the creator are available only on YouTube
Practical Tips
These techniques will help you achieve professional halftone effects with maximum control and flexibility.
- Convert your layer to a smart object before applying filters to enable non-destructive editing and easy parameter adjustments
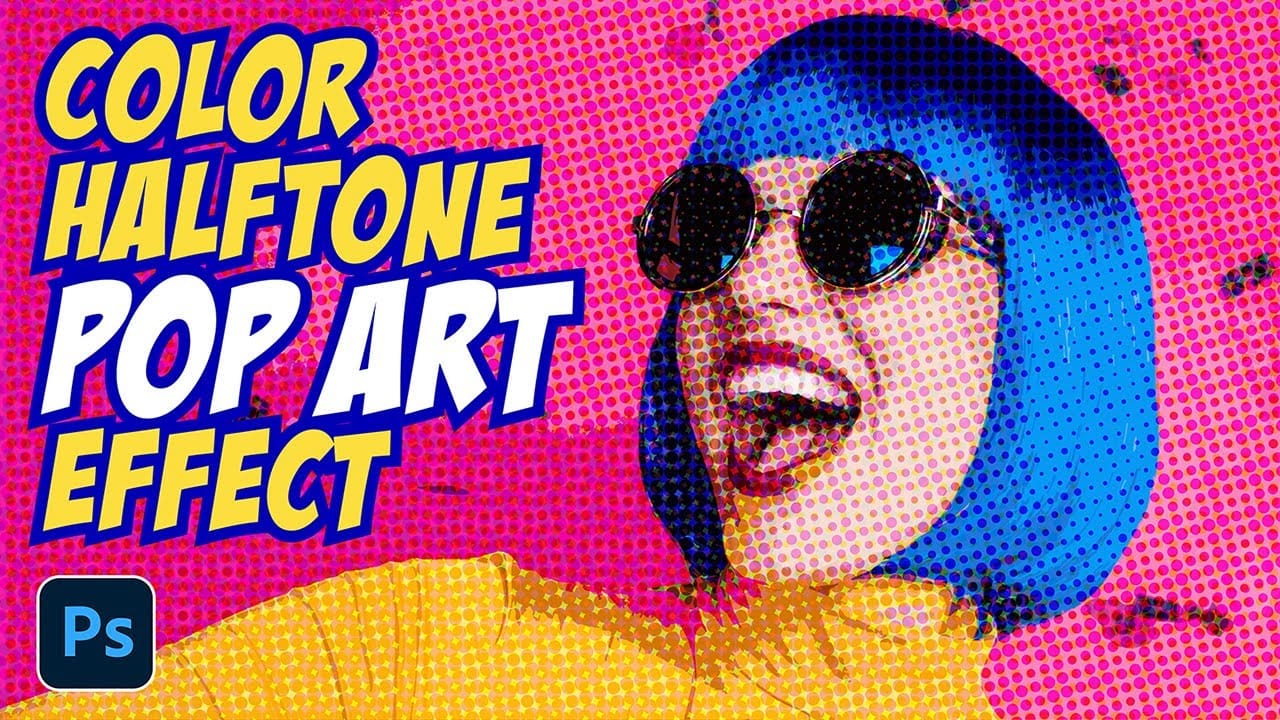
- Use the Color Halftone filter instead of Filter Gallery for sharper, more defined dots with better edge quality
- Set all channel values to the same number (like 20 or 40) to create uniform dot patterns across the entire image
- Add contrast adjustments inside the smart object rather than on top to avoid affecting the halftone dot structure
- Create textured noise layers using Screen blend mode to add authentic print texture without blocking the underlying effect
Related Articles and Tutorials
Explore more halftone techniques and vintage effects for creating compelling graphic designs.