Every tonal and color change made through the Image menu is permanent — once applied, those edits are baked into the pixels with no way to revisit individual settings. Adjustment layers solve this by keeping each change on its own editable, maskable layer, so nothing in the original image is ever touched.
Watch the Video
Video by SandraD Imagery. Any links or downloads mentioned by the creator are available only on YouTube
Practical Tips
These techniques apply directly to building a flexible, revisable editing workflow in Photoshop.
- Use the Adjustments panel to add layers like Levels, Brightness/Contrast, and Hue/Saturation — each remains independently editable by double-clicking its icon.
- Use the Reset button in the Properties panel to undo changes within an adjustment layer without deleting it or affecting other layers.
- Paint on an adjustment layer's mask with a black brush to remove the adjustment from specific areas, such as keeping saturation only in a selected region.
- Use a Stamp Visible layer (Ctrl+Alt+Shift+E) when pixel-based tools like the Spot Healing Brush are needed, then continue stacking adjustment layers on top.
- Experiment with blend modes on individual adjustment layers — changing to Lighten, Darken, or Color Burn can produce results that a slider alone cannot achieve.
Related Articles and Tutorials
Explore more tutorials on working non-destructively with layers, masks, and tonal adjustments.
Master Photoshop Adjustment Layers for Non-Destructive Editing
Fine-tuning images without destroying original pixel data transforms ordinary photos into compelling visuals. Adjustment layers provide the flexibility to experiment with colors, contrast, and tones while maintaining complete control over every edit.
This comprehensive guide demonstrates how to harness Photoshop's most powerful adjustment layers for landscape photography, from basic contrast enhancements to sophisticated color grading techniques.
Watch the Tutorial
Understanding Non-Destruc
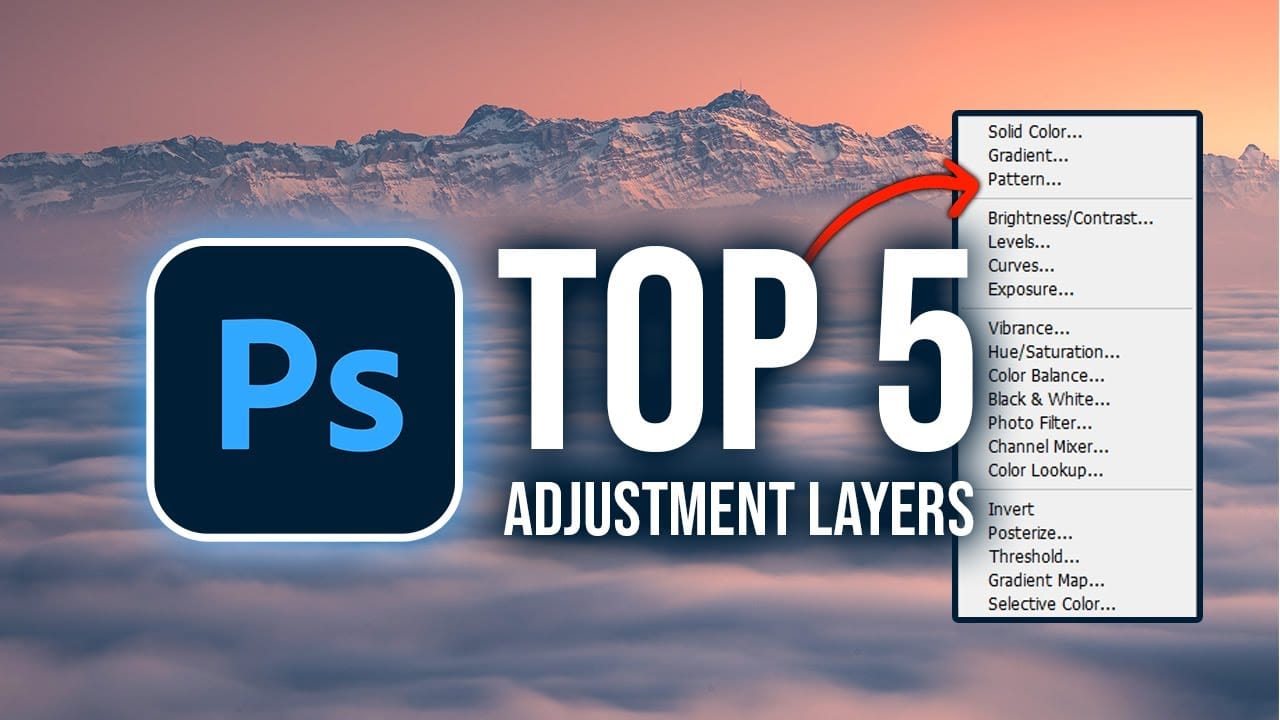
How to Use Adjustment Layers in Photoshop: Whole Image, Selected Area, and Clipping Mask
Adjustment layers let you change colors, contrast, tone, and more without touching a single original pixel. Stack them, tweak them, or discard them entirely — the photo underneath stays intact. This tutorial covers three distinct ways to apply them: across the full image, within a specific selection, and clipped to a single layer.
Watch the Video
Practical Tips
These techniques work across different photo types and editing goals — keep them in mind as you build your own workflow.
* Add ad
How to Use the Light Adjustment Layer in Photoshop
Photoshop's new Light adjustment layer brings Camera Raw controls — exposure, contrast, highlights, shadows, whites, and blacks — directly into the layers panel as a fully non-destructive, maskable layer. This means you can stack multiple light adjustments, target specific subjects, and combine them with Blend If and other adjustment layers without ever flattening your file.
Watch the Video
Practical Tips
Key techniques covered in this tutorial for working with the Light adjustment layer ef
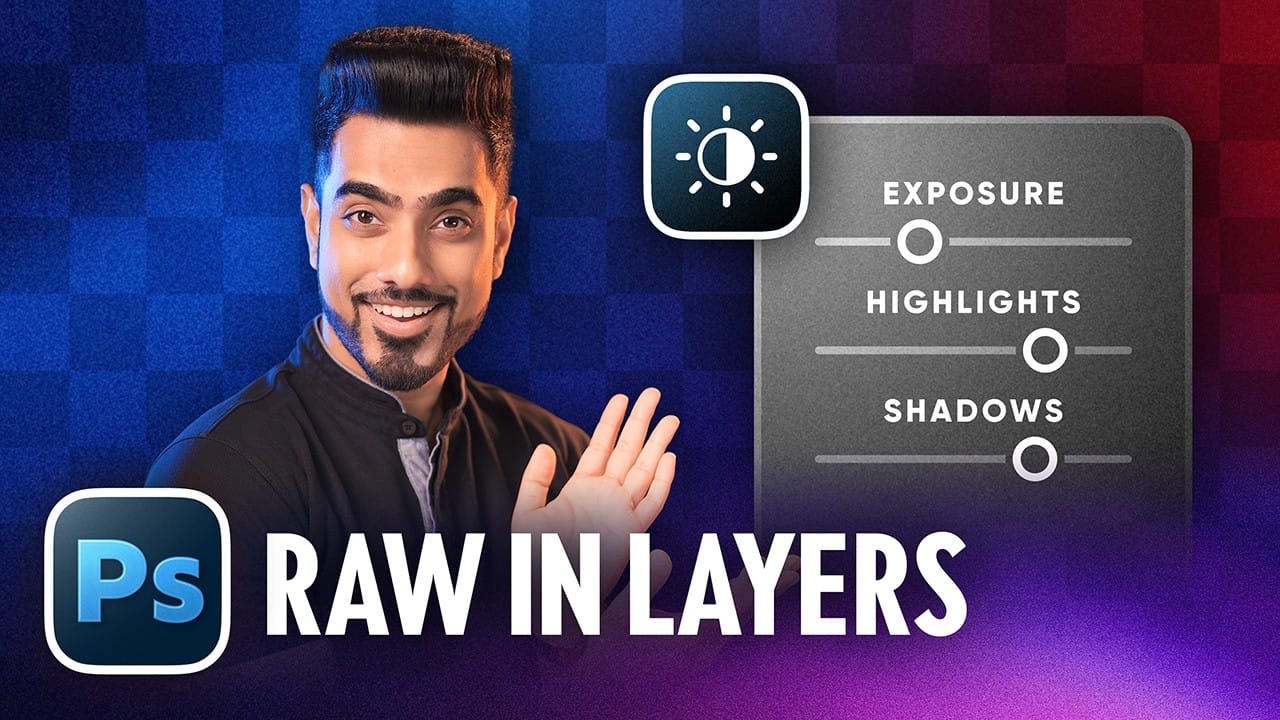
How to Use the New Color, Clarity, Dehaze, and Grain Adjustment Layers in Photoshop
Three powerful new adjustment layers bring Camera Raw's most popular tools directly into your layers panel. Color and Vibrance, Clarity and Dehaze, and Grain adjustments now work as standard adjustment layers with full masking capabilities and non-destructive editing.
These tools eliminate the need for smart objects when applying these specific adjustments, creating cleaner workflows while maintaining the precision control photographers expect from professional editing software.
Watch the Vid
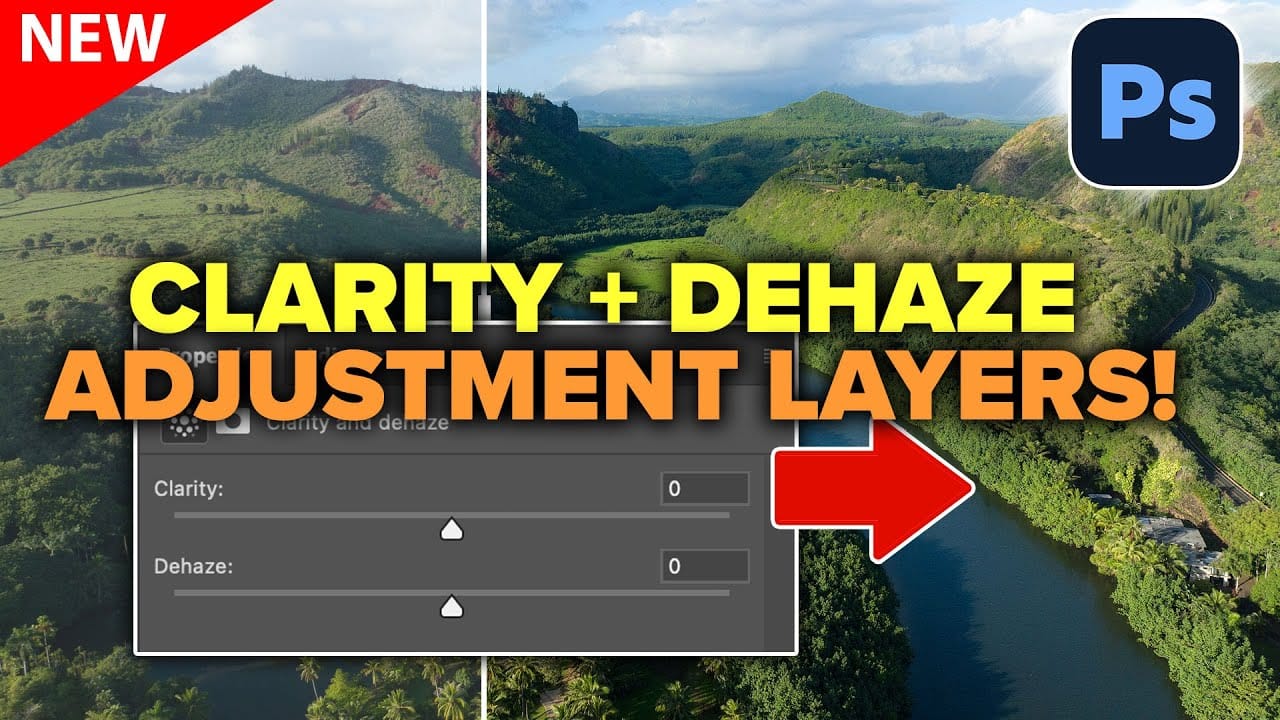
How to Use Clarity and Dehaze Adjustments in Photoshop
Two of the most popular adjustments from Camera Raw—Clarity and Dehaze—are now available as adjustment layers in Photoshop beta. These tools work on different image frequencies to enhance contrast and cut through atmospheric haze, giving you precise control over midtone contrast and low-frequency areas.
Understanding how these adjustments affect different parts of your image helps you combine them effectively for maximum impact while maintaining natural-looking results.
Watch the Video
Prac
New Camera Raw Adjustment Layers in Photoshop: Color Grading, Clarity, and Grain
Working with multiple layers in Photoshop traditionally required complex workarounds to apply Camera Raw adjustments. The old process involved merging layers, converting to smart objects, and losing the flexibility that makes adjustment layers so powerful.
Three new adjustment layers bring Camera Raw's most useful tools directly into your layers panel. These additions eliminate the need for destructive editing while maintaining all the masking and blending capabilities you expect from adjustmen
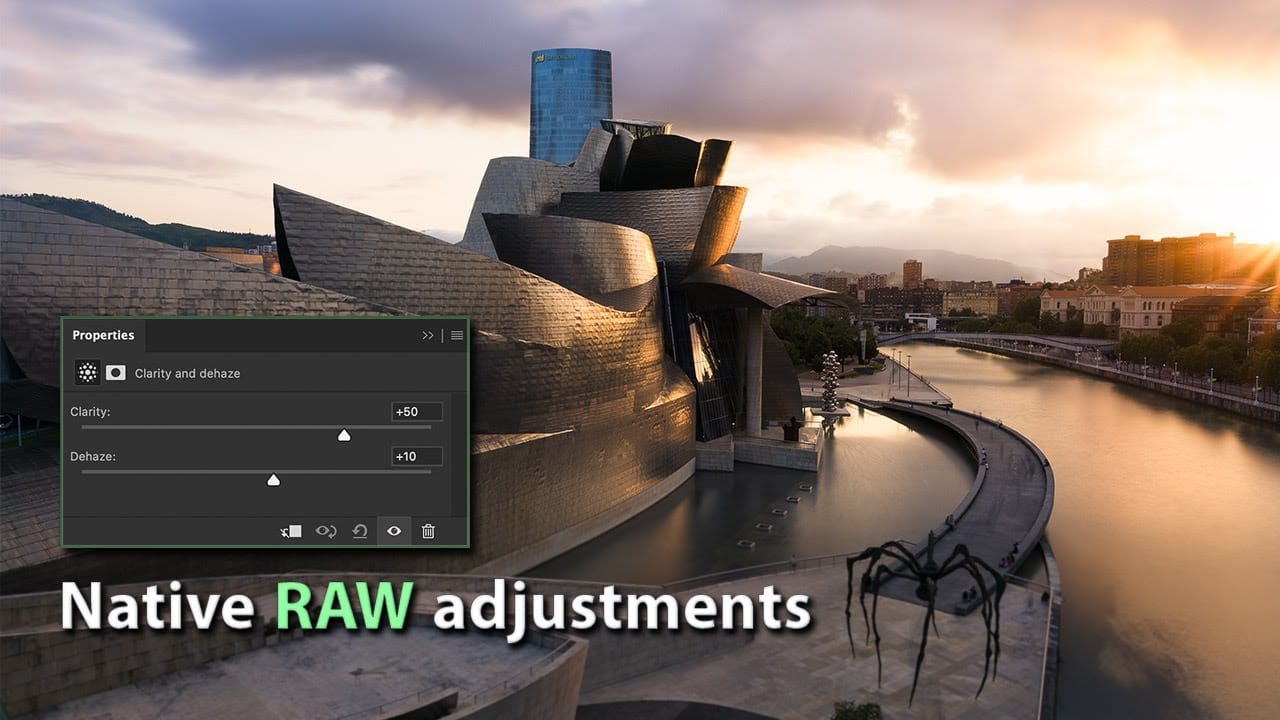
How to Use New Camera Raw Adjustment Layers in Photoshop Beta
Three new adjustment layers in Photoshop beta bring Camera Raw's most powerful tools directly into your layers panel. Color and Vibrance, Clarity and Dehaze, and Grain adjustments now work as standard adjustment layers, eliminating the need for smart objects while maintaining all the precision masking and blending capabilities you expect.
This breakthrough allows photographers to apply global-quality Camera Raw adjustments with local control, creating more efficient workflows without file bloat
Curves vs Levels in Photoshop: Learn The Difference
Curves and Levels are two of the most powerful adjustment tools in Photoshop, but many users struggle to understand when to use each one. While both tools manipulate light and color information in similar ways, they offer different levels of control and complexity.
Understanding their similarities and key differences will help you choose the right tool for each editing situation, whether you're making simple exposure corrections or advanced color grading adjustments.
Watch the Video
Practic

Photoshop 2025: New Adjustment Brush Tool Explained
The new Adjustment Brush tool in Photoshop 2025 streamlines color and lighting adjustments by combining painting and adjustment layers into a single workflow. Instead of manually creating adjustment layers and painting masks, this tool automatically generates the layers and masks as you paint directly on your image.
This approach makes selective adjustments more intuitive, whether you're changing the color of specific objects or fine-tuning exposure on particular areas of your photo.
Watch th
How to Dodge and Burn in Photoshop
Curves adjustment layers offer far more flexibility and control than traditional dodge and burn tools in Photoshop. This non-destructive method allows you to selectively lighten and darken areas while maintaining the ability to adjust intensity and modify your edits at any time.
The technique uses layer masks with soft brushes and low flow settings to build up gradual lighting effects. You can enhance natural highlights and shadows to create three-dimensional depth, or use blend modes to automa