The threshold effect transforms photos into bold black-and-white graphics, but harsh edges can make results look digital and flat. Adding grain before applying threshold adjustments creates smoother transitions and authentic vintage texture that mimics classic print aesthetics.
This technique combines smart objects, Camera Raw grain, and threshold adjustments to build a flexible, non-destructive workflow that produces professional grainy stylizations.
Watch the Video
Video by Brendan Williams. Any links or downloads mentioned by the creator are available only on YouTube
Practical Tips
These essential techniques will help you achieve professional grainy threshold effects:
- Convert your image to a smart object before adding grain to maintain flexibility and enable easy editing of all adjustments
- Set grain to maximum (100) in Camera Raw effects panel, then adjust size and roughness to taste for optimal texture
- Duplicate the Camera Raw grain filter multiple times by Alt/Option-dragging to create softer threshold transitions
- Use blend if sliders on the threshold layer to bring back original colors in shadow areas for more natural results
- Add a color blend mode layer with reduced opacity to enhance the original image colors while preserving the threshold effect
Related Articles and Tutorials
Explore more creative techniques for vintage effects and stylized image treatments:
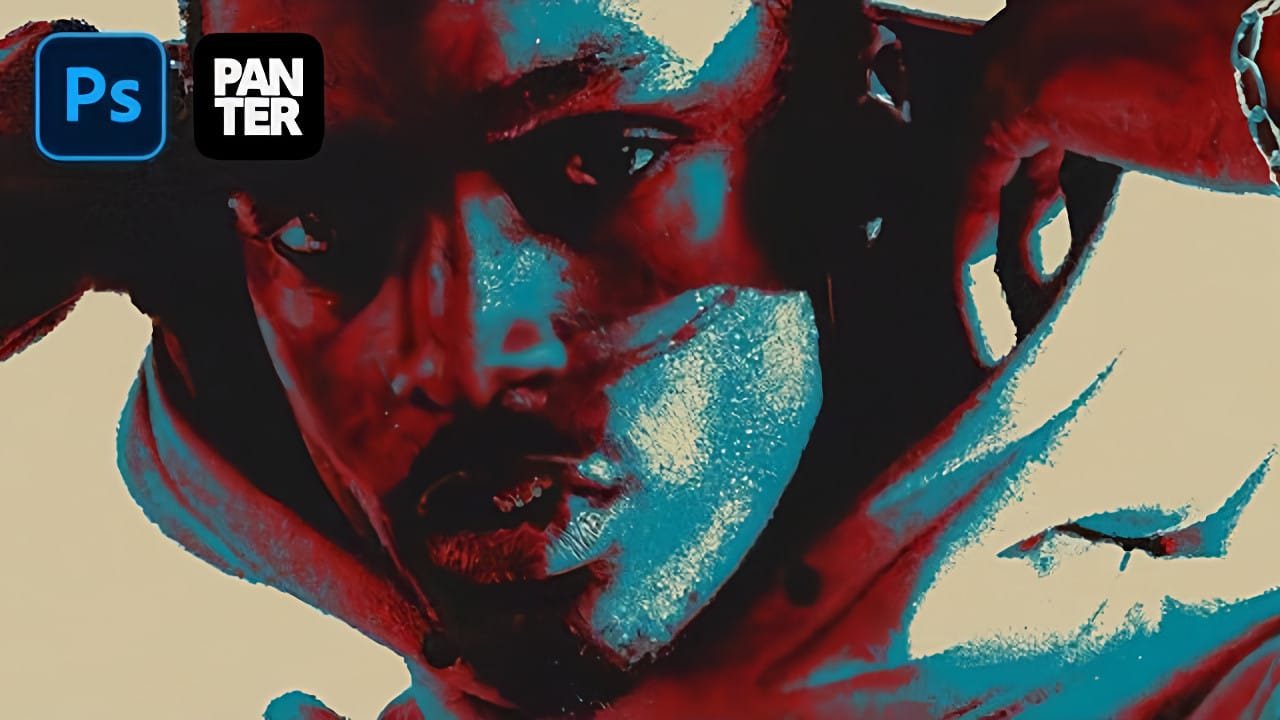
How to Create a Triple Colored Threshold Effect in Photoshop
Bold graphic effects can transform ordinary portraits into striking artistic statements. The triple threshold technique combines three distinct colors with high contrast elements to create a poster-like aesthetic reminiscent of pop art and modern design trends.
This effect works by layering multiple threshold adjustments with different colors and blend modes. The result produces clean, dramatic contrasts that make portraits stand out with minimal detail but maximum visual impact.
Watch the Tu
Revolutionary Technique: Photoshop's Grain Shaded Gradient Maps
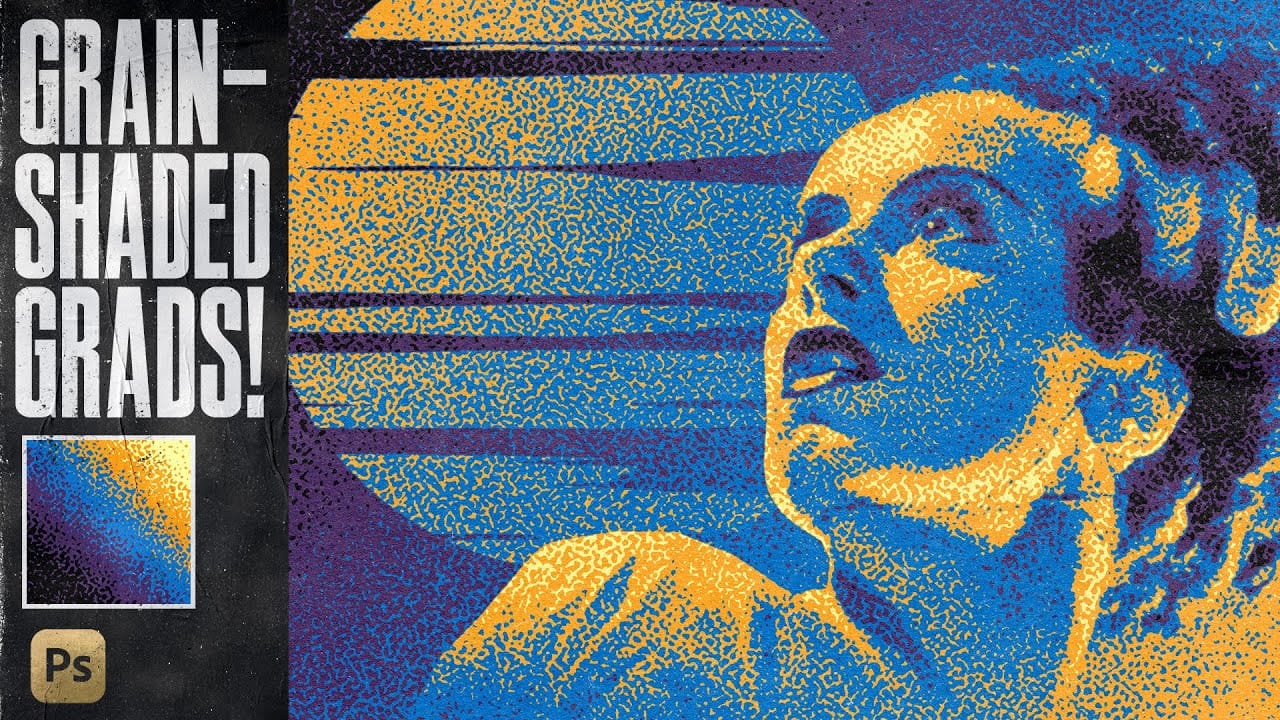
In this tutorial, TextureLabs presents a revolutionary technique to enhance your Photoshop projects using grain-shaded gradient maps. This method offers a fresh approach to creating noise effects that can add depth and interest to your artwork.
By utilizing Adjustment Layers, along with specially designed noise patterns and custom gradient presets, you can achieve stunning results. The tutorial walks you through the essential steps to manipulate these elements effectively, allowing for greater
Create Grungy Halftone Line Effects in Photoshop
Grungy halftone effects bring vintage print aesthetics and urban edge to digital designs. This technique combines traditional halftone patterns with noise textures to create compelling visual depth.
The method uses smart objects and blend modes to build a flexible, non-destructive workflow that works across different projects.
Watch the Tutorial
Practical Tips for Halftone Line Effects
* Convert layers to smart objects before applying filters to maintain flexibility and allow easy adjustm
Add Realistic Film Grain in Photoshop Using the New Adjustment Layer
Film grain adds authentic character to digital images, recreating the organic texture that made analog photography compelling. The new grain adjustment layer in Photoshop 27.3 brings this classic effect directly into your workflow, eliminating the need to work in Camera Raw.
Understanding how grain actually worked in film photography is key to applying it realistically. Grain lived in the film emulsion, appearing strongest in shadows and midtones while naturally fading in highlight areas where
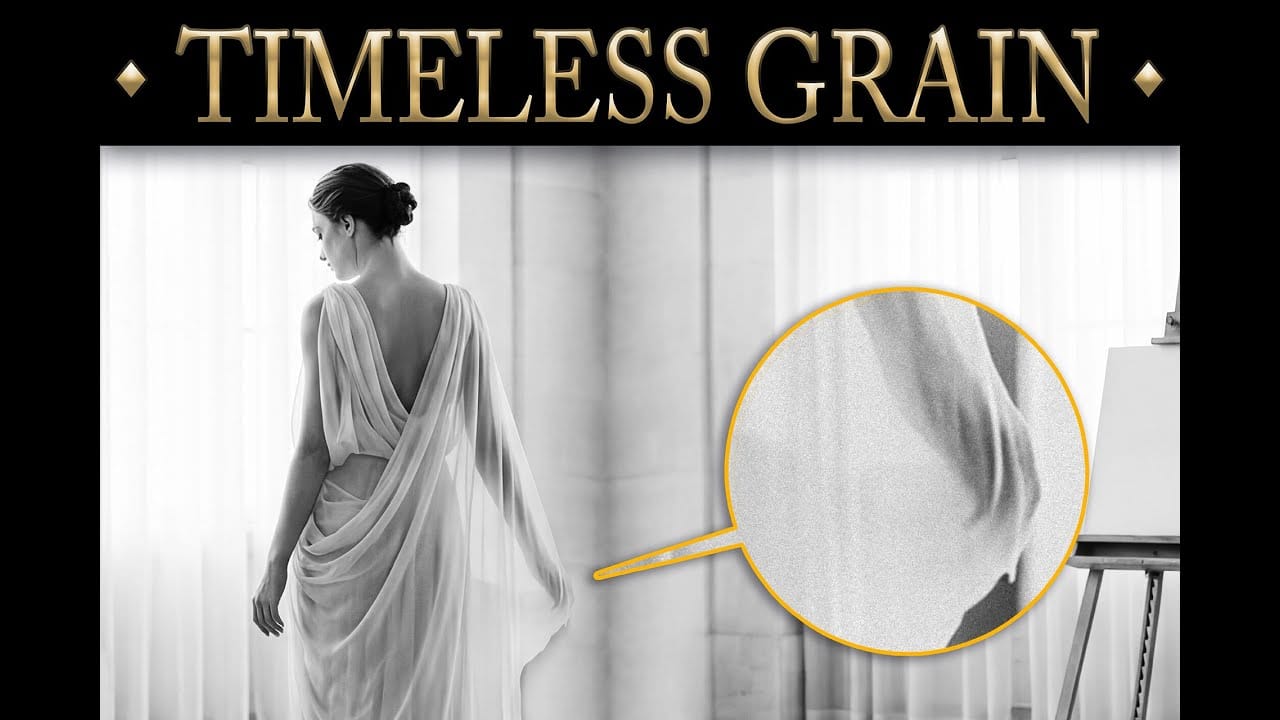
Create a Quick Grunge Photo Border in Photoshop
In this Photoshop tutorial, Gavin Hoey demonstrates how to achieve a grungy effect on an image.
Starting with duplicating the background layer and expanding the canvas, Gavin adds a clouds filter and adjusts blending modes to enhance the image's texture and depth. Using techniques like applying fibers filters and Gaussian blur, he further intensifies the grungy appearance, complemented by strategic strokes and brushwork to emphasize contrast and detail.
Gavin's tutorial offers practical insigh
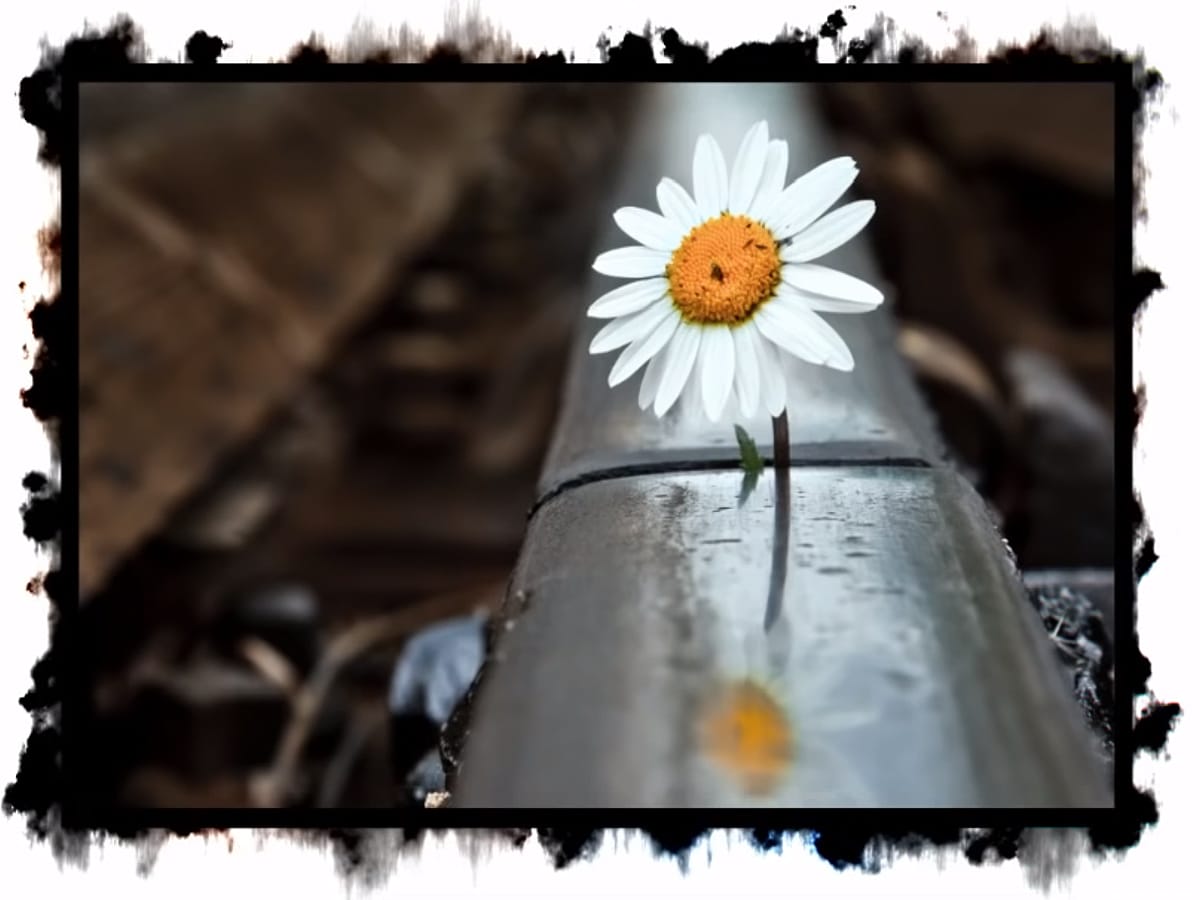
Create an old-school halftone photo effect in Photoshop
Creating authentic vintage halftone effects can be challenging when working with modern digital photography. Many designers struggle to achieve that classic print aesthetic without the result looking artificial or overdone.
This tutorial demonstrates a multi-layer approach to building realistic halftone vintage effects using threshold adjustments, pattern overlays, and selective masking. The technique creates depth and authenticity by working with multiple halftone variations rather than a sing
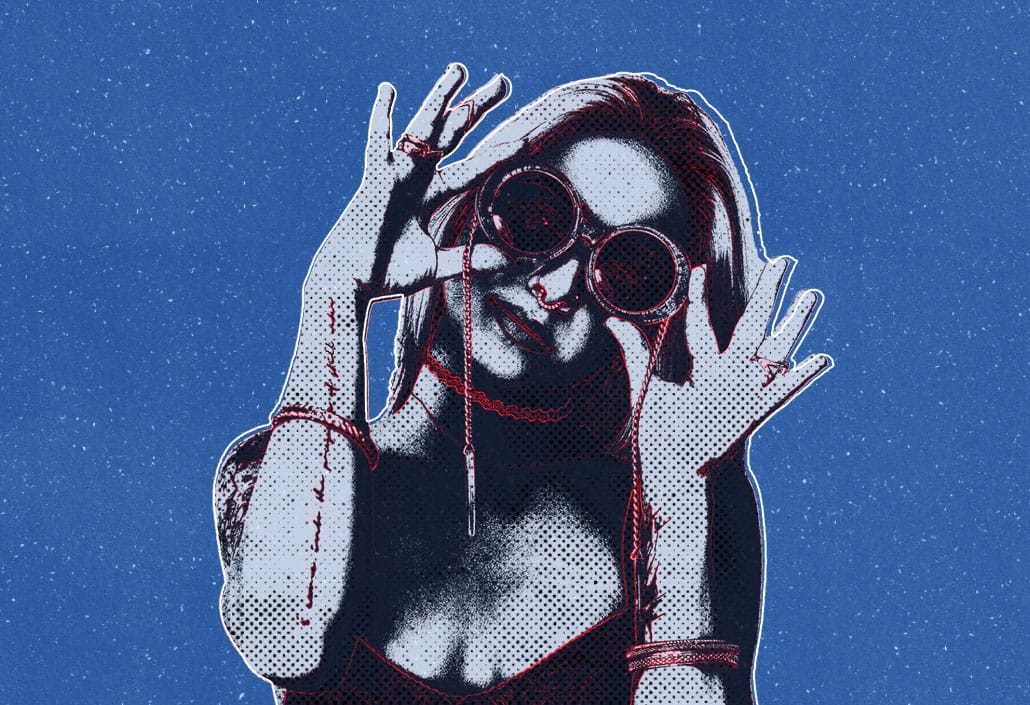
Create Grungy Retro Halftone Effect in Photoshop
Vintage poster art captured attention through bold contrasts, visible printing dots, and rough textures that gave images character. The halftone effect recreates this aesthetic by breaking up continuous tones into distinct dots, mimicking old-school printing techniques.
This technique transforms clean digital photos into gritty, retro-style artwork. The method combines Photoshop's built-in filters with layering techniques to create authentic-looking vintage effects with adjustable intensity.
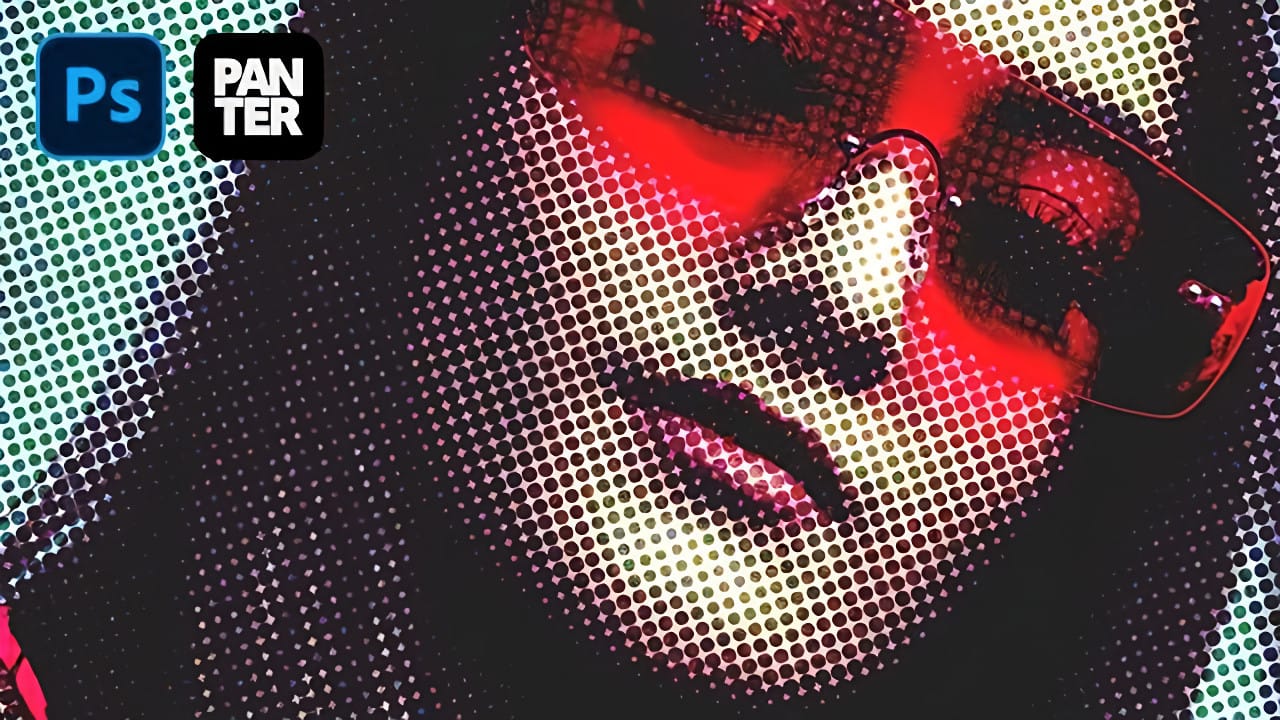
Create Underground Grunge Photo Effects in Photoshop
Underground grunge aesthetics bring raw, rebellious energy to portrait photography through distressed textures and gritty visual noise. The weathered, industrial look captures the essence of street culture and alternative art movements.
This technique transforms clean portraits into compelling grunge artwork using Photoshop's noise filters, blur effects, and blend modes to achieve that authentic underground feel.
Watch the Video Tutorial
Essential Tips for Grunge Photo Effects
These key te
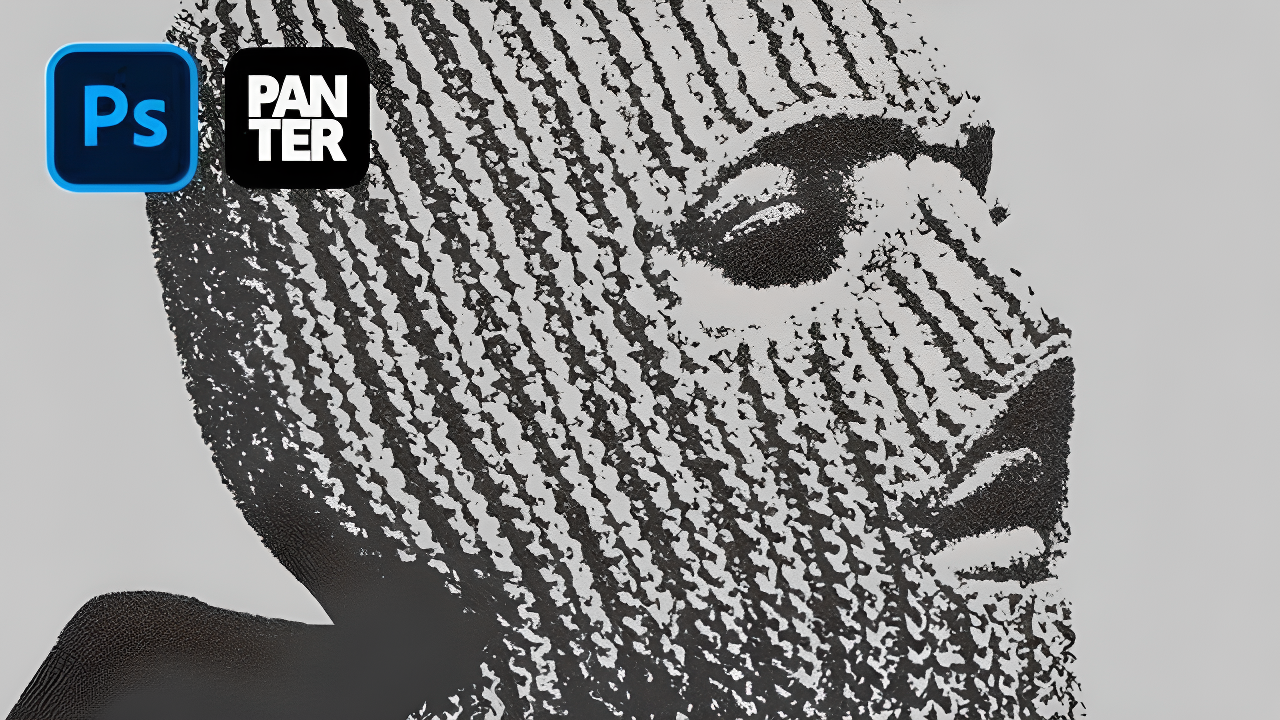
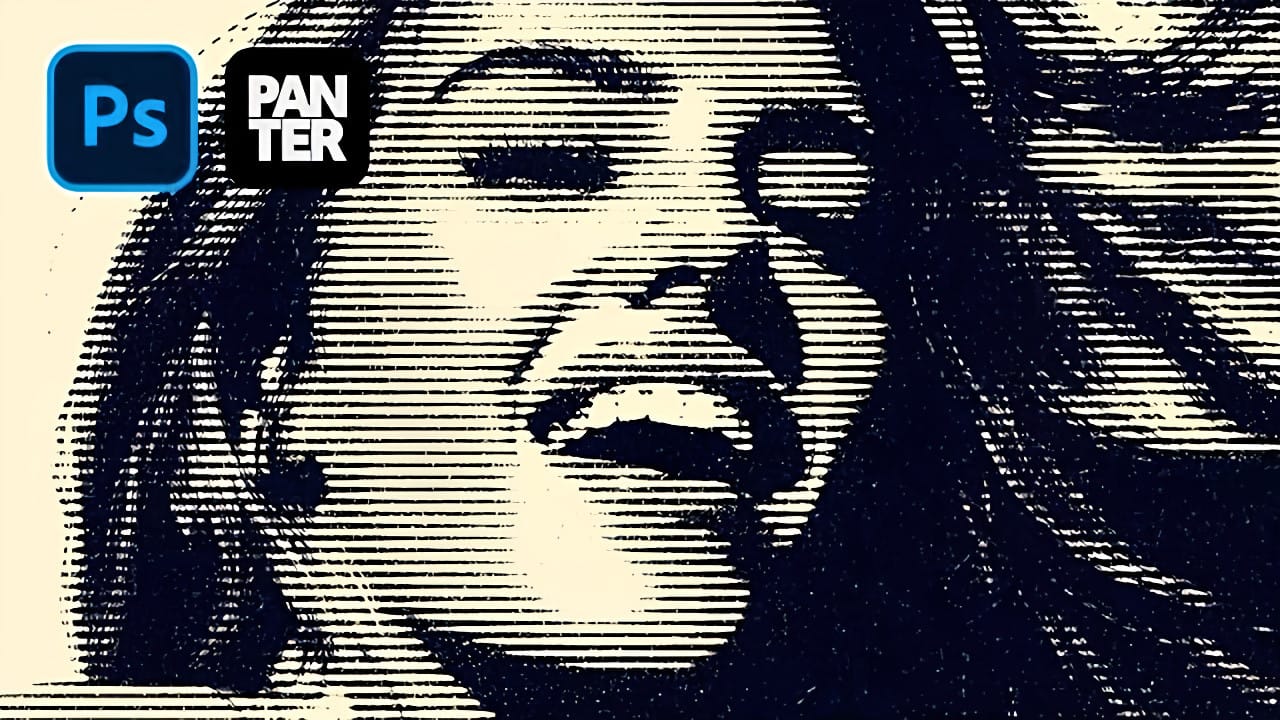
Create Grungy Halftone Line Effects in Photoshop
Classic halftone line patterns evoke the raw aesthetic of vintage print media, from underground zines to punk rock posters. These gritty textures transform clean digital photos into pieces that feel authentically analog, complete with the imperfections that make print work compelling.
This technique combines Photoshop's halftone filters with noise and blur effects to create convincing photocopy-style line patterns. The method builds multiple adjustment layers that work together to produce both
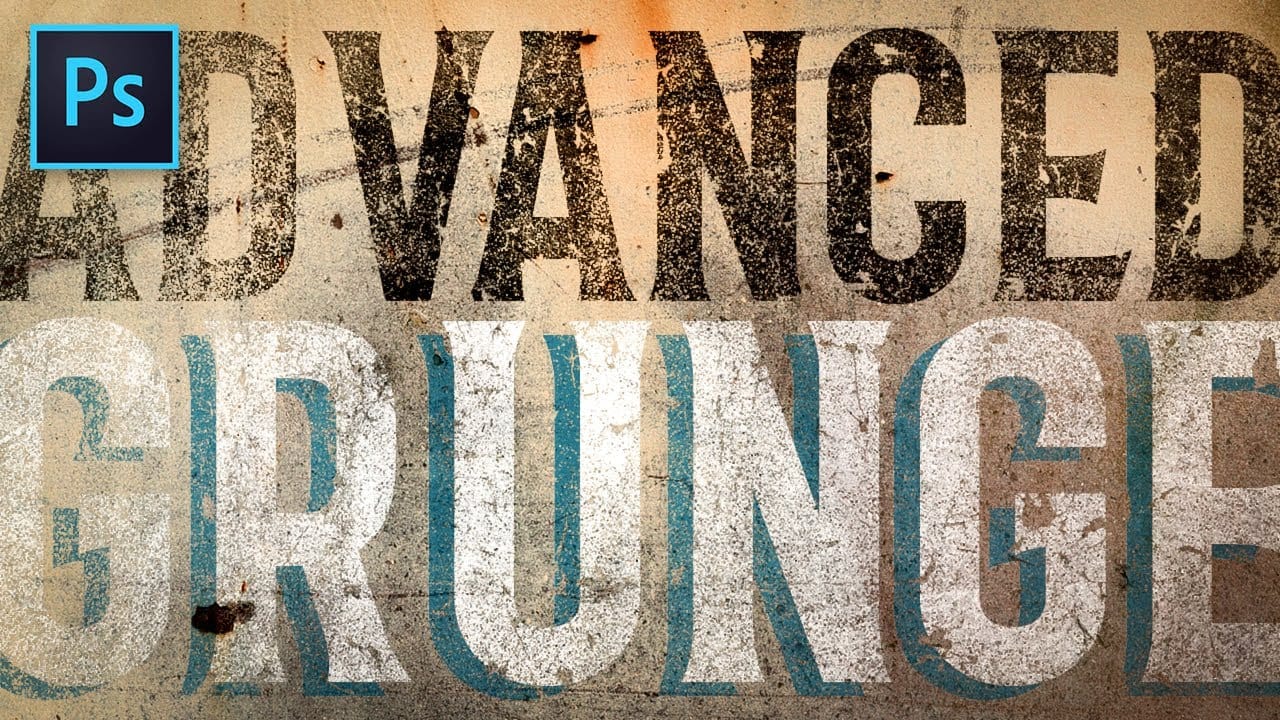
Advanced Grunge Text Effect in Photoshop
Achieving authentic, deeply distressed grunge effects for typography and logos requires precision and artistry. Designers often struggle to create these visuals while retaining editable elements.
This video presents a revolutionary, non-destructive workflow for applying intricate textures, ensuring your text and logos remain fully adjustable with unparalleled flexibility.
Watch the Video
Beyond Traditional Layer Masks: A Non-Destructive Approach
Traditional Photoshop masking often involves