Photoshop's Light adjustment layer replaces Brightness and Contrast with a full set of Camera Raw controls — exposure, highlights, shadows, whites, blacks, and contrast — available directly in the layers panel. Combined with layer masks and selections, it allows precise, non-destructive light edits targeted to specific areas of an image.
Watch the Video
Video by PHLEARN. Any links or downloads mentioned by the creator are available only on YouTube
Practical Tips
Key techniques covered in this tutorial for working with the Light adjustment layer effectively:
- Apply sliders in this order for best results: exposure first, then whites and blacks, then highlights and shadows, and contrast last.
- Select your subject before creating a Light adjustment layer so the selection automatically becomes the layer mask — no manual masking needed.
- Invert a layer mask with Ctrl/Cmd+I to shift the adjustment from the subject to the background, or vice versa.
- Group a Light adjustment layer with itself (Ctrl/Cmd+G), then add a radial gradient mask to the group to create a localized background glow effect.
- To restore Brightness and Contrast, double-click the Light layer, open the properties menu, and change the Light Version to Legacy.
Related Articles and Tutorials
These tutorials cover related light and color editing techniques worth exploring alongside this one.
Curves vs Levels in Photoshop: Learn The Difference
Curves and Levels are two of the most powerful adjustment tools in Photoshop, but many users struggle to understand when to use each one. While both tools manipulate light and color information in similar ways, they offer different levels of control and complexity.
Understanding their similarities and key differences will help you choose the right tool for each editing situation, whether you're making simple exposure corrections or advanced color grading adjustments.
Watch the Video
Practic

How to Dodge and Burn in Photoshop
Curves adjustment layers offer far more flexibility and control than traditional dodge and burn tools in Photoshop. This non-destructive method allows you to selectively lighten and darken areas while maintaining the ability to adjust intensity and modify your edits at any time.
The technique uses layer masks with soft brushes and low flow settings to build up gradual lighting effects. You can enhance natural highlights and shadows to create three-dimensional depth, or use blend modes to automa
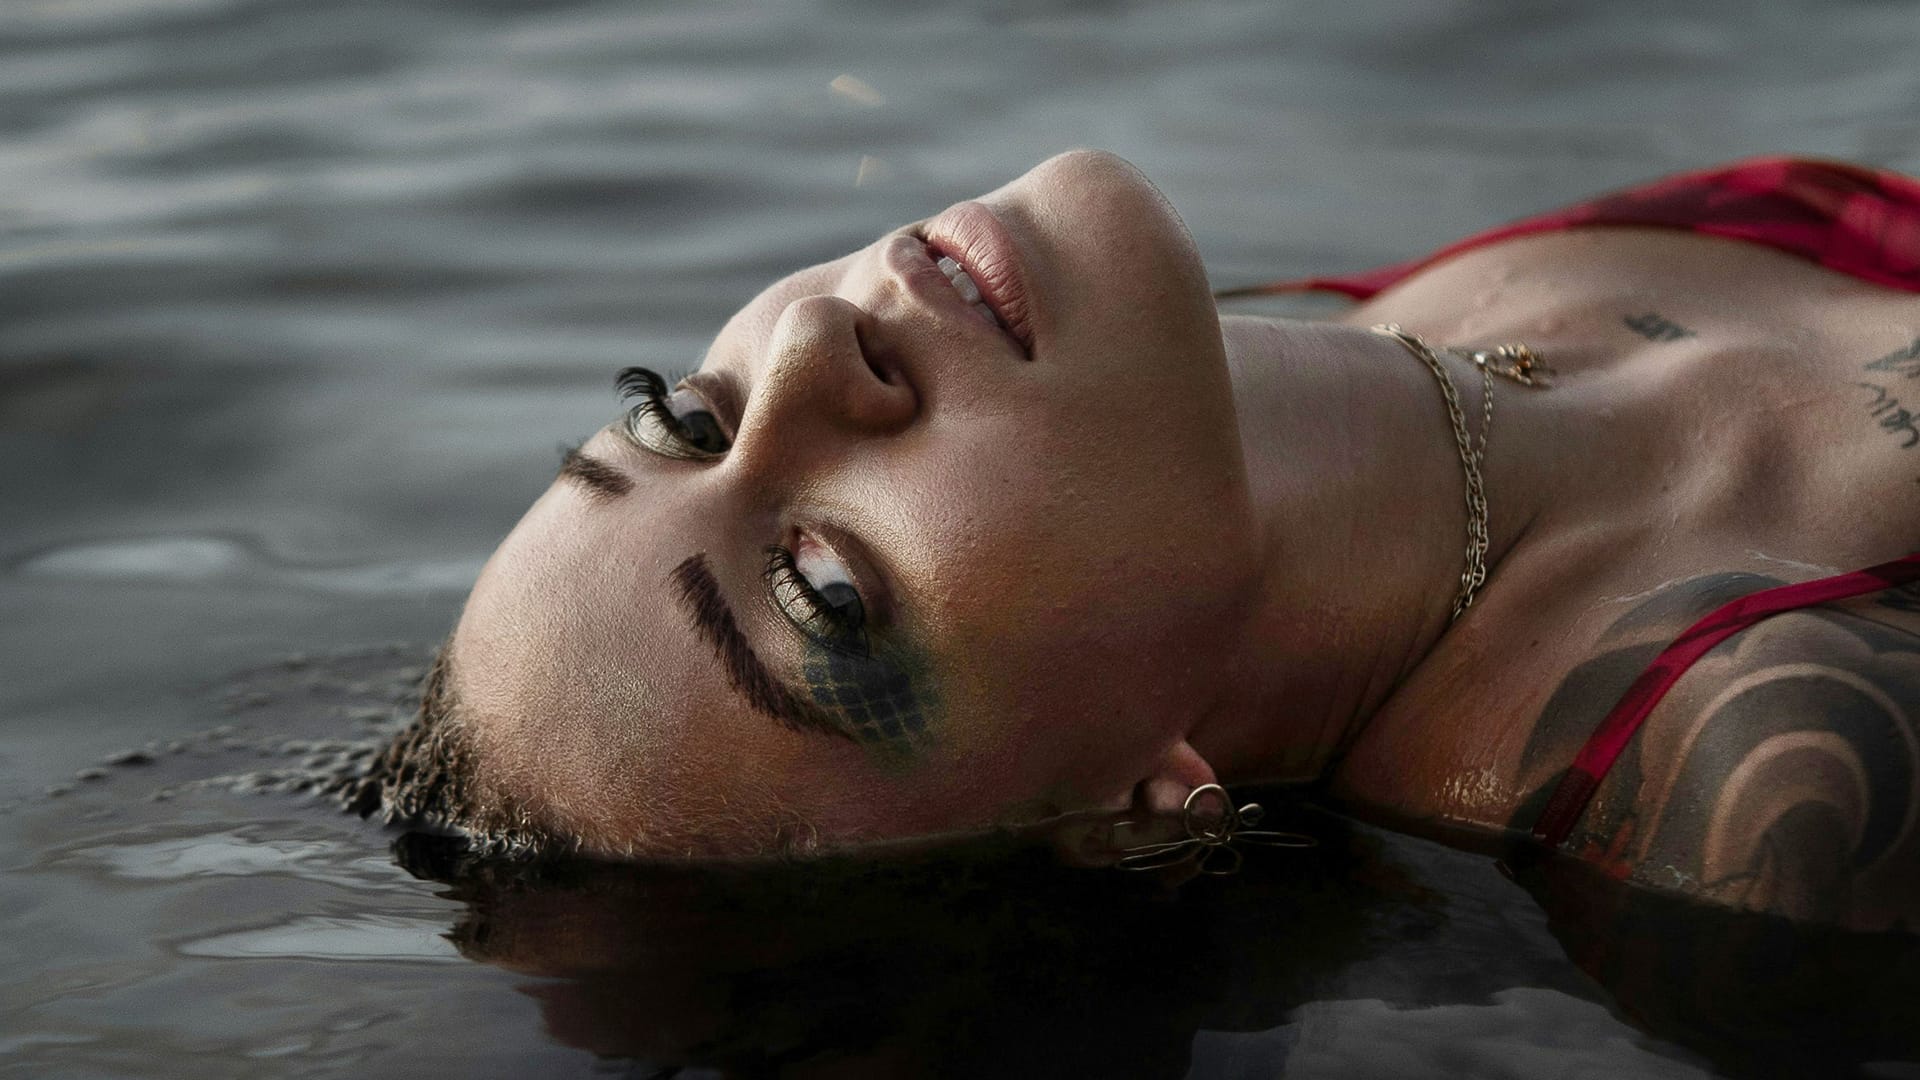
How to Use the Light Adjustment Layer in Photoshop
Photoshop's new Light adjustment layer brings Camera Raw controls — exposure, contrast, highlights, shadows, whites, and blacks — directly into the layers panel as a fully non-destructive, maskable layer. This means you can stack multiple light adjustments, target specific subjects, and combine them with Blend If and other adjustment layers without ever flattening your file.
Watch the Video
Practical Tips
Key techniques covered in this tutorial for working with the Light adjustment layer ef
Photoshop 2026: 5 New Features Worth Adding to Your Workflow
Photoshop 2026 arrives with a set of updates that genuinely change how certain editing tasks get done. The Light adjustment layer alone could replace a step many photographers have been routing through Camera Raw for years — and that's just the start.
Watch the Video
Practical Tips
Here are the key takeaways from the video, covering each of the five features and how to get the most out of them.
* Use the new Light adjustment layer to recover highlights and shadows directly on the canvas —

Stop Ruining Colors with Curves With This Photoshop Trick Instead
Using Curves adjustments in Photoshop often creates unwanted color shifts that can make images look oversaturated or unnatural. While the traditional solution involves switching to Luminosity blend mode, this approach tends to drain the vibrancy from your photos, leaving them flat and lifeless.
This tutorial reveals a superior technique using Camera Raw's refined saturation control that gives you precise command over color intensity while maintaining natural-looking results. You'll discover how
How to Use Photoshop Curves Auto Options for Color Grading
Professional color grading transforms ordinary images into visually striking compositions with rich depth and atmosphere. Hidden curves auto options in Photoshop let you assign custom colors to shadows, midtones, and highlights for dramatic enhancement.
This technique goes beyond basic adjustments to create cinematic looks that bring images to life with minimal effort.
Watch the Tutorial
Essential Tips for Curves Color Grading
* Hold Alt/Option + Auto in Curves adjustment to access hidden
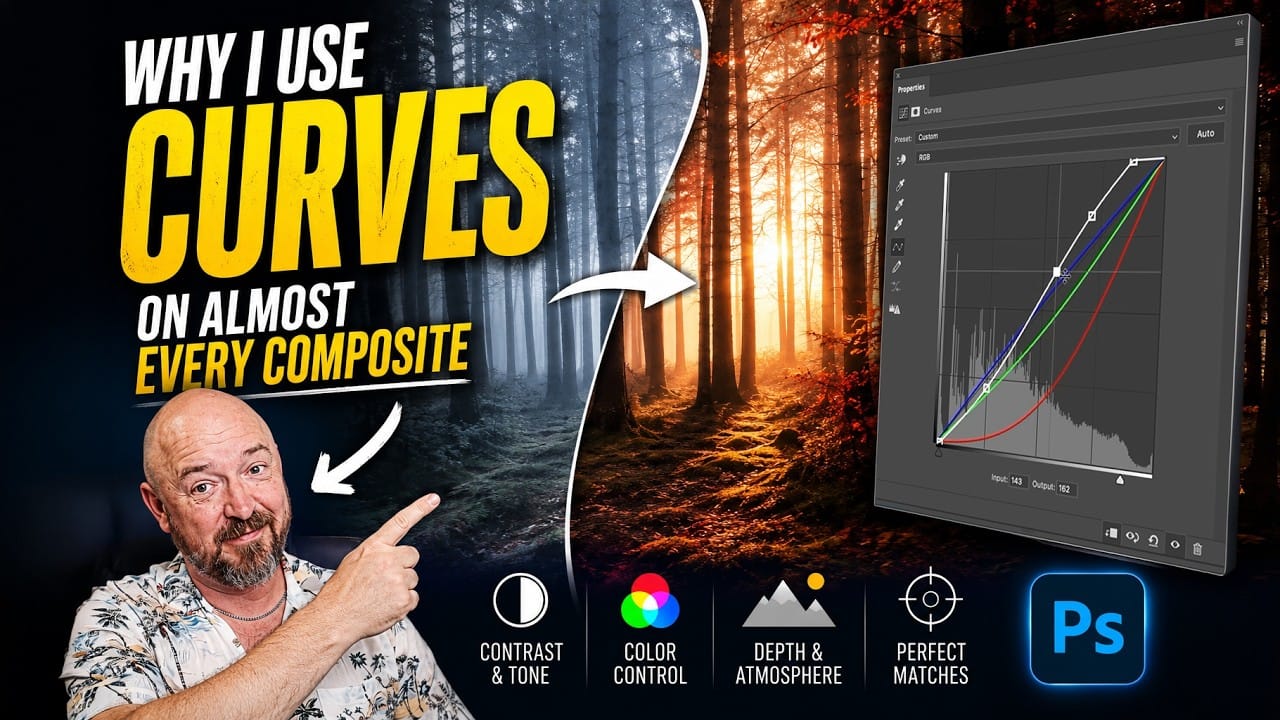
How to Use Curves for Composite Color Matching in Photoshop
Curves adjustments are essential for making composite elements look natural and cohesive. Understanding how curves manipulate light values and color channels gives you precise control over matching different elements to their new backgrounds.
The key to successful color matching lies in analyzing the color temperature and brightness relationships between your subject and background, then using individual color channels to bridge those differences seamlessly.
Watch the Video
Practical Tips
Understanding Blend Modes, Curves, Channels, and Fill vs Opacity in Photoshop
Most users cycle through blend modes randomly or avoid the curves panel entirely, missing out on precise control over their edits. These fundamental tools become intuitive once you understand the logic behind their organization and function.
This tutorial breaks down four essential concepts that separate casual users from confident editors: the six blend mode groups, how curves translate brightness, what RGB channels reveal about your images, and when to use fill versus opacity.
Watch the Vid
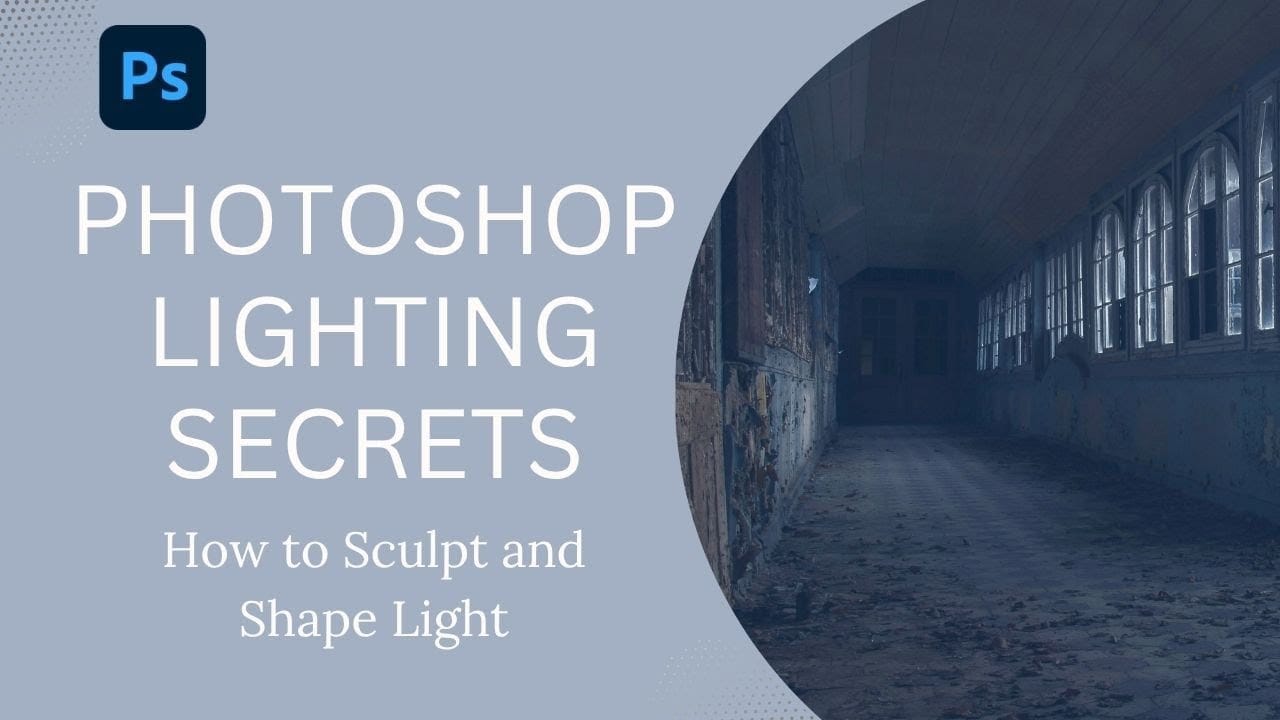
How to Sculpt Light and Add Atmosphere in Photoshop
Light transforms a flat image into something with depth, mood, and visual interest. The ability to enhance existing light sources or create entirely new ones opens up creative possibilities that go far beyond what the camera originally captured.
This tutorial demonstrates how to sculpt light using adjustment layers, selection tools, and atmospheric brushes to create convincing light effects that work naturally with your image's existing lighting conditions.
Watch the Video
Understanding Lig
How to Use the New Color, Clarity, Dehaze, and Grain Adjustment Layers in Photoshop
Three powerful new adjustment layers bring Camera Raw's most popular tools directly into your layers panel. Color and Vibrance, Clarity and Dehaze, and Grain adjustments now work as standard adjustment layers with full masking capabilities and non-destructive editing.
These tools eliminate the need for smart objects when applying these specific adjustments, creating cleaner workflows while maintaining the precision control photographers expect from professional editing software.
Watch the Vid