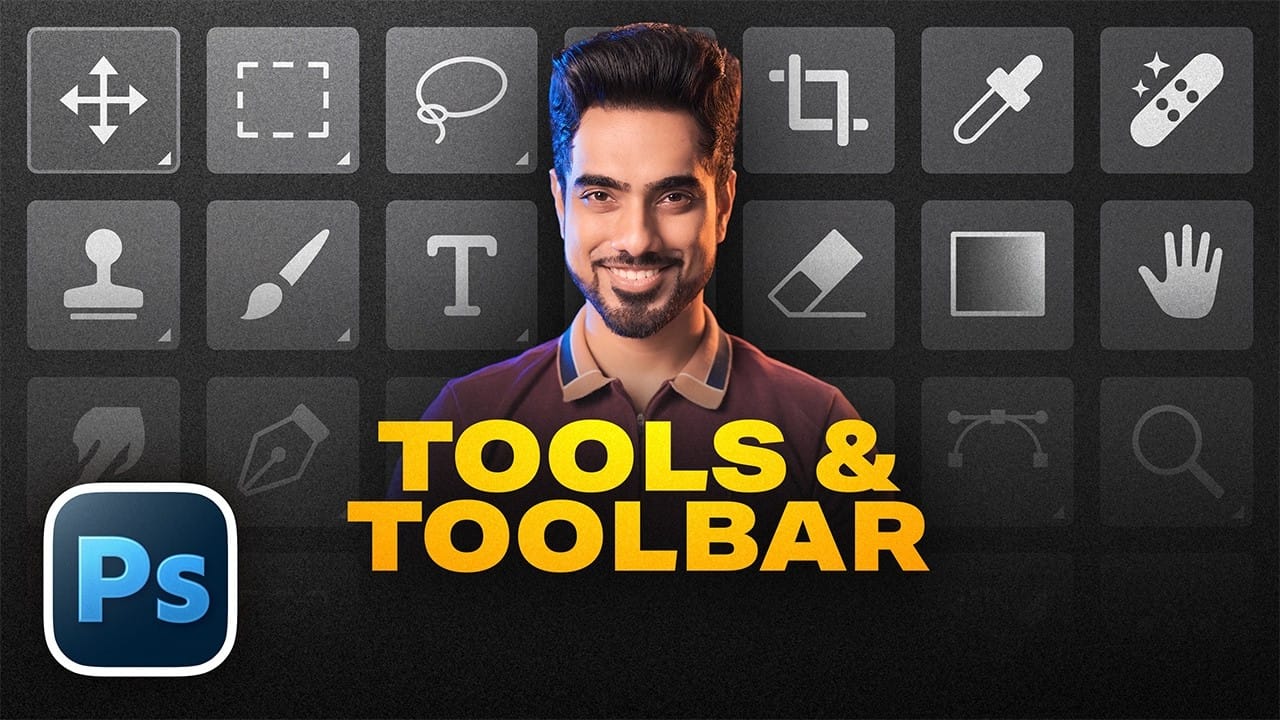
The Transform tool in Photoshop does something neither the crop tool nor the resize command can: it lets you change the size, shape, angle, or perspective of a single layer without touching the rest of the image. That distinction opens up practical uses in landscape photography, composite work, and creative editing that are easy to overlook.
Watch the Video
Video by SandraD Imagery. Any links or downloads mentioned by the creator are available only on YouTube
Practical Tips
These tips cover the key techniques shown in the tutorial, from accessing the tool to using its most useful functions.
- Use Ctrl/Cmd + T to activate Free Transform quickly, or go to Edit > Transform to choose a specific mode such as Scale, Warp, or Skew.
- Use Scale to bring a subject closer to the viewer — useful when you photographed a scene without a long lens and want to recompose during editing.
- Use Flip Horizontal (right-click inside the transform bounding box) to test an alternative composition without permanently altering the image.
- When using Warp, switch to a 5×5 grid from the options bar to get more control points, making it easier to distort specific areas of the layer.
- Undo (Ctrl/Cmd + Z) does not work while the Transform tool is active — right-click and reverse the action manually, or press Escape to cancel the entire transform.
Related Articles and Tutorials
Explore more tutorials on editing, compositing, and layer-based techniques in Photoshop.
How to Use the New Rotate Object Feature in Photoshop Beta
Photoshop's latest beta introduces a revolutionary feature that transforms flat 2D images into rotatable 3D objects. The new Rotate Object tool uses generative AI to create new angles and perspectives from a single image, then seamlessly composites them into scenes with realistic lighting and shadows.
This breakthrough feature eliminates the need for multiple product shots or complex 3D modeling, making professional compositing accessible with just a few clicks.
Watch the Video
Practical Ti
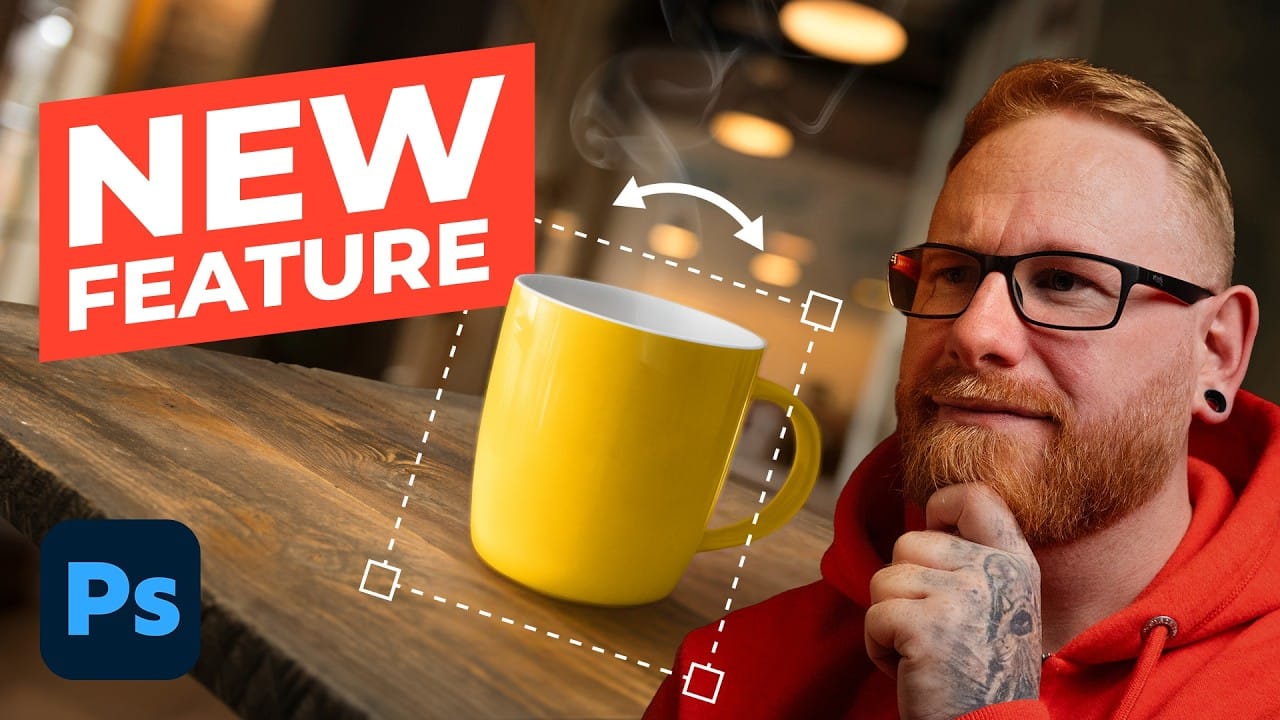
How to Use the 3D Object Rotation Tool in Photoshop Beta
Adobe's new Rotate Object feature transforms flat 2D images into interactive 3D models that can be repositioned from any angle. This AI-powered tool automatically creates cutouts, maintains original textures, and generates missing details when objects are rotated beyond their original perspective.
The feature opens new possibilities for product photography, compositing, and creative positioning, though it works better with some subjects than others.
Watch the Video
Practical Tips
Master th
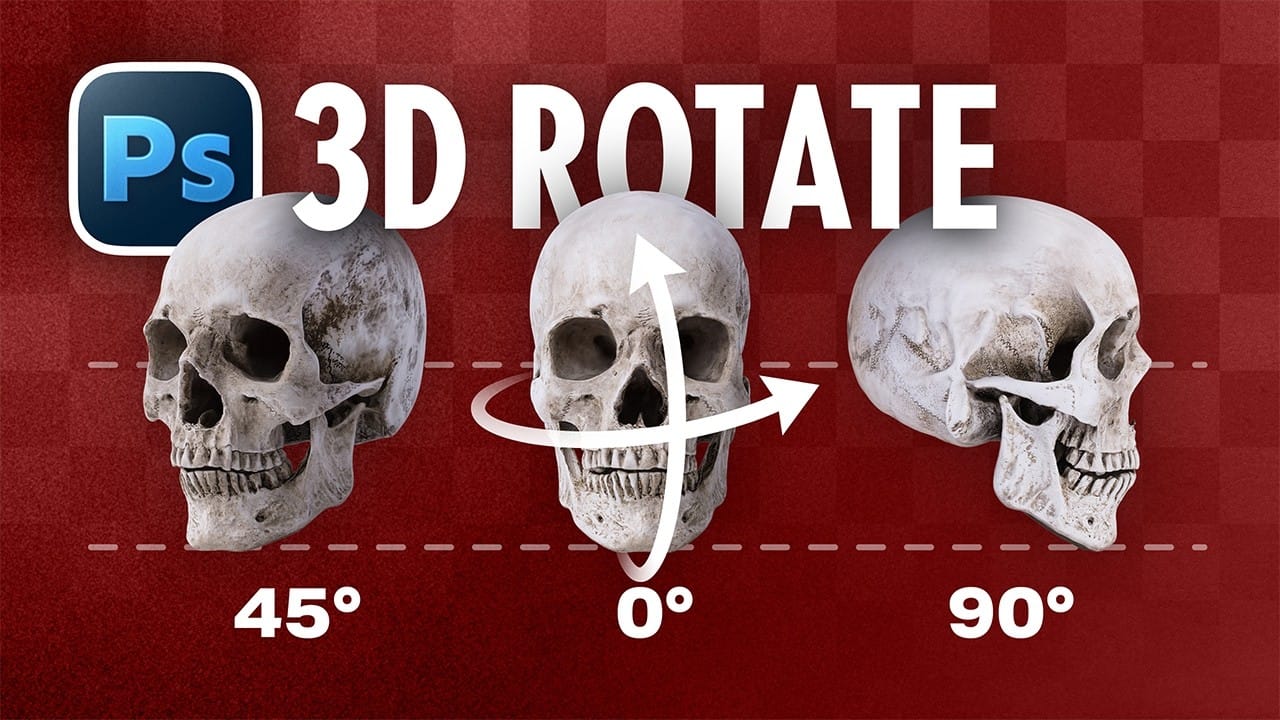
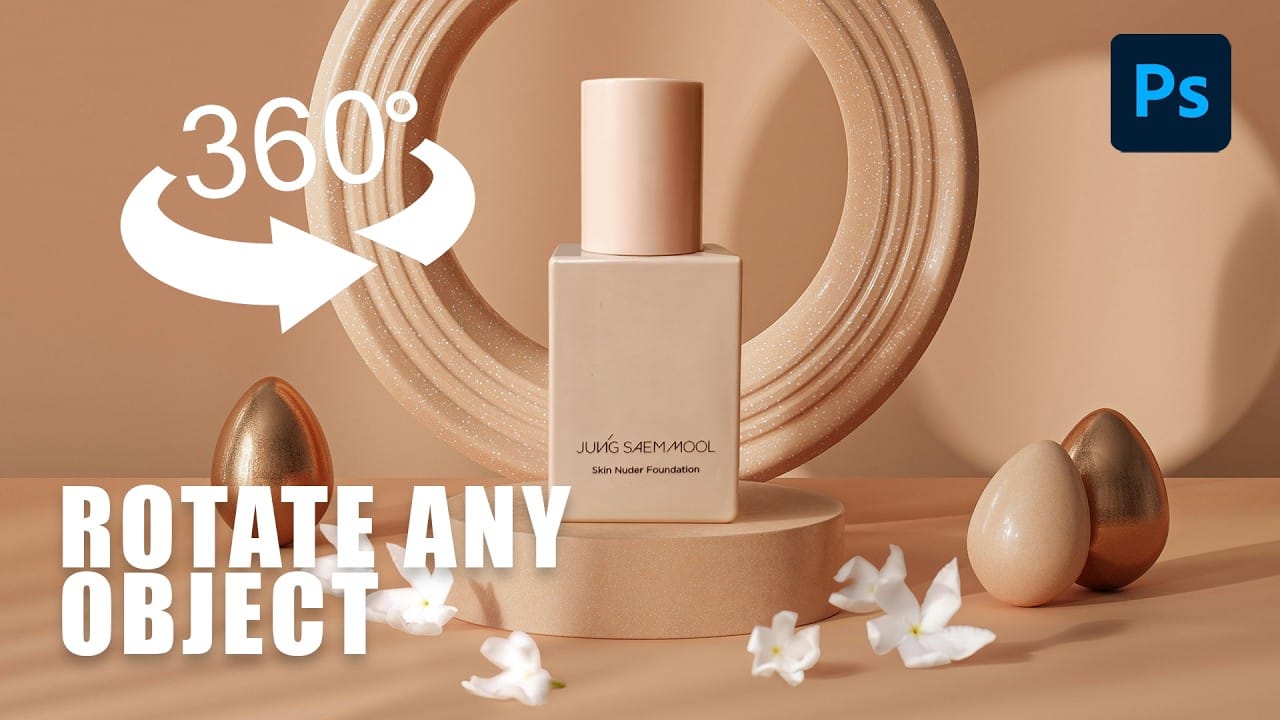
How to Use the New 3D Object Rotation Feature in Photoshop
Photoshop's new Rotate Object feature transforms flat 2D images into interactive 3D models that can be repositioned from any angle. This AI-powered tool automatically creates cutouts, maintains original textures, and generates missing details when objects are rotated beyond their original perspective.
The feature opens new possibilities for product photography, compositing, and creative positioning, though it works better with some subjects than others.
Watch the Video
Practical Tips
Maste
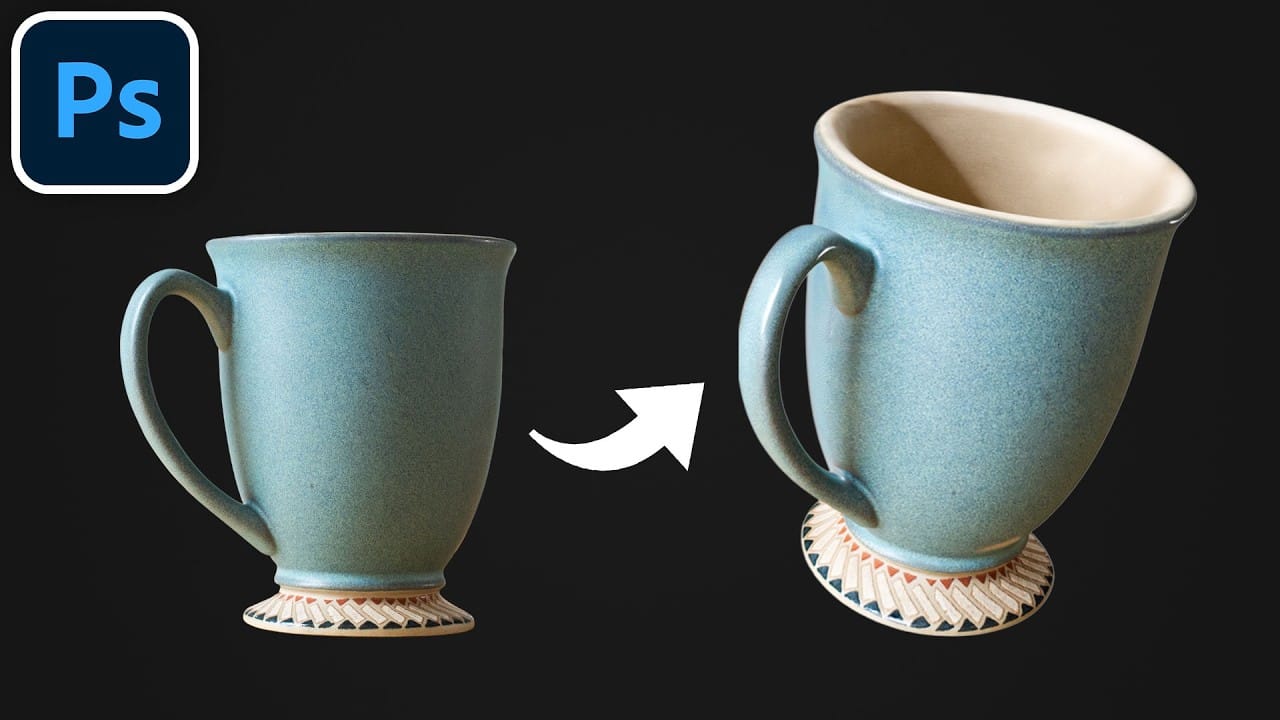
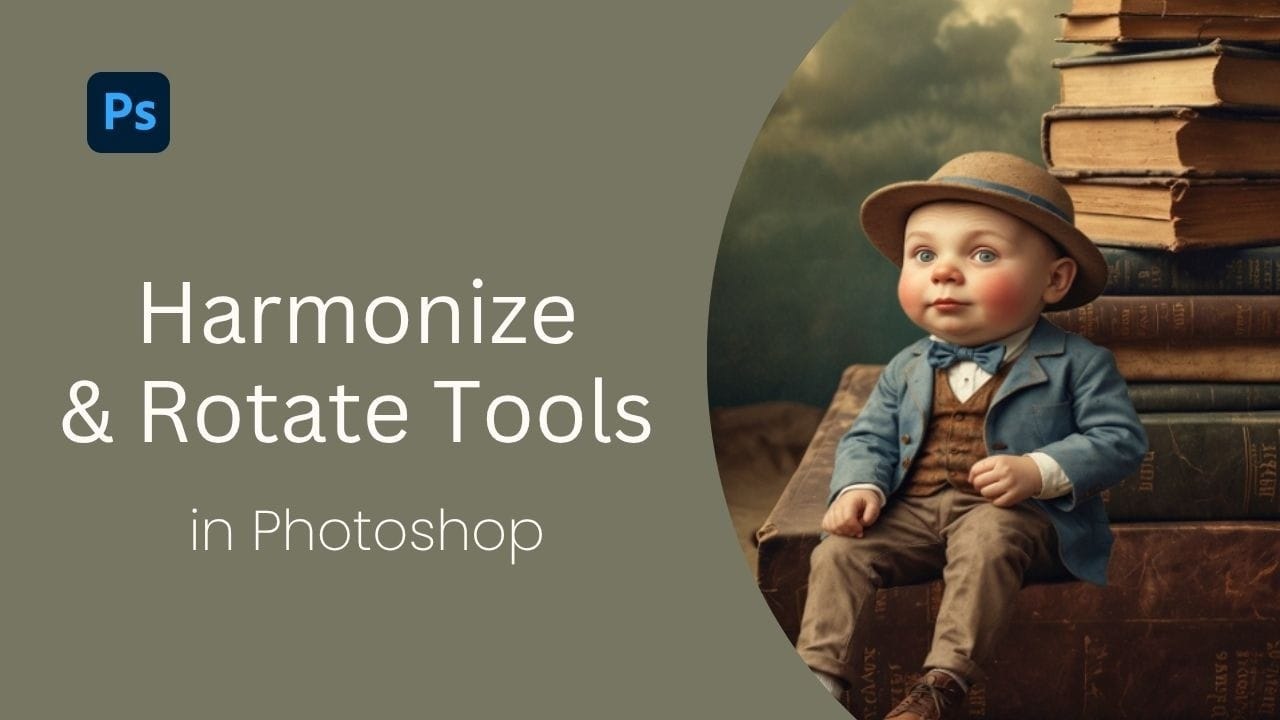
How to Use Harmonize and Rotate Object Tools for Better Composites in Photoshop
Creating believable composites traditionally required hours of manual perspective adjustments and color matching. Two new AI-powered tools in Photoshop change this workflow dramatically. The Rotate Object tool lets you adjust positioning and perspective with interactive 3D controls, while the Harmonize tool automatically matches lighting, shadows, and color tones to blend elements naturally into any scene.
These tools work together to eliminate much of the technical frustration in compositing,
How Photoshop's Updated Frame Tool Simplifies Layer Cropping
Cropping individual layers in Photoshop has traditionally required multiple complex steps involving selections, layer masks, or clipping masks. The updated Frame Tool now offers a streamlined drag-and-drop approach that eliminates confusion and reduces workflow steps.
These improvements make layer cropping accessible to beginners while speeding up workflows for advanced users through custom shape integration and simplified image placement.
Watch the Tutorial
Essential Frame Tool Tips
* Ac

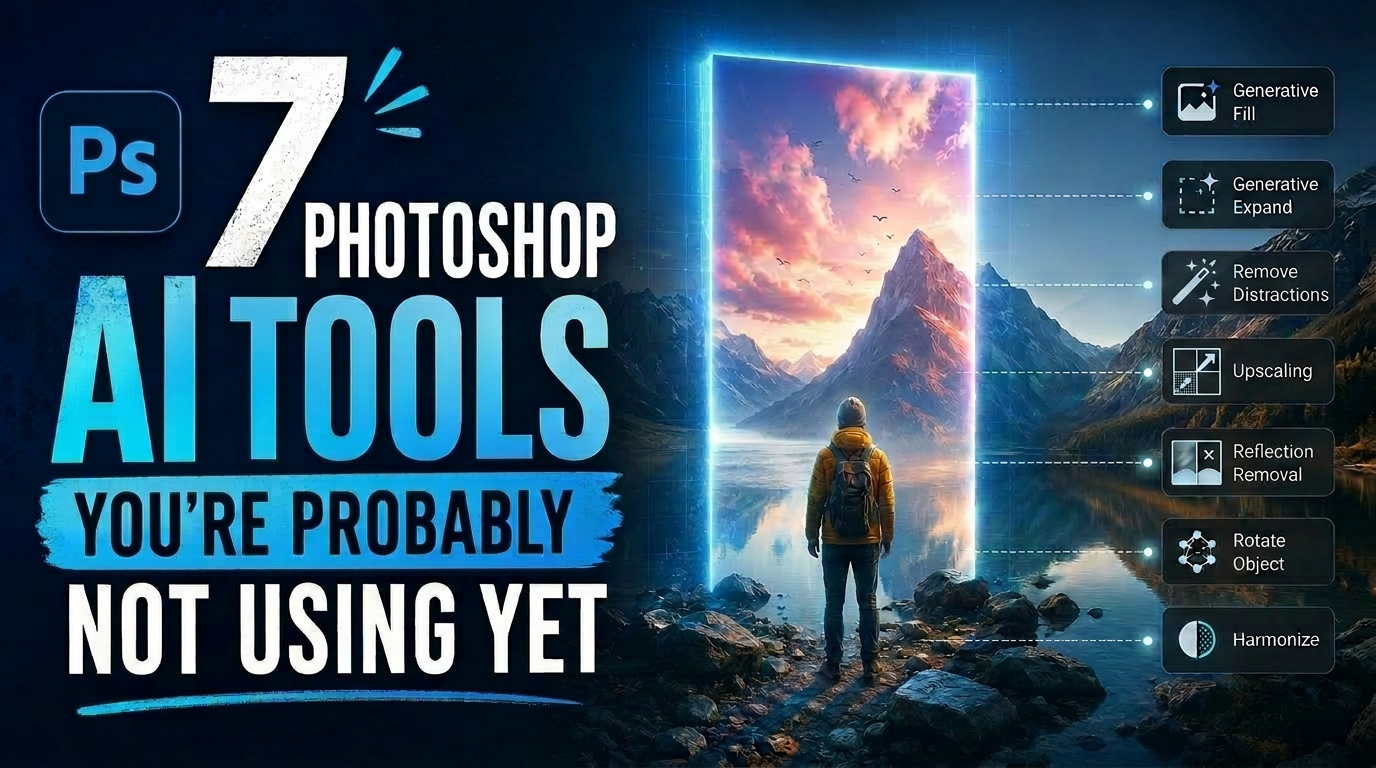
7 Photoshop AI Tools You're Probably Not Using Yet
Photoshop's AI features now go far beyond simple object removal. Some of the newer tools can completely change the way you edit photos, create composites, clean up distractions, or expand scenes — often with just a few clicks.
The interesting part is that many of these features still feel surprisingly underused. While Generative Fill gets most of the attention, Photoshop now includes several AI-powered tools that can produce genuinely impressive results without requiring overly complicated work
How to Use Photoshop's Liquify Tool for Non-Destructive Portrait Retouching
Clothing wrinkles, hair that lacks volume, and awkward fabric bunching can distract from an otherwise great portrait. Photoshop's Liquify tool offers a powerful solution for smoothing out these issues while preserving the natural look of your subject.
This tutorial demonstrates how to use the Liquify tool non-destructively with smart objects, focusing on clothing adjustments and hair enhancement while maintaining ethical retouching practices.
Watch the Tutorial
Essential Liquify Tool Tips

How to Rotate, Harmonize, and Composite Objects Realistically in Photoshop
Placing a product into a scene used to fall apart the moment the perspective didn't match. Photoshop's new Rotate Object tool solves that by using AI to reposition a flat image in three-dimensional space, letting you tilt, turn, and adjust perspective until it fits the scene naturally.
This tutorial covers the full three-step compositing workflow: rotating the object to match the background's perspective, using Harmonize to match lighting and cast shadows, and using Generative Fill to clean up
Essential Photoshop Tools for Beginners: Brush, Crop, and Move Tool Tutorial
Learning Photoshop tools feels overwhelming when you don't know where to start. This tutorial focuses on three essential tools that form the foundation of most Photoshop work: the brush tool for painting and retouching, the crop tool for resizing and straightening images, and the move tool for positioning elements.
You'll also learn how to customize your toolbar, organize tool groups, and troubleshoot common issues that frustrate beginners. These fundamentals will give you confidence to explore