Entertainment retoucher Jesús Ramirez walks through the Generative Fill workflow he applies to every TV and movie poster project. The approach handles hair cleanup, skin blemishes, clothing fit, and full compositing without frequency separation or complex manual techniques.
Watch the Video
Video by Adobe Photoshop. Any links or downloads mentioned by the creator are available only on YouTube
Practical Tips
Here are key techniques from the workflow that apply directly to professional retouching and compositing projects.
- Use the Firefly Fill & Expand model for portrait retouching — it reads the full image for context and requires no prompt, producing cleaner results on hair, skin, and clothing than partner models.
- Set the Remove tool to Auto mode with Sample All Layers enabled — this lets Photoshop decide when to use AI, keeping small blemish fixes fast while applying generative power only where it's needed.
- Periodically toggle the layer or group visibility to compare your edits with the original — it helps catch over-retouching before it becomes a problem.
- Convert your subject and retouching layers into a Smart Object before compositing — it keeps everything editable and lets you crop or extend the image non-destructively inside its own tab.
- Use the Harmonize feature after placing a subject into a new background — it matches lighting, color grading, shadows, and reflections in one step, replacing the need for manual color matching adjustments.
Related Articles and Tutorials
Explore more tutorials covering AI-powered editing, compositing, and image generation techniques.
How Generative Fill in Photoshop is Transforming Photo Editing
Generative Fill represents the most significant advancement in photo editing technology in decades. Using artificial intelligence, this tool can remove objects, change backgrounds, extend images, and add new elements with simple selections and text prompts.
The feature analyzes your image's lighting, perspective, and depth of field to create seamless, photorealistic results that would previously require hours of manual work and advanced compositing skills.
Watch the Video
Practical Tips
He
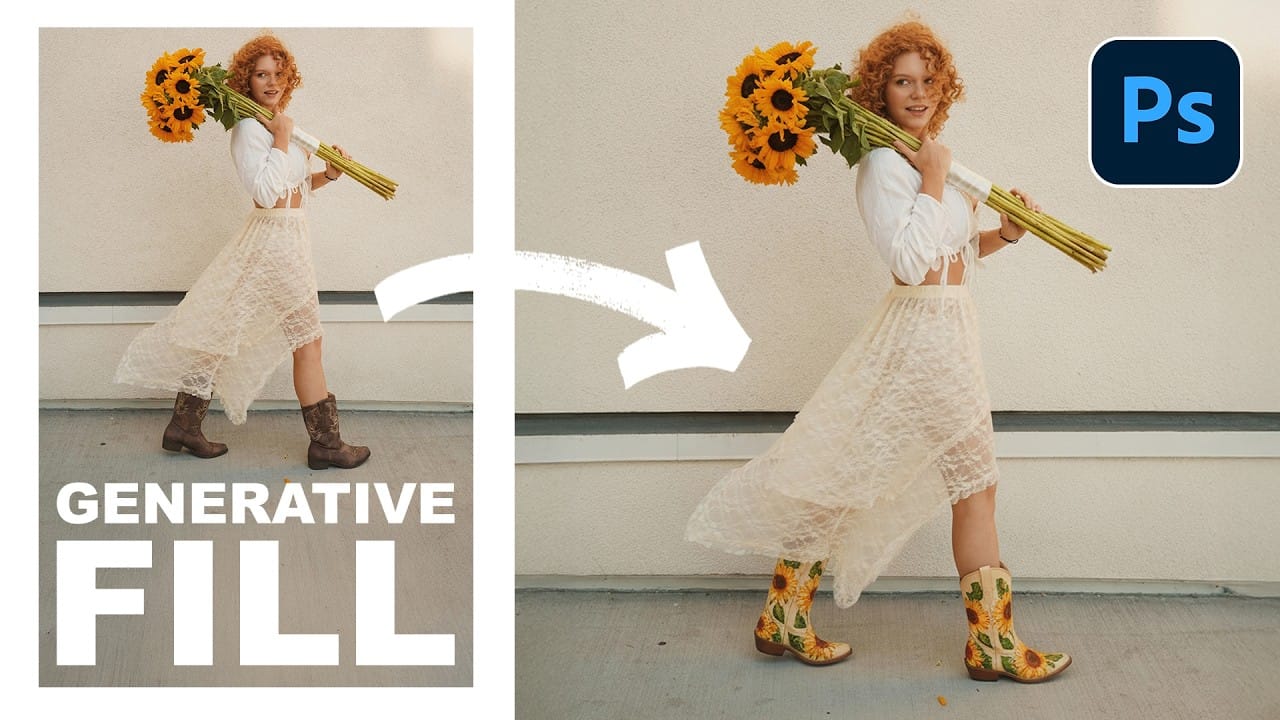
Essential Guide to Generative Fill: Remove, Add, and Replace Objects in Photos
Generative Fill has transformed how photographers handle object removal, additions, and replacements in their images. This comprehensive tutorial demonstrates four practical applications using real examples—from cleaning up unwanted graffiti to adding garden gnomes and creating custom sunflower boots.
You'll learn to work with both Adobe's Firefly Image 3 and Google's Gemini 2.5 models, understanding when to use each approach for optimal results.
Watch the Video
Practical Tips
Here are the
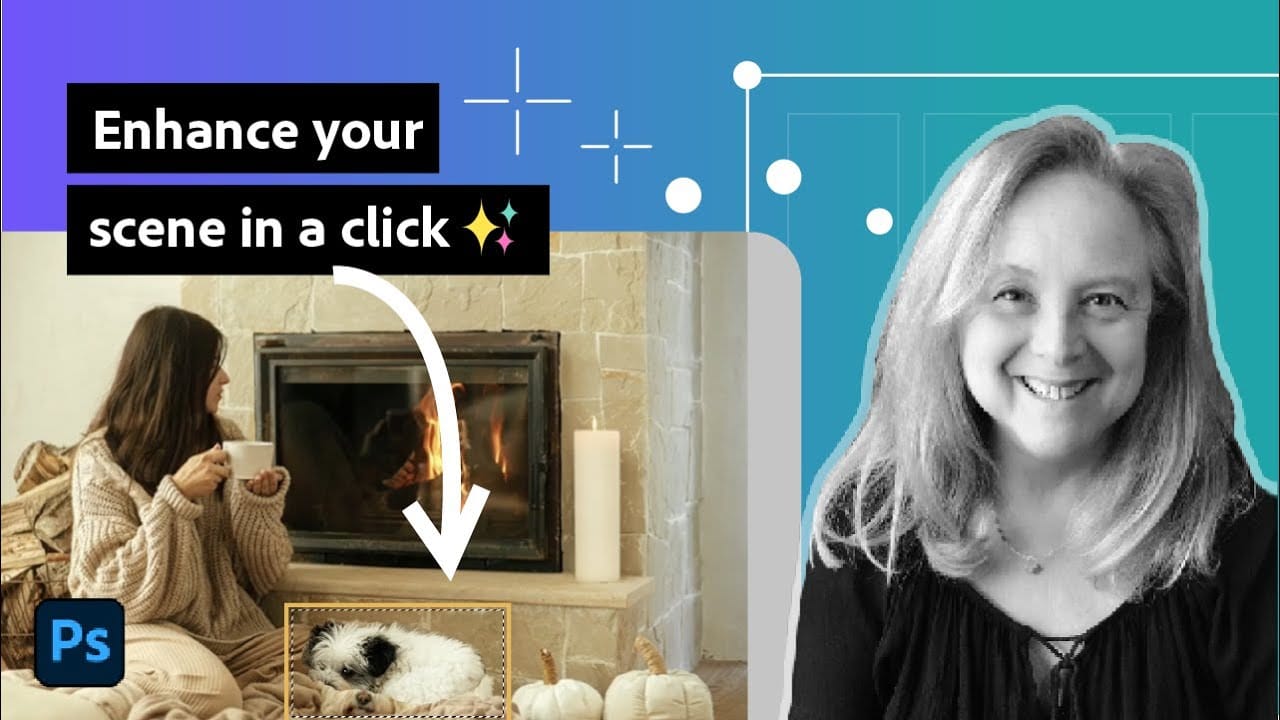
How to Add Objects to Photos Using Photoshop's Generative Fill
Photoshop's Generative Fill transforms photo editing by letting you add realistic objects using simple text descriptions. This AI-powered feature creates seamless additions that match your image's lighting, perspective, and style.
The process requires just a basic selection and a descriptive prompt to generate professional-looking results in seconds.
Watch the Tutorial
Essential Tips for Generative Fill Success
* Make your selection slightly larger than the object you want to generate — t
Merge two photos in just a few clicks using Photoshop's Generative Fill
Photoshop Training Channel presents a helpful guide for blending multiple images together with ease. Generative Fill is one of Photoshop's most powerful but underutilized tools, and in this video PTC shows users how they can take advantage of its full capabilities. Through a simple step-by-step process, viewers will learn how to use Generative Fill to automatically composite numerous photos into a single cohesive image.
Presented in PTC's clear training style, photographers and image editors of
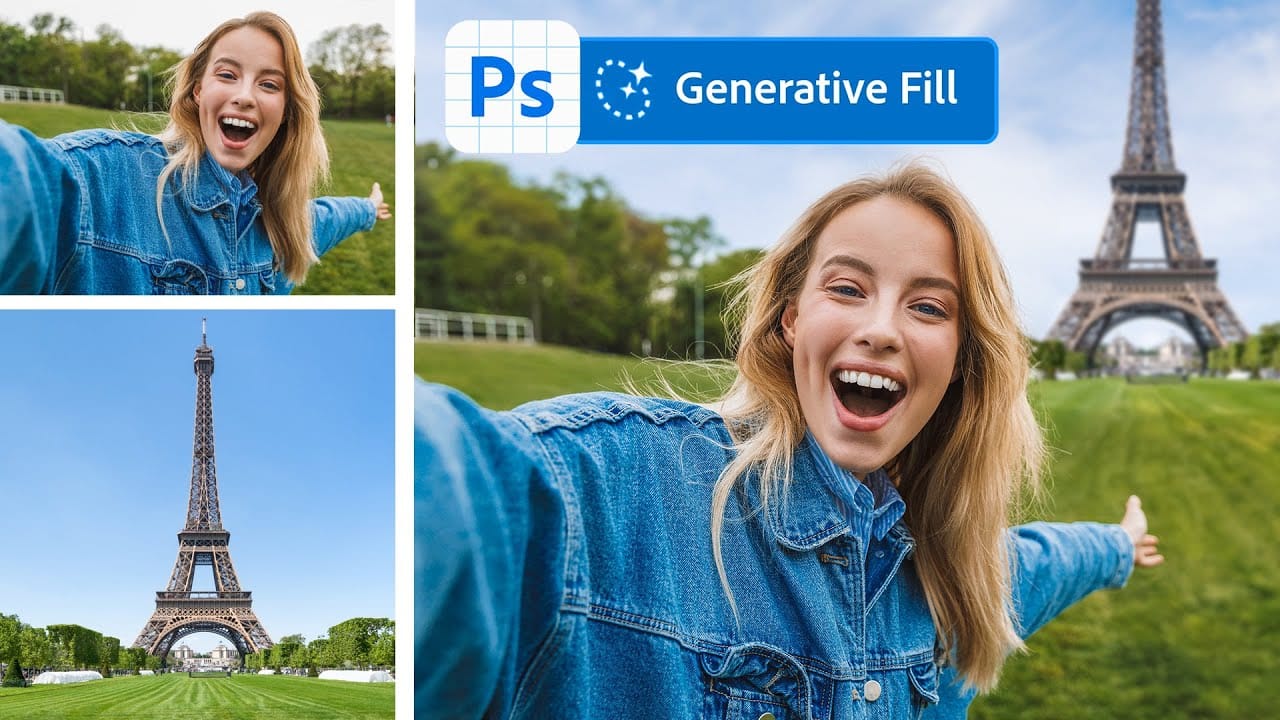
Complete Guide to AI Photo Editing with Photoshop's Generative Fill
Modern photo editing has entered a new era where artificial intelligence can solve complex visual problems in seconds. Tasks that once required hours of manual work—removing unwanted objects, changing skies, adding realistic elements—can now be accomplished with simple selections and text prompts.
This comprehensive tutorial demonstrates 37 practical applications of Photoshop's AI-powered generative fill feature. From basic sky replacements to advanced portrait retouching, these techniques show
Photoshop Generative Expand and Composite Techniques Using AI-Generated Images
AI-generated imagery opens up endless creative possibilities, but the real magic happens when you know how to refine and enhance these digital creations. Raw AI images often need compositional adjustments, element removal, and seamless blending to reach their full potential.
This tutorial demonstrates practical techniques for extending canvas space, removing backgrounds, and creating cohesive composites using Photoshop's modern tools. The workflow combines traditional compositing skills with AI
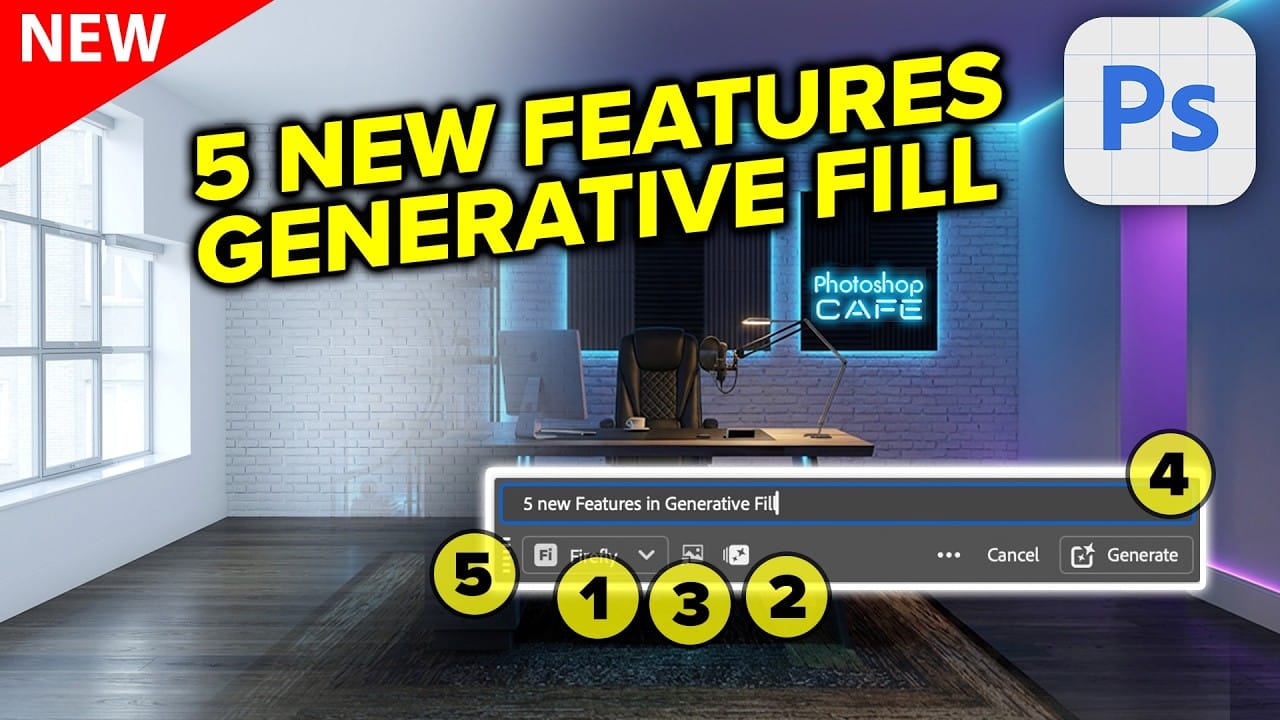
Photoshop's Generative Fill Gets Major Upgrade: New Model Comparison and Quality Test
Adobe's latest Generative Fill update brings the new Firefly Fill and Expand model with double the resolution and dramatically improved quality for generating people, hands, and complex objects. The upgrade moves from 1024x1024 to 2048x2048 pixel output, allowing for larger selections without quality loss.
This comprehensive comparison tests both the old Firefly Image 3 and new Fill and Expand models across challenging subjects like realistic portraits, hands, and cars to show exactly where the
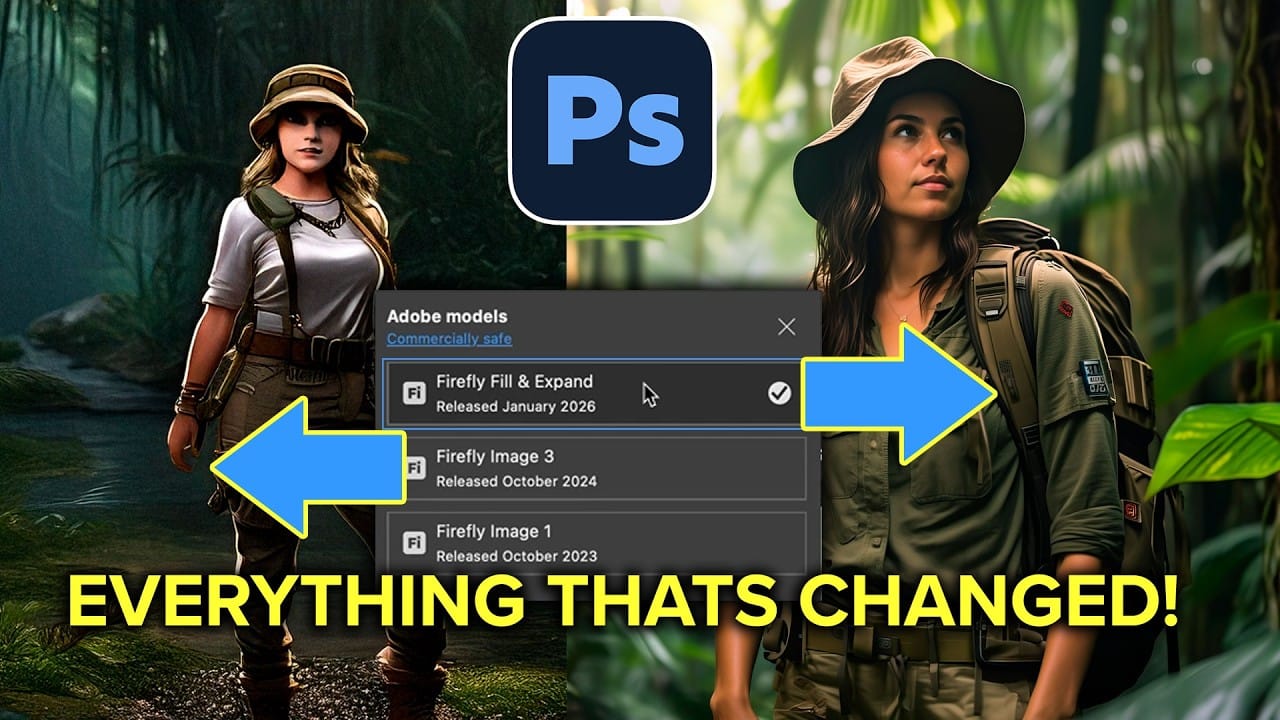
How to Use Harmonize and Generative Upscale Tools in Photoshop
Creating realistic photo composites requires matching lighting and color between different images—a traditionally time-consuming process. Two new AI-powered tools in Photoshop solve these challenges: Harmonize automatically adjusts lighting and shadows to blend subjects seamlessly into backgrounds, while Generative Upscale enlarges small images without losing detail.
These tools work together to streamline complex editing workflows, from cutting out subjects and matching environmental lighting
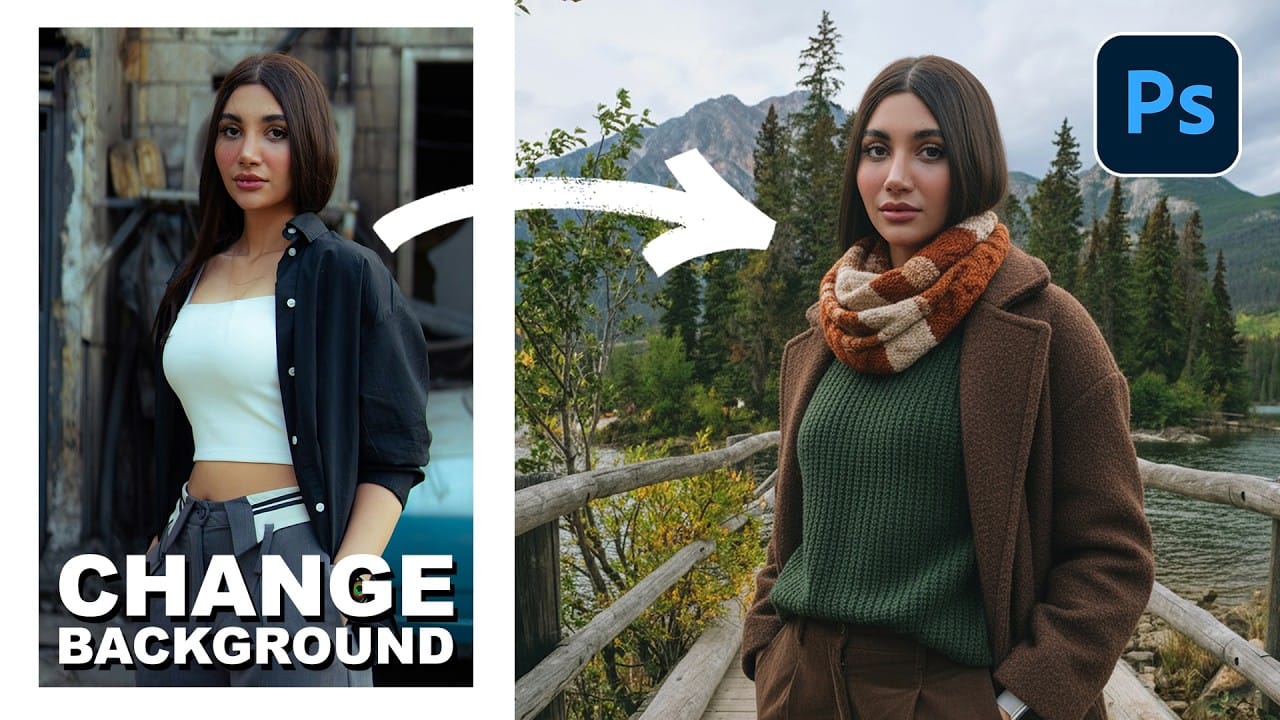
How to Use Reference Images with Generative Fill in Photoshop
Generative Fill transforms when you replace text prompts with actual images. Instead of describing what you want, you show the AI exactly what to create using reference photos.
This feature works for adding objects like toys and electronics, or swapping clothing items with precise visual control. The AI automatically matches lighting, shadows, and perspective to blend seamlessly with your original photo.
Watch the Video
Practical Tips
Here are key techniques to get the best results with re
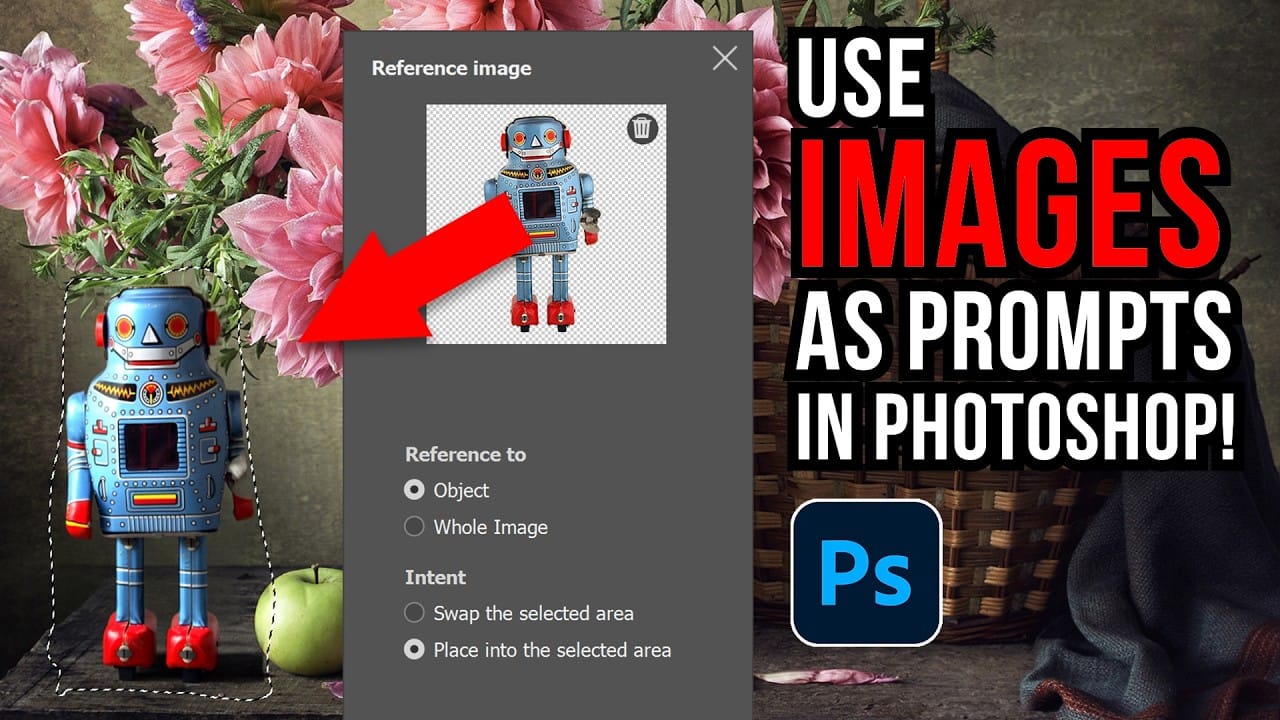
New Generative Fill Features in Photoshop Beta: Reference Images and Credit Tracking
Photoshop Beta introduces significant improvements to Generative Fill that address the most requested features from users. The updated interface now displays your generative credit balance and usage, while the new reference image capability lets you add up to eight specific images to guide AI generation with precise visual examples.
These enhancements transform Generative Fill from a text-only tool into a visual command system where you can show the AI exactly what furniture, objects, or elemen